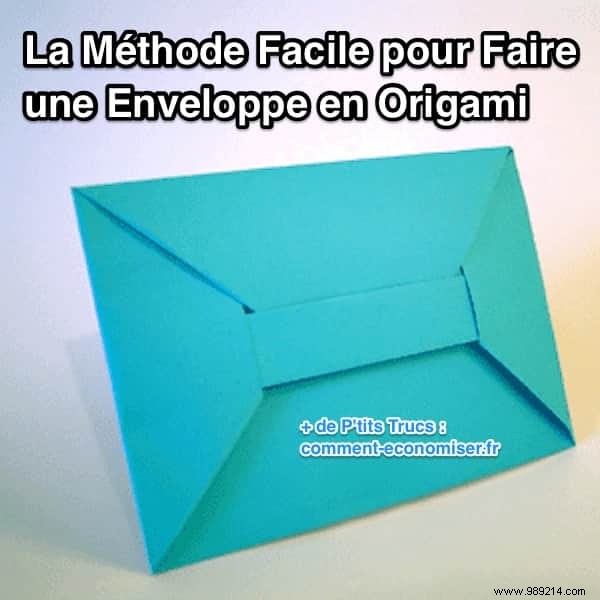
Origami, the ancient Japanese art of paper folding, is famous for intricate figures like cranes. But it’s incredibly versatile—including crafting functional items like envelopes. With this simple, proven method, you can create a sturdy envelope from a single A4 sheet, without scissors or glue. It’s a hit with kids and adults alike for notes, gifts, or everyday use.
Ready to get started? Follow this detailed, photo-guided tutorial:
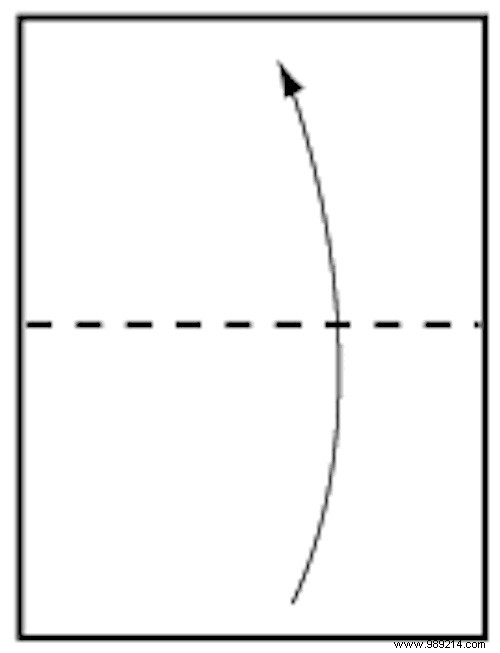
1. Fold a rectangular A4 sheet of paper in half widthwise, bringing the bottom edge up to the top edge.
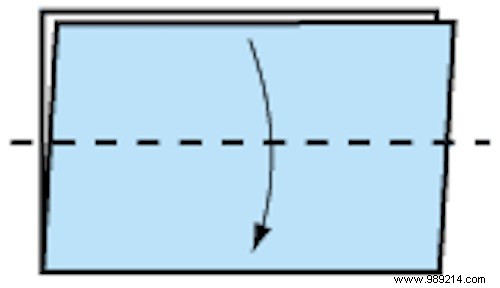
2. Fold the top flap in half downward.
3. Fold the top flap in half upward again, then unfold it downward to reopen.
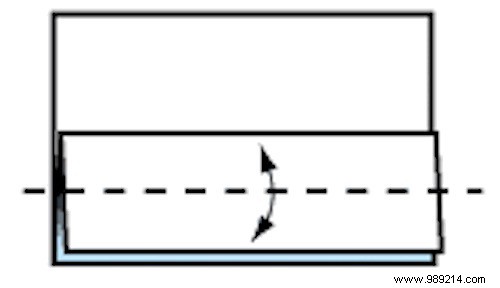
4. Fold the bottom edge of this flap in half over the crease you just made, then fold it back up.
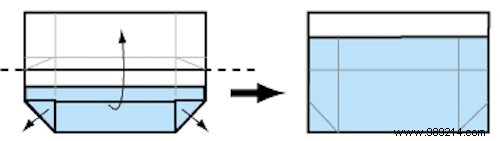
5. Fold the top edge of the bottom flap over the crease marked by the dot (the one closest to the bottom, just above the edge). Then unfold it upward.
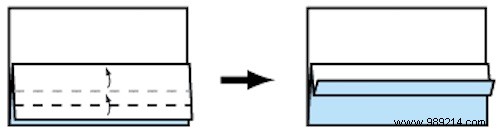
6. Fold the two bottom corners up to the crease closest to the bottom, as shown.

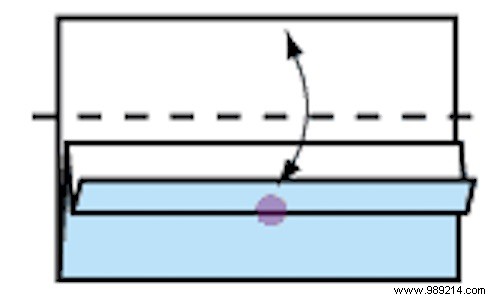
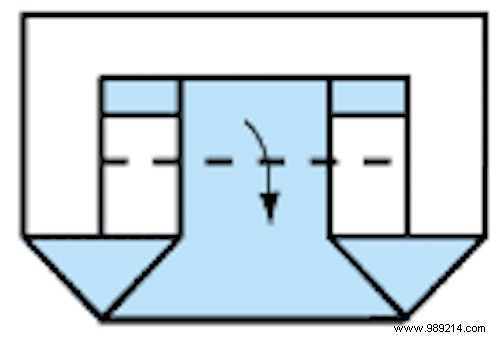
7. Fold the right and left sides inward along the triangle creases, then fold them back outward.

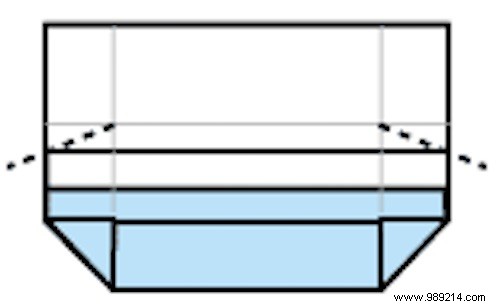
8. Use these creases to create diagonal folds in the rectangles shown. A ruler can help for precise creasing if needed.
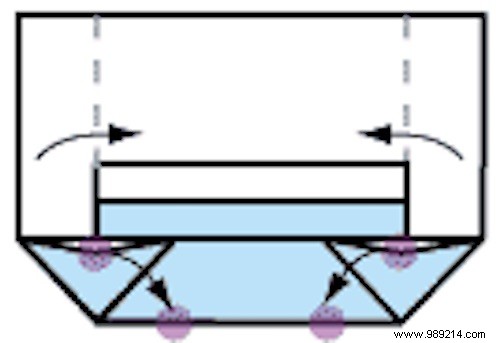
9. Unfold the bottom corner triangles and fold up the crease closest to the bottom edge. It should match the image.
10. Fold the sides of the top flap inward using existing creases. Flatten the bottom triangles as illustrated.

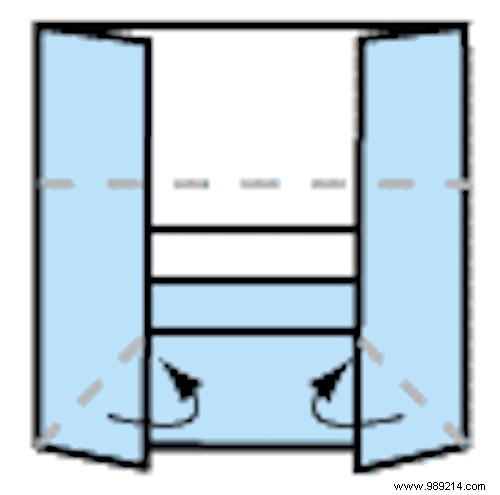
11. Fold the top portion of the top flap down along the existing crease.
12. Fold the right and left sides inward, ensuring the bottom corner triangles unfold outward and downward.
13. Lift and fold the tips of the bottom corner triangles inward, tucking them over themselves.
14. Create creases on the top corners as shown, then unfold them.
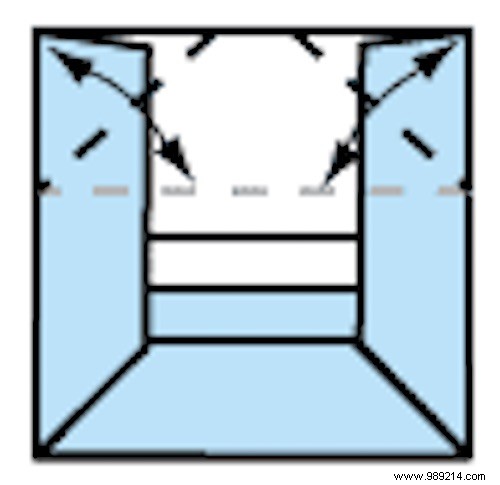
15. Fold the indicated points down and inward toward the envelope’s interior, guided by the creases. Flatten thoroughly.
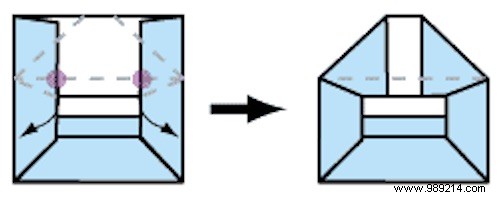
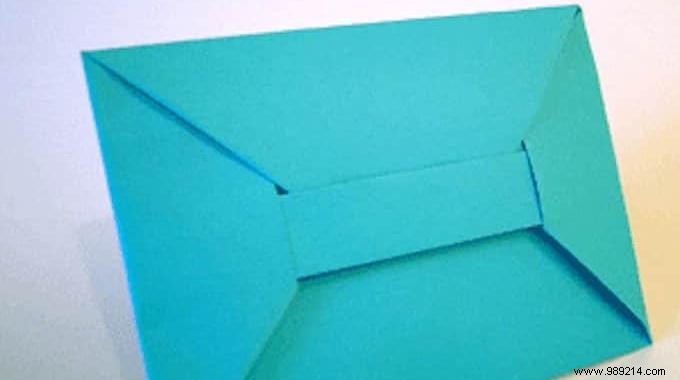
16. Fold the top part down along the crease closest to the top. To seal, slide the upper flap into the bottom rectangle.
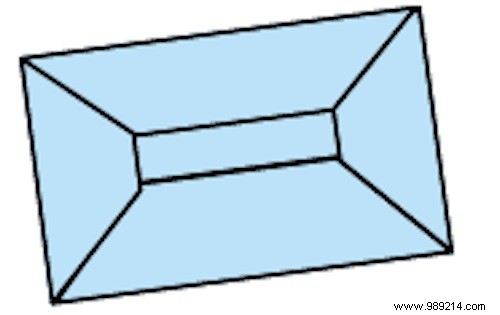
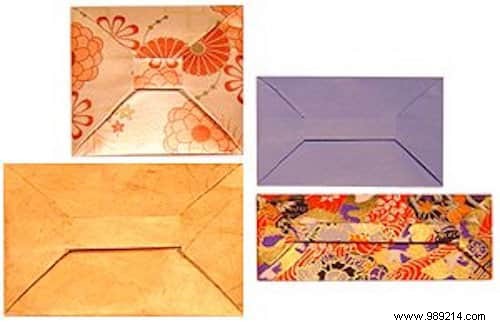
Your origami envelope is complete! For a personal touch, use colored paper. These are ideal for accompanying gift notes, and the creative uses are endless.