Composting transforms garden and kitchen waste into nutrient-packed soil amendment through natural decomposition in a compost bin. Microorganisms break down the organic matter into rich, 100% natural compost.
This homemade compost enriches your soil, promoting healthier plants. Beyond that, it helps reduce organic waste from your kitchen, garden, and yard, minimizing trips to the recycling center.
Wondering where to place your compost bin and what materials to use? Here's a straightforward guide for beginners to get started.
Click here to easily print this guide in PDF.
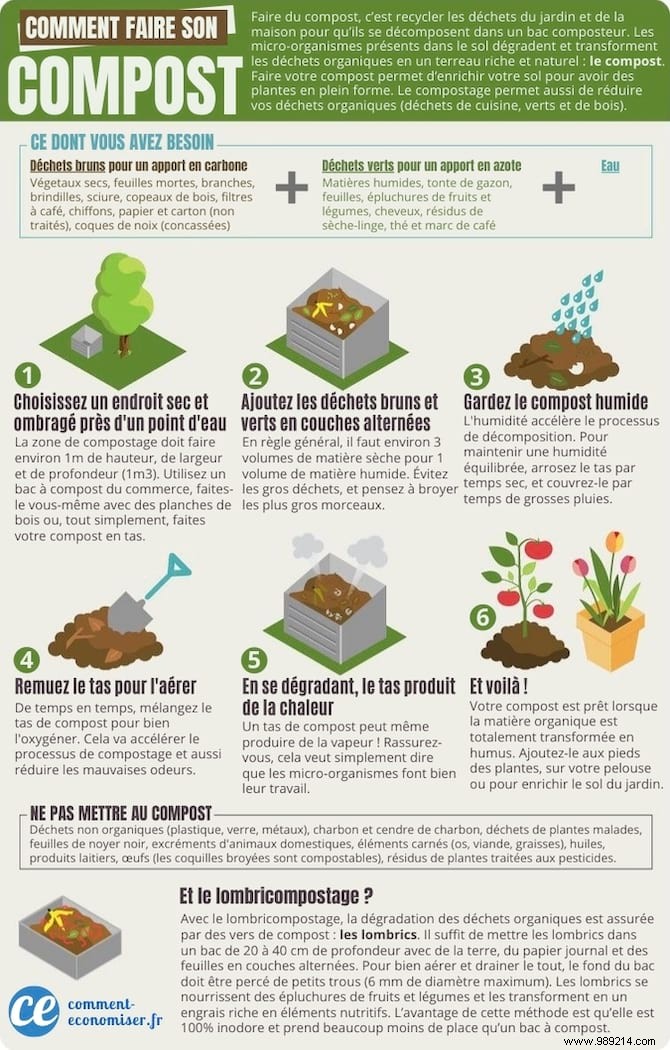
Brown and dry materials for carbon: Dead leaves and plants, dry branches and twigs, sawdust, wood chips, coffee filters, cotton or wool rags, untreated paper, newspaper, cardboard, and crushed nut shells.
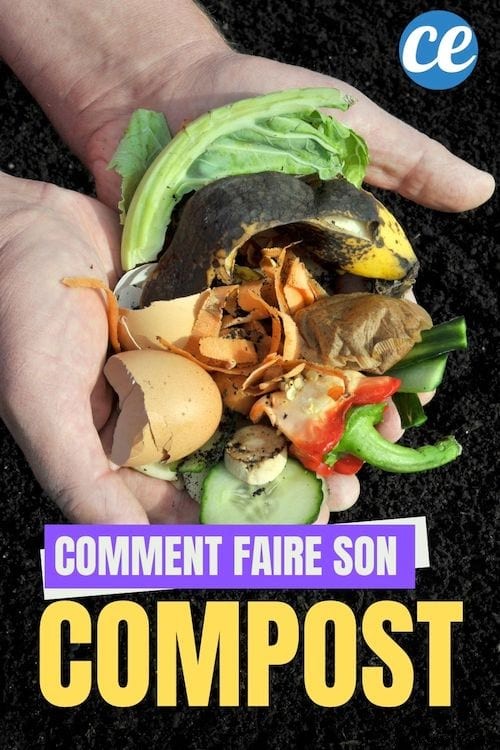
Green and wet materials for nitrogen: Grass clippings, fresh leaves, fruit and vegetable peels, hair, dryer lint, tea bags, and coffee grounds.
Water
Compost bin (purchase one or build your own with wooden planks).
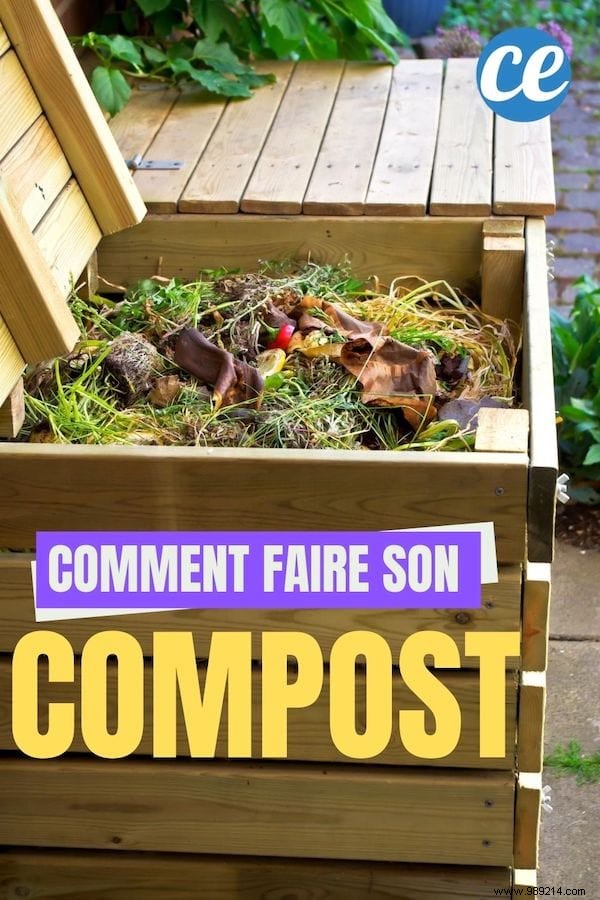
Aim for a compost area about 1m x 1m x 1m (1m³). Use a ready-made bin, build one with wooden planks and chicken wire, or start a simple heap.
Use a 3:1 ratio of browns to greens. Shred larger pieces with a chipper to speed up breakdown by microorganisms.
Keep it damp like a wrung-out sponge—water during dry spells and cover during heavy rain to accelerate decomposition.
Turn the pile every few weeks for oxygen, which boosts the process and prevents odors. Wait 2-4 weeks for the first turn to preserve initial heat from bacteria.
The pile will generate heat—even steam—as microbes thrive. This is a good sign; just be patient.
It's ready when it resembles dark, crumbly humus with an earthy scent. Use it around plants, on lawns, or to amend garden soil. Full decomposition takes 3-5 months.
Browns (carbon):
- Dead leaves and plants,
- Dry branches and twigs,
- Sawdust and wood shavings,
- Coffee filters,
- Cotton or wool rags,
- Untreated paper, newspaper, cardboard,
- Crushed nut shells.
Greens (nitrogen):
- Grass clippings,
- Fresh leaves,
- Fruit and vegetable peels,
- Hair,
- Dryer lint,
- Tea and coffee grounds.
- Inorganic items (plastic, glass, metal),
- Coal or ash,
- Diseased plants,
- Black walnut leaves/twigs,
- Pet waste,
- Meat, bones, fats,
- Oils,
- Dairy,
- Whole eggs (shells OK if crushed),
- Pesticide-treated plants.
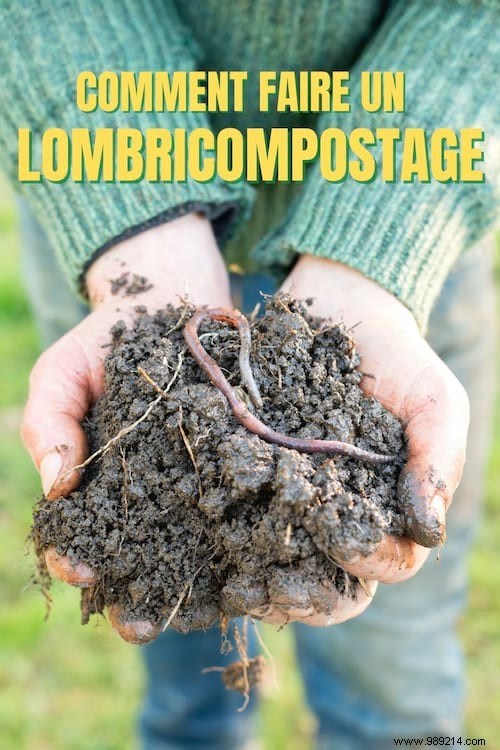
Vermicomposting uses earthworms in a shallow bin (20-40 cm deep). Layer soil, shredded newspaper, leaves, and waste. Drill small drainage holes (6mm max) in the bottom.
Worms convert peels into odor-free, space-saving fertilizer.
Have you made compost using this guide? Share your results in the comments—we'd love to hear!