Experience movies and games on a massive screen right at home with a projection-based home theater tailored to your budget. As someone who's reviewed projectors like the Optoma GT750 and built multiple setups, I've seen how this hobby transforms entertainment—though it can be pricey. Grab your shopping list and tape measure; I'll guide you through every step, from design to selecting the right projector.
Projectors deliver what you pay for, often becoming your biggest investment. Always demo one locally or scrutinize high-quality reviews, photos, and videos from trusted sources like my Optoma GT750 3D Gaming Projector Review and Giveaway.
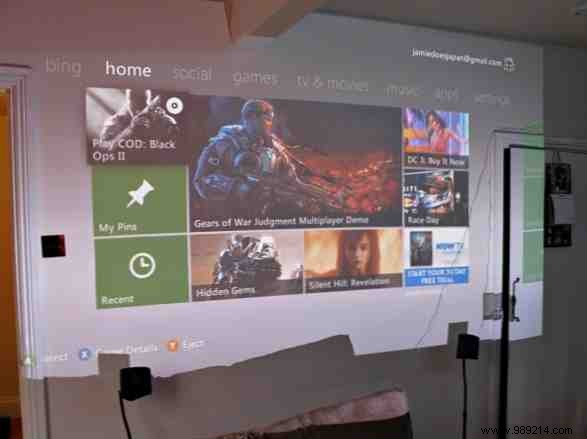
Opt for 720p or 1080p models—the resolution gap widens on large screens, so prioritize native 1080p output (not just '1080p compatible') if projecting big. Here's a 720p image sample from my Optoma GT750 review on a large screen.

Lumens measure brightness: under 1500 needs total darkness; 3000+ handles ambient light, though dimmer rooms always yield better contrast. This shot is from a 3500-lumen model.
Check bulb life (typically 2,000–5,000 hours) and replacement costs—up to $120 for the Optoma GT750, about a third of its price. Use economy mode in dark rooms to extend life without much quality loss. Clean air filters every 3–6 months; replace if worn.
Skip LED or ultra-portable projectors; their image quality and brightness lag far behind lamp-based ones.
Stick to 16:9 aspect ratio for widescreen content. Avoid outdated XGA, WXGA, or SXGA (4:3, sub-1080p).
Projectors demand precise throw distance: Model X at Y meters yields Z-inch image. Use a projection calculator for your shortlist once selected.
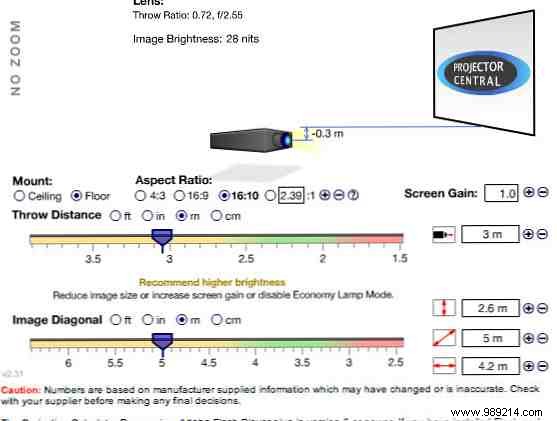
The Optoma GT750 at 3m delivers a 5m diagonal—ultra-short-throw magic for drive-in vibes.
Ensure a clear light path; ceiling-mount ($50–$100) avoids obstructions like heads or furniture. Center it for distortion-free images—side projection warps badly. Provide ventilation; these run hot.
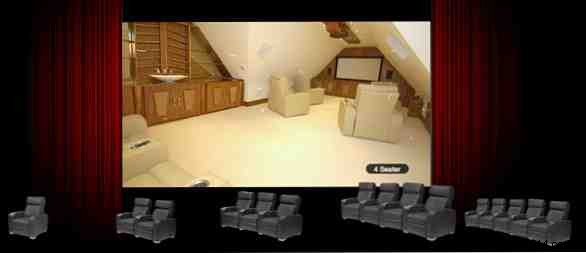
Seating? A comfy sofa suffices; skip luxury recliners unless splurging.
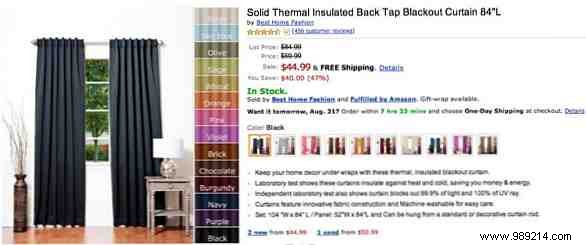
Thick blackout curtains boost image quality in low light and create a cinematic vibe. Modern high-lumen projectors perform in daylight, but dimmer is better. Line existing curtains DIY-style or buy for $50–$100 on Amazon.
A quality screen complements your projector, but matching everything perfectly ups costs. Skip high-gain screens (hotspots off-angle); Elite Screens balance price and performance. Reflective wall paints work too.
For budgets, a smooth matte white wall delivers 95% quality for free—ideal unless in bright rooms.
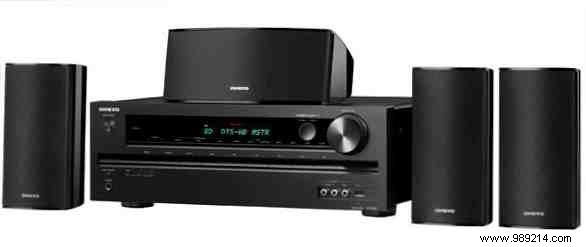
5.1 (two front, two rear, center, subwoofer) is essential; 7.1 or 9.1 for immersion. Budget kits with AV receiver start at $300, like Onkyo's.
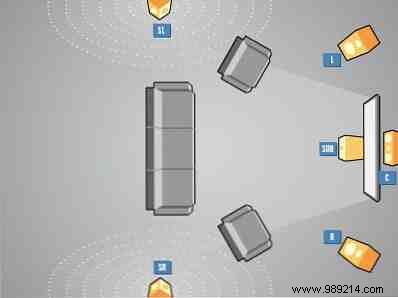
Follow THX placement guidelines:
Hide cables in adhesive ducts or under rugs with strain relief.
Your home theater will elevate movies, TV, and gaming for years. Start with a projector! Share your tips below. For media centers, see 5 Options to Consider for Your Next Media Center.