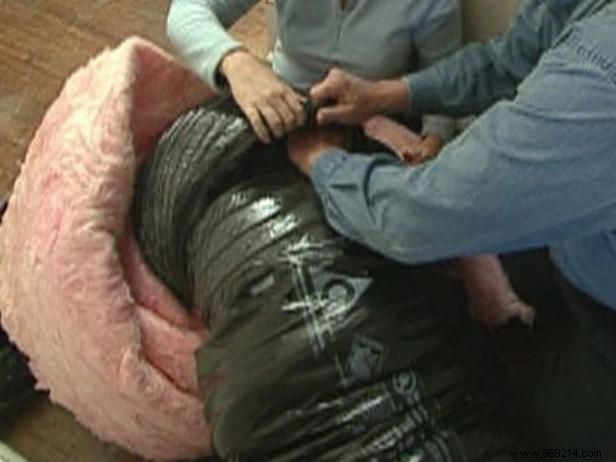
Start by carefully removing the existing ductwork where needed. Route the new flexible air duct from the floor under the house to the bottom of the air handler, then securely attach it to the metal vent box or plenum (Image 1).
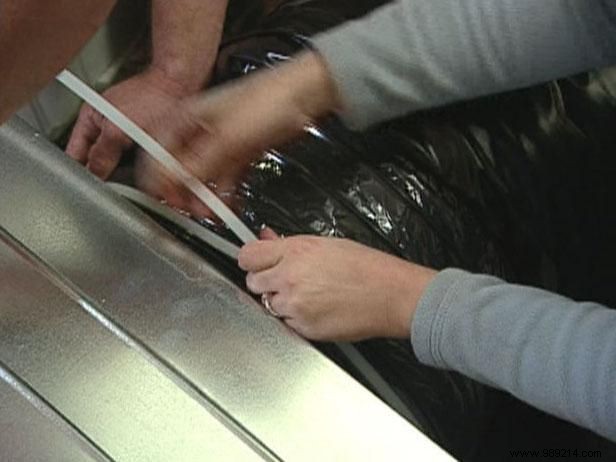
Note: If the duct isn't long enough, extend it by stripping the insulation from a second duct, inserting it 6-10 inches into the first, sealing with duct tape, folding the insulation back, and rolling the outer layer securely (Image 2).
Attach the duct along its entire length to the floor joists using zip ties every few feet to keep it elevated off the ground.
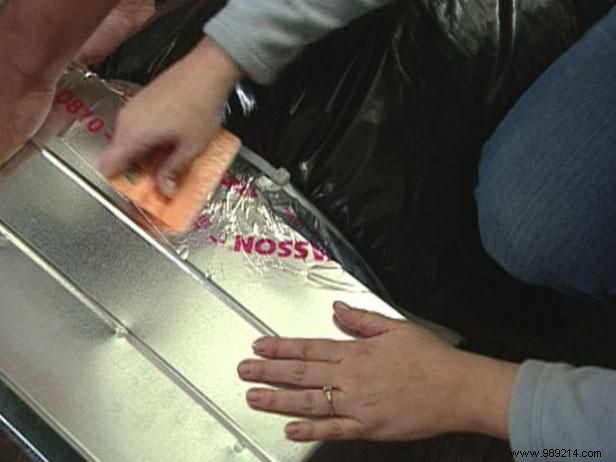
Secure the duct tightly to the new box with zip ties. Trim excess, seal all connections with foil tape, and burnish smooth using a plastic rib tool.
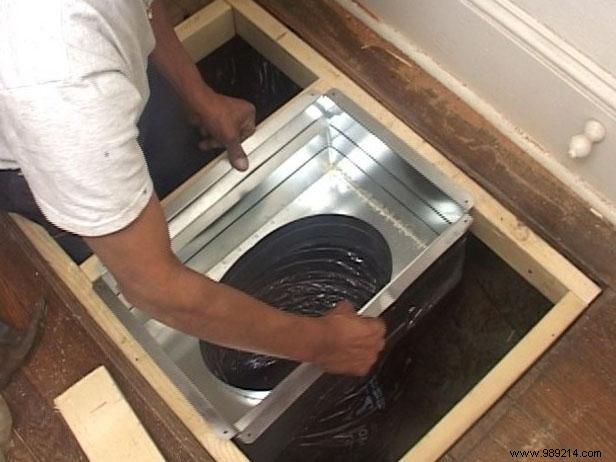
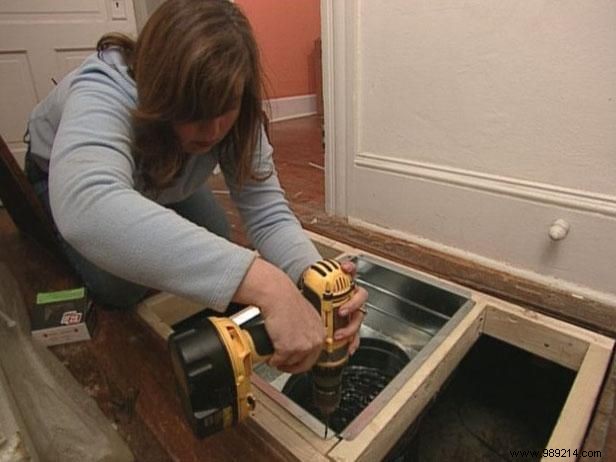
To hold the new vent securely, construct a wooden frame. Measure the opening precisely, cut 2x4s to size, and nail the frame into place. Snap the vent into the frame (Image 1). Center it using 2x4 blocks and secure with screws (Image 2).
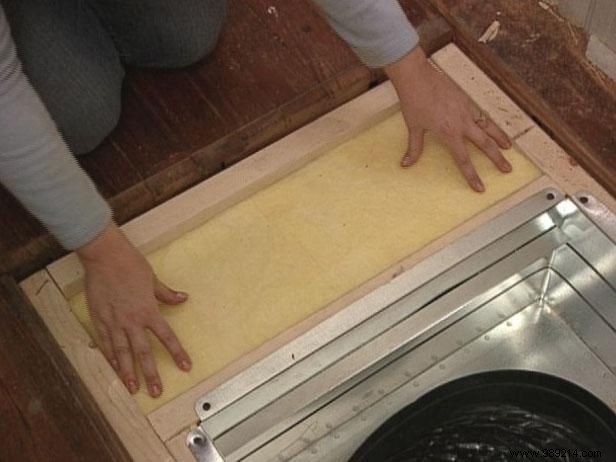
Fill spaces between the floor and frame with insulated duct board. Cut it to fit snugly on both sides (Image 1).
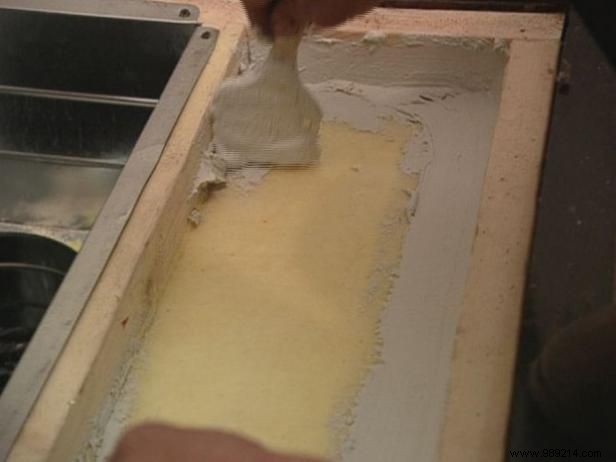
Apply adhesive mastic sealant around the vent, painting it on to ensure no air leaks (Image 2).