As a smart home enthusiast with years of hands-on experience installing Nest devices, I can confirm the Nest Learning Thermostat (3rd Generation, model T3007ES) is one of the best ways to control your home's temperature efficiently. Priced around $250 (often available for $180.50 on Amazon), it learns your habits to save energy while keeping you comfortable.
This comprehensive guide walks you through hardware and software setup, daily use, advanced features, and common fixes. We've helped thousands optimize their systems for lower bills—follow along to get yours running perfectly.
What's covered:
1. Setting up your Nest Learning Thermostat
Hardware installation | Software setup | Nest app
2. Using your Nest Learning Thermostat
Auto-learning | Energy savings | Eco mode | Home/Away | Disabling learning | Reset options
3. Advanced settings
IFTTT integration | Custom tweaks | Smart product additions
4. Troubleshooting
Power issues | Error codes | System crashes | Support
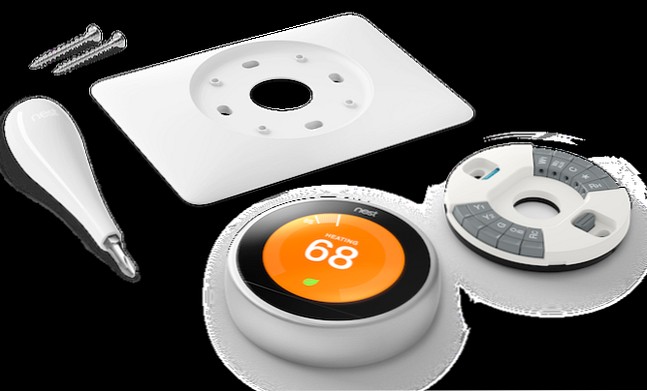
Nest designed the 3rd Gen model (3.3 x 1.21 x 3.3 inches) for straightforward DIY installation. It includes a stand, screws, screwdriver, optional trim plate, and guides.
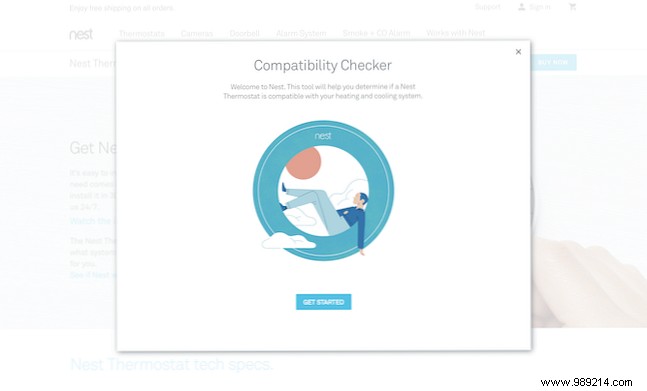
Start with Nest's online compatibility checker for a custom wiring diagram. Note: This guide is for the 3rd Gen.
Assuming you're replacing an existing thermostat: Turn off power at all HVAC breakers/switches. Wait 5 minutes, then adjust your old thermostat to confirm no response.

Remove old thermostat: Snap off the cover, photo your wiring, and label wires using Nest's included tags. Note: Nest doesn't need jumpers—store them safely.
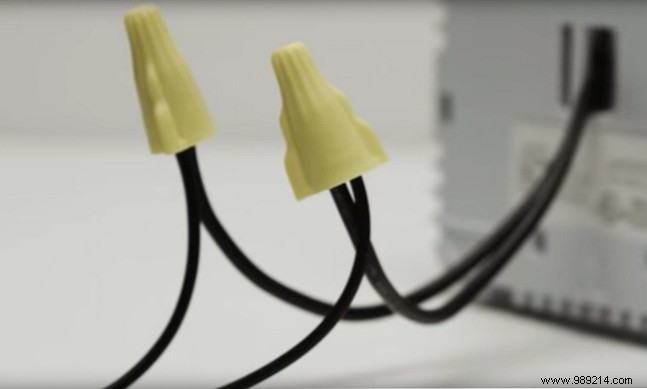
Disconnect wires, remove the base, wrap wires to prevent loss, and patch wall holes (trim plate helps hide marks).
Install Nest base: Level it, attach (with trim plate if using), thread wires through, and secure with screws (hand-tighten; no drill).
Connect wires per your diagram: Press button, insert fully, release. Tug gently to check. Snap display onto base (Nest logo up) until it clicks, then restore power.
Answer on-screen prompts via the ring: Rotate to navigate, press to select. Cover home details, Wi-Fi, location, equipment (match wiring), and mode (heat/cool).
Supported languages: English (US/UK), Spanish, French (CA/FR), Dutch, Italian.
The thermostat runs a system test, then join it to your Nest account via iOS/Android app for remote control, energy history, and scheduling.
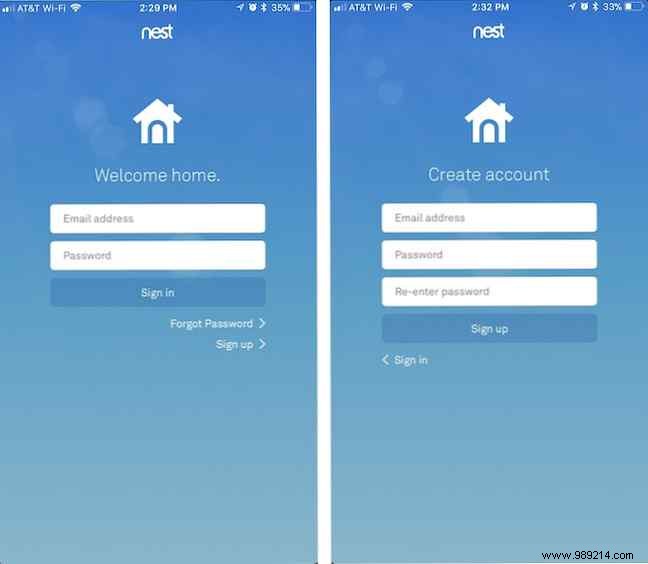
Create account: Tap "Sign up," enter email/password, verify via email.
Get entry key: Quick View > Settings > Nest Account > Get Entry Key. Note the 7-digit code.
In app:
Your thermostat is ready.
Once online, it runs autonomously, learning your schedule for optimal comfort and savings. It works like a standard thermostat too—rotate ring to adjust.
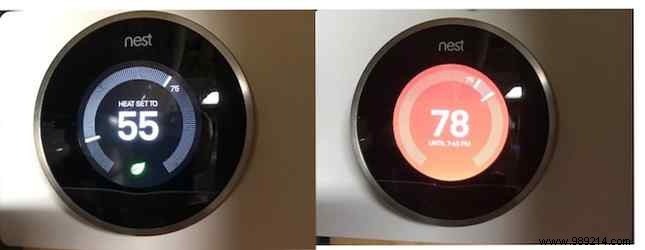
Status colors: Orange (heating), blue (cooling), black (idle).
First week: Adjust actively; it builds your schedule. View/edit in app/thermostat. Reset or manual schedule anytime.
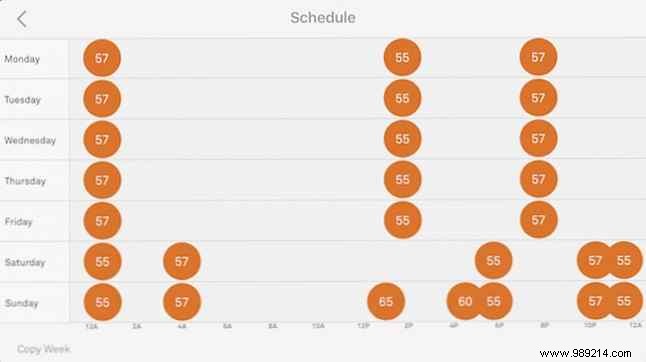
Lower when away/asleep, raise on return/wake. Nest optimizes post-learning.
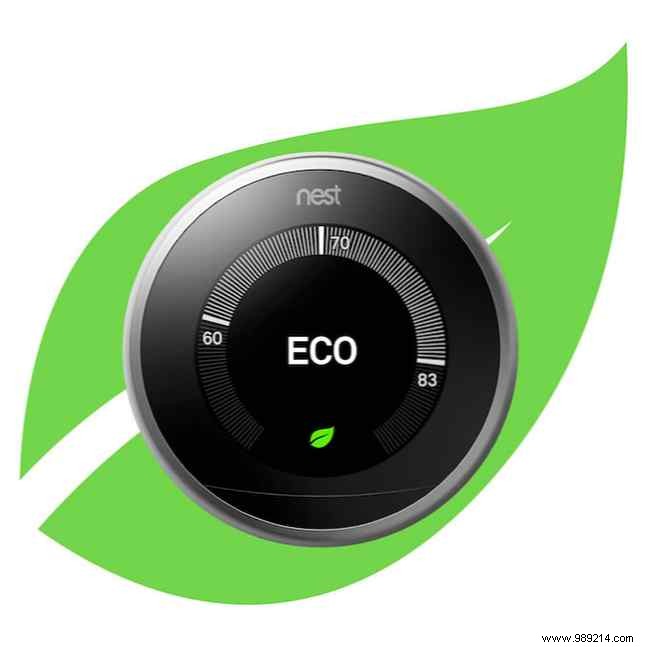
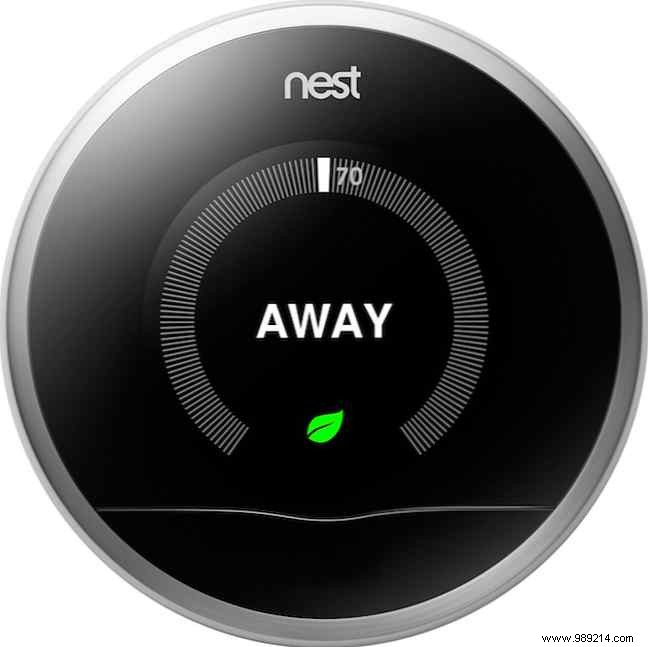
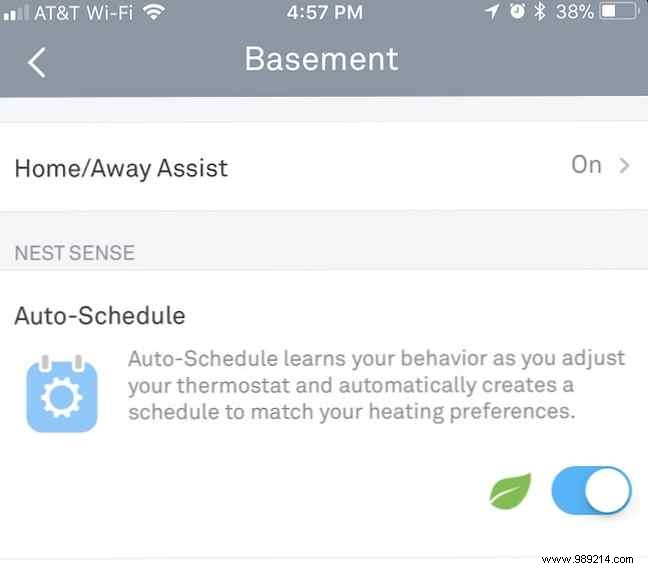
Activates eco temps when away, shown by green leaf icon.
Uses motion sensors and phone location (app on all devices). Learns routines, pre-adjusts temps.
On device: Settings > Nest Sense > Auto-Schedule > Off.
App/Web: Similar path.
Quick View > Settings > Reset:
After setup, unlock more with integrations.
Connect via IFTTT for automations like temp boosts on motion or proximity.
Shift schedules 1-2°F for extra savings—track in monthly Home Report or 10-day energy history (app/web).
Integrates with Nest cameras/alarms, Google Home, Alexa, Wemo, etc., for whole-home automation.
Won't power on? Check breakers. Blinking red: Charging battery. Green: Updating. Screen blank? Reseat display.
Restart, check settings/password. Thermostat works offline but loses remote features.
"E" (critical, e.g., wiring), "N" (minor). Check Nest support site for specifics.
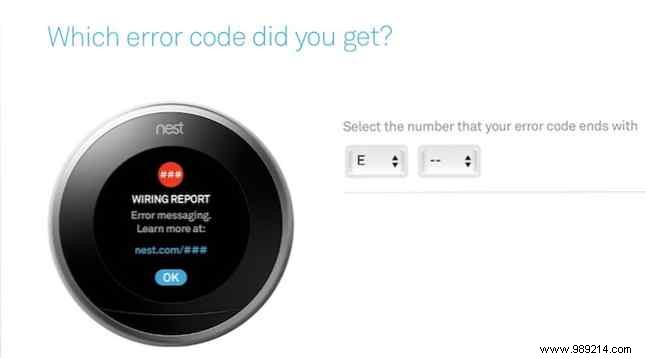
Nest emails alerts/solutions.
Visit support.nest.com for docs/videos, or contact via chat/phone/Twitter.
Millions save with Nest. Share your experience or issues below—we're here to help!