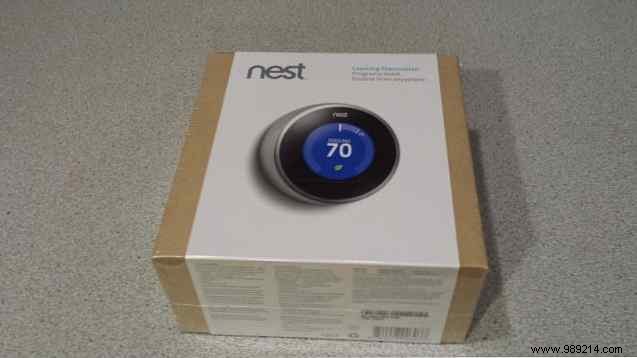
Thinking about dipping into home automation? A Nest Thermostat is the ideal starting point. As someone who's installed one myself, I can attest it's more than just a thermostat—it's a smart system that slashes energy bills while learning your habits. Despite the upfront cost over $200, it pays for itself quickly through real savings.
In a smart home, targeting high-energy areas like heating and cooling is key. The Nest excels here, optimizing your setup beyond basic temperature control.
We'll dive into advanced automations later, but first, see how straightforward installation is.
Before purchasing—for yourself or as a gift—remove your old thermostat and check the wiring labels. If it's complex, hire an HVAC pro. But for standard setups like this:
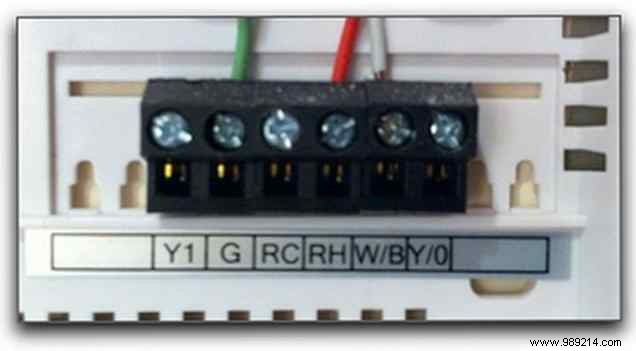
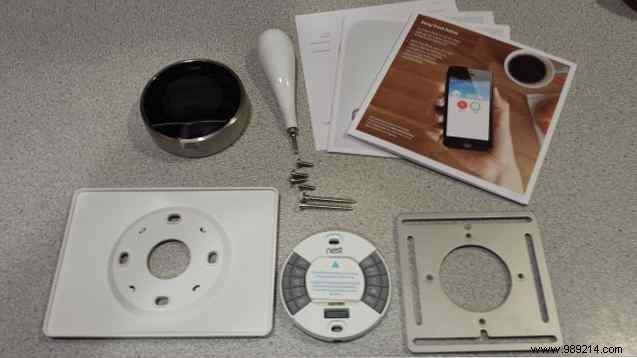
This typical three-wire system from most boilers works perfectly. The Nest arrives in a compact box with everything: wall plate, adapter (if needed), base, unit, screwdriver, screws, and clear instructions.
Start by shutting off power to your furnace at the breaker. I was hesitant at first, but with simple wiring (red and white for my hot water boiler), it was easy. Mount the base with provided screws—mine aligned perfectly with existing holes.

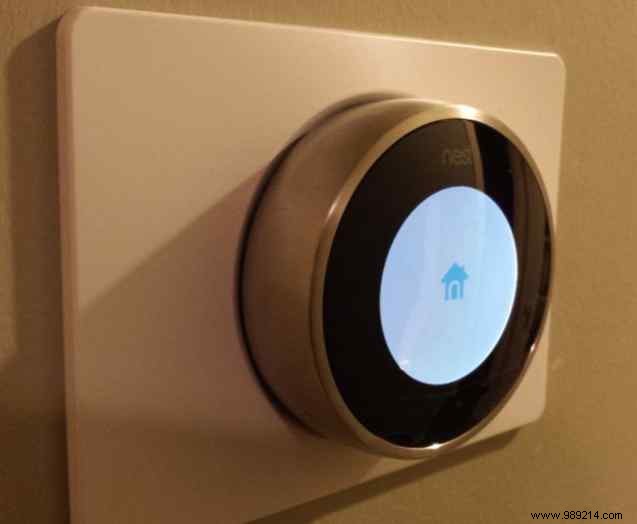
Use a cordless drill for new holes if needed. Match wires to labeled terminals (press buttons to insert). Snap the Nest onto the base, restore power, and it powers up with a house icon.
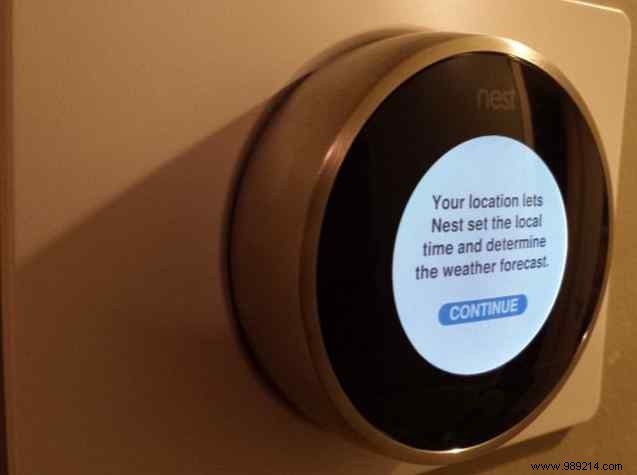
Rotate the ring to navigate and press the bottom to select. Connect to Wi-Fi, set your location:
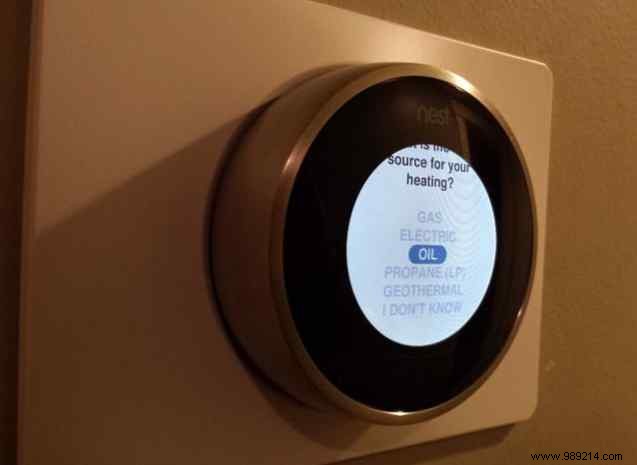
Specify fuel type (gas, electric, oil, propane, geothermal):
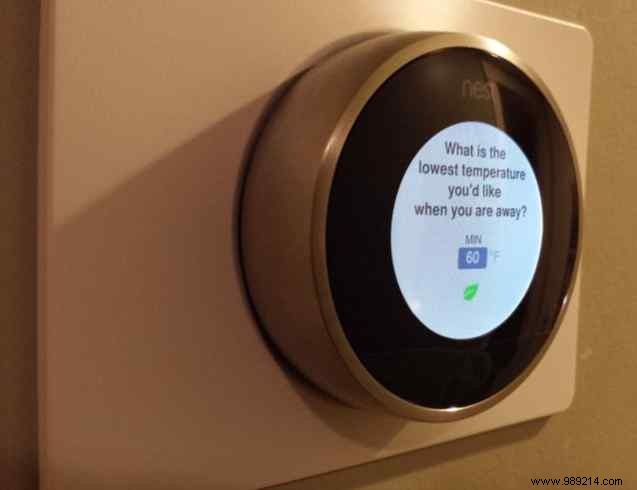
Set away-temperature:
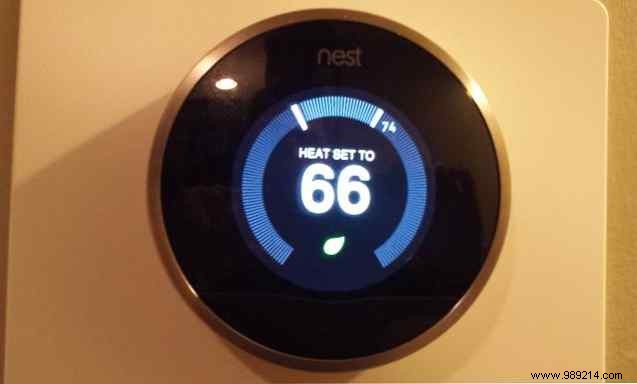
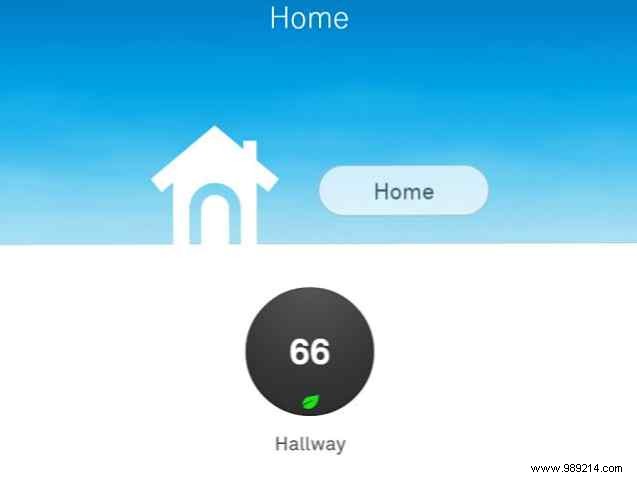
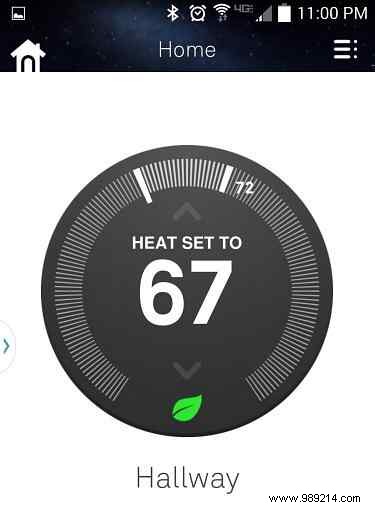
Main screen shows setpoint and current temp graph. Adjust via ring—blue highlights the difference.
Setup complete! Now unlock its full potential online.
After account setup, access your dashboard worldwide via Nest's site.
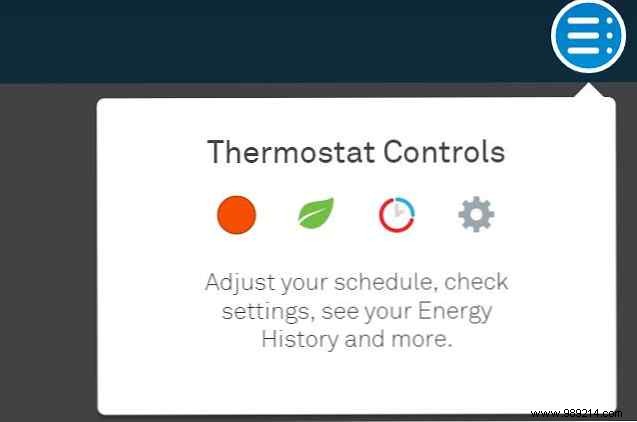
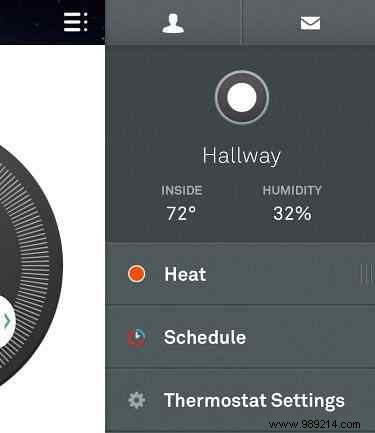
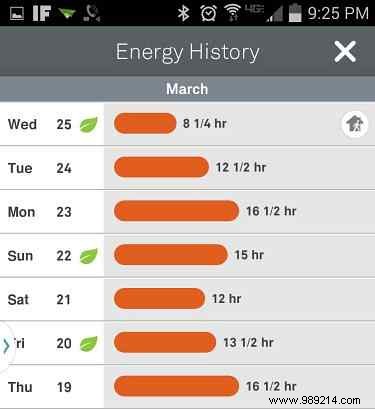
Click your device for controls matching the app: temp, humidity, schedules, energy history.
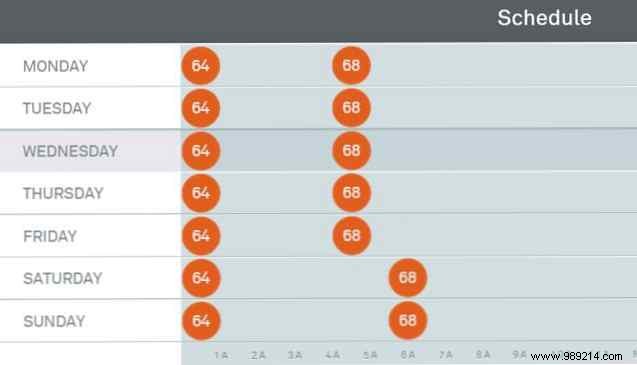
Schedules let you lower temps at night and ramp up pre-wakeup—set via web or app.
Available on Google Play and App Store. Check and adjust home temp remotely—it's game-changing.
Track energy use to verify savings; I cut usage by nearly half during away periods.
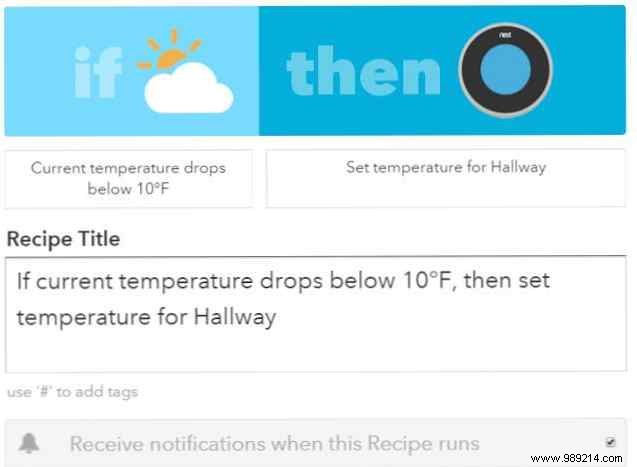
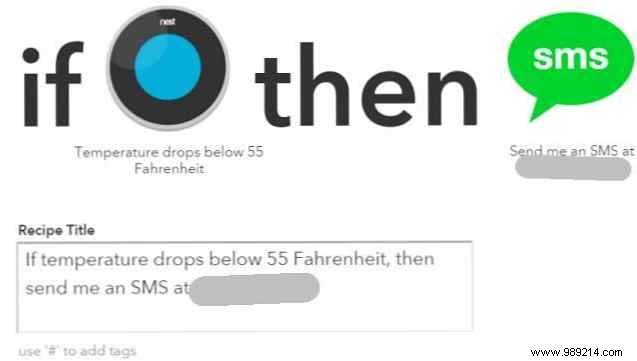
Beyond schedules and auto-away, integrate with IFTTT for triggers like raising heat below 10°F:
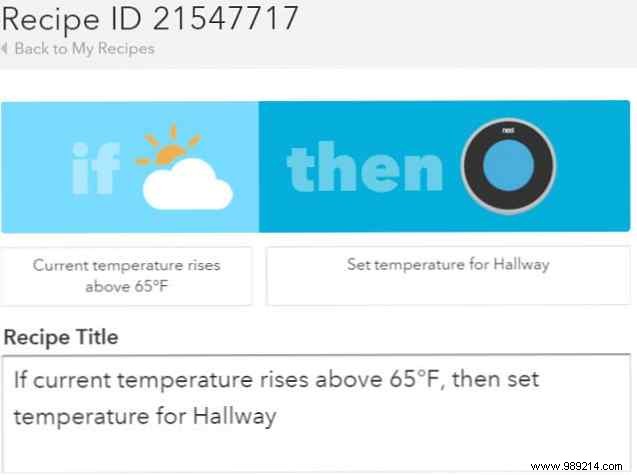
Or lower in spring warmth:
Use home temp for alerts or chain to other devices.

In one week, my household halved energy use—the Nest pays off fast.
Own a Nest? Share your experience or questions below!