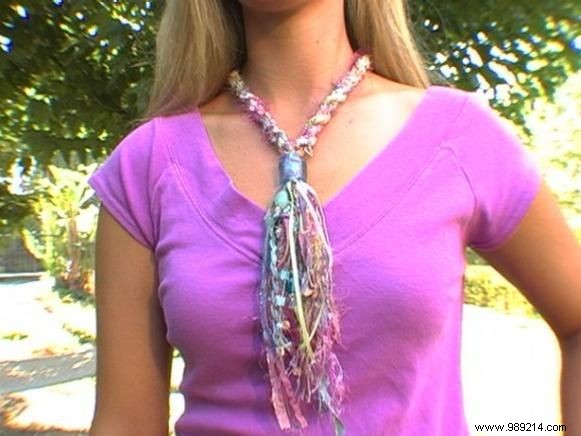
DIY Twisted Fiber and Bead Necklace: Step-by-Step Tutorial from an Experienced Crafter
Materials and Tools
- Various yarns (we used Amerah #275 [Oh Girl], Melody #516 [Vixen], Shimmer #405 [Copper], Phoenix 100% Silk Soy #506 [I-Candy], and Fur Real [Circus Pony], all from Southwest Trading Company)
- Glass bead with a large hole
- Small hook that fits through the bead hole
- Variety of beads, bells, shells, charms, etc. (for decorations)
- Scissors
- Pencil
Step-by-Step Instructions
- Cut 8 pieces of yarn into 4-yard lengths.
- Gather all the yarns together, aligning equal lengths at both ends.
- Locate the center point and fold the yarns in half, forming a doubled loop.
- Twist the yarns together: Insert a pencil into the loop at the folded end and secure the loose ends.
- Rotate the pencil clockwise between your fingers until the strands are tightly twisted.
- Hold the center loop and let both ends coil around each other, creating a thicker cord. Remove the pencil.
- Split the loose ends in half, pass them through the loop end, and tie the two halves tightly together. The necklace base is now complete.
- To add the focal bead, slip the hook through its hole and pull all loose ends through.
- Cut 20 or more 10-inch pieces of various fibers for the tassel.
- For the tasseled end, bundle the strands and fold at the center. Use 2 loose strands from the main bundle to tie tightly around the center several times. Repeat with 2 more strands, passing through the bead.
- Choose a middle strand on the tassel for focal embellishments. String beads, charms, shells, and decorations along various strands, securing with knots below.