Before ripping down your old wallpaper and diving into your new panoramic design, master the proven techniques for installing panoramic wallpaper. As experts at Scenolia, we've perfected these methods through years of real-world installations. Here are our trusted tips.
Scenolia shares practical solutions for flawless panoramic wallpaper installation, whether in rolls or one-piece panels. This timeless trend is ideal for living rooms, bedrooms, or kitchens. Browse our hundreds of stunning designs at Scenolia to find the perfect fit.
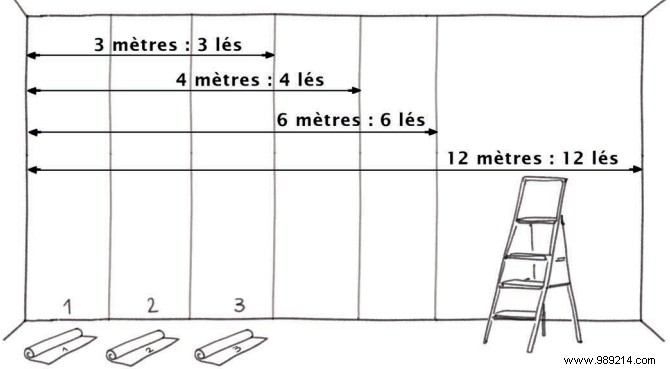
These expert tips apply to both roll wallpapers and one-piece panoramic murals in 3m, 4m, 6m, or 12m heights.
Gather your tools first for a smooth process. Essentials include:
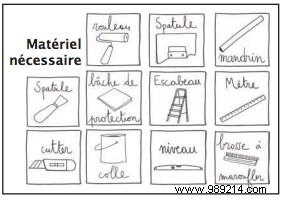
Scenolia provides all necessary accessories for worry-free installation.
Put on your work clothes—let's begin!
If your wall is already in good shape, skip ahead. We followed these steps in our own office installations—check out our office decor inspiration.
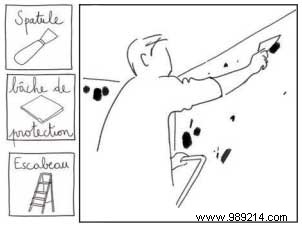
Protect your floors with a large plastic sheet or drop cloth.
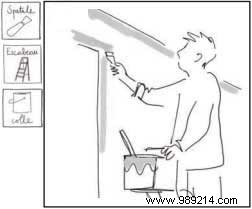
Revive your walls: Fill holes with patching compound from your local hardware store (ask staff for the right product). Use a spatula to scrape old wallpaper residue and a stepladder for high spots. For pro results, sand the surface smooth.
Pro Tip: Remove outlet and switch covers beforehand for easier application.
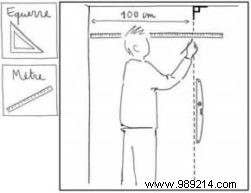
For panoramic roll wallpaper, measure wall width and calculate strips needed (each Scenolia strip is 100cm wide, numbered sequentially).
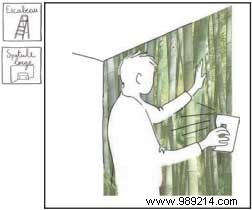
Start at one wall end, mark a vertical plumb line with a level or plumb bob for straight alignment.
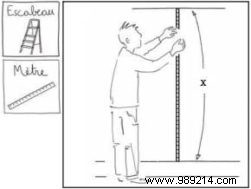
Pro Tip: Your first strip sets the pattern—align perfectly to avoid offsetting the panorama.
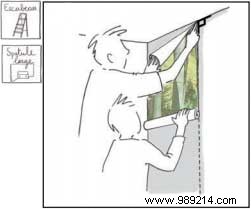
For one-piece panoramic wallpaper, measure wall height and width. Unroll from the mandrel, trim top or bottom to fit, then cut the mandrel to match using a utility knife or small saw. Reroll tightly.
Pro Tip: Align with ceiling height and left wall edge for a straight, immersive view.
Non-woven wallpaper with wall-pasting is simple, stain-free, and beginner-friendly—our go-to method.
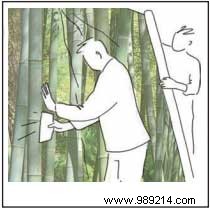
Pre-pasting is key for rolls and one-piece alike. Use a fine brush for doors, corners, and baseboards—cover meticulously.
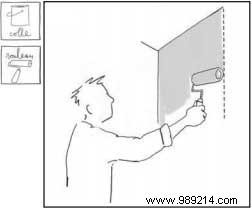
Then roll glue over the main area. For strips, extend 10-20cm beyond the 100cm width. For one-piece, cover one-third of the width initially.
Pro Tip: Apply generously—wipe excess with a damp sponge.
With glue ready, position Strip #1 from the top-left corner, aligning with your plumb line. Continue sequentially.

Pro Tip: Precision here ensures a professional finish. Watch our roll wallpaper installation video.
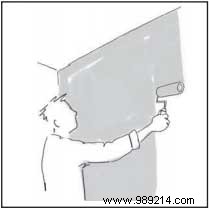
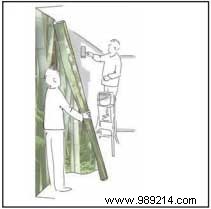
For one-piece, work in tandem: One positions the top, the other tensions the mandrel. Smooth in thirds with a brush to eliminate bubbles.
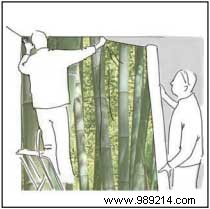
Pro Tip: Clean all excess glue promptly. See our one-piece installation video.
Smooth rolls to remove bubbles and excess glue. Wipe seams with a damp sponge; adjust while wet.
For both types, trim excess with a fresh cutter blade or spatula for clean edges—no creases.
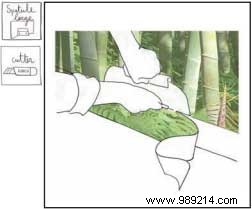
Pro Tip: Always use a new blade for sharp, pro results.
That's our complete guide! Share your Scenolia installs in our #Showroom for a chance to be featured and get a €10 voucher on your next order.
Happy decorating!