As summer approaches, transform your garden into the ultimate outdoor entertaining space with a custom barbecue setup. Enjoy endless evenings of grilled feasts and gatherings with friends. With years of hands-on DIY experience, here's a proven step-by-step guide to creating your own reliable barbecue area.
 Before construction, carefully select the location. Position it away from neighbors to minimize smoke nuisance and protect guests. Consider wind direction, rain exposure, and proximity to trees or overhanging vegetation for safety and hygiene.
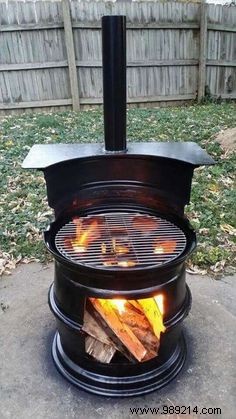
For a cost-effective Weber-style build, repurpose an old metal barrel with basic tools. Use sturdy gate posts as legs for stability. Reinforce the base with a plywood board if needed, and secure pipes with bolts.
Cut the barrel to form the body and attach a hinged lid using stainless steel hooks. Drill ventilation holes near the top. Install a thermometer for precise temperature control, and finish with high-temperature-resistant paint for durability.
Soon, you'll savor the aroma of sizzling prawns and skewers right in your garden.
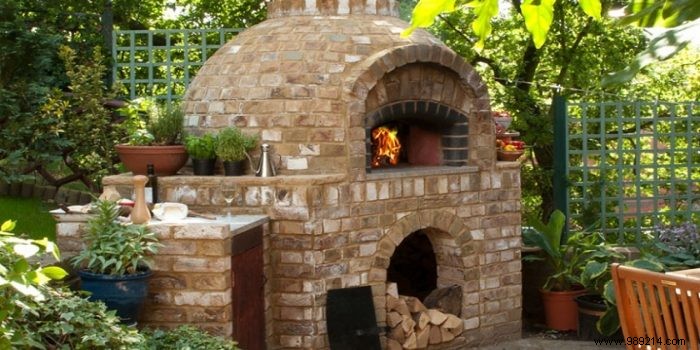
 Firebricks excel at heat retention, making them ideal for permanent structures. Start by measuring based on your grill grate size. Calculate dimensions for height, width, and depth to determine brick quantity accurately.
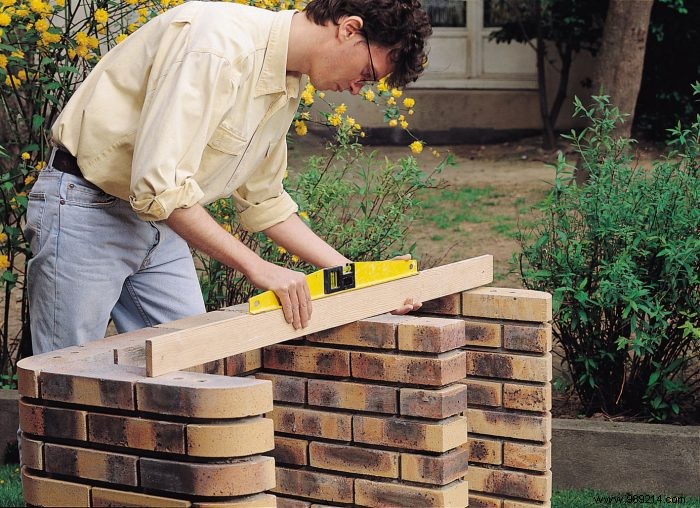
Ensure a level, stable foundation to prevent accidents. Pour a cement base if the ground is uneven.
Lay the first row in mortar, then stack subsequent rows in a U-shape, staggering vertical seams for strength. For custom shapes, cut bricks with a mallet, chisel, or grinder.
 Mortar all joints securely, then construct the worktable and grate supports.
Check local regulations with your municipality—some barbecues may require permits or declarations. Keep at least 3 meters from homes, wooden structures, or plants.
 Opt for fire-resistant materials like concrete and refractory bricks. Preheat on first use. Supervise children closely, especially during ignition, to avoid burns.