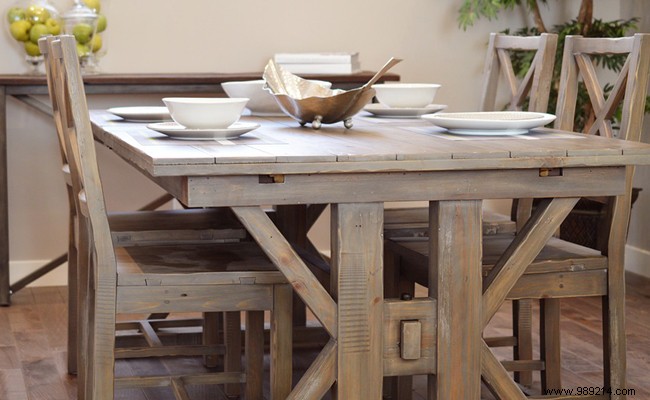
Ready to refresh your wooden furniture with a timeless, elegant look? Whitewashing is a proven technique that highlights the wood's natural beauty, creating a bright, chic finish. Follow these expert steps for professional results.
Wood's natural grain and veins vary by species—hardwoods like ash and oak, with their open pores and harmonious patterns, are perfect candidates. Softwoods work too, but first open their pores for best results.
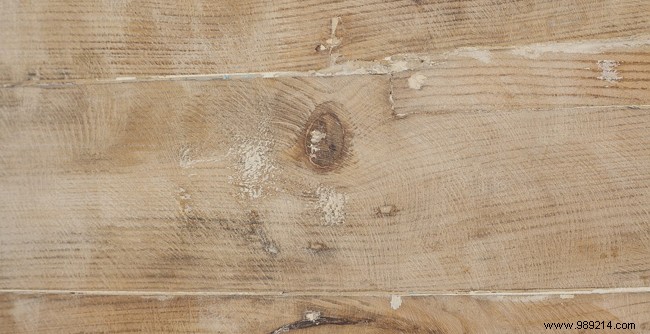
The goal of whitewashing is to accentuate these veins: open the pores, then fill them with white paste. This method suits furniture, joinery, paneling, frames, and more.
Originating in 16th-century Europe, it once used slaked lime or toxic lead white for protection—now banned. Today's whitewash is safe, made from natural pigments and wax.
For success, start with a clean surface. On waxed furniture, strip the wax, sand thoroughly, dust off, and wipe with a damp cloth.
For varnished or stained pieces, sand progressively: coarse grit first, then fine. Dust and clean well.
Whitewash raw wood or prime with light water-based wood paint to subtly enhance grain without hiding it. Apply with a lint-free cloth, let dry, then lightly sand.
Use a dedicated grain-opening brush to gently expose the pores. Vacuum dust and wipe lightly with a damp sponge. Apply whitewash paste sparingly with a lint-free cloth, using circular motions—focus on moldings, doors, edges, and facades. Wipe excess immediately. Allow two full days to dry.
Finish with light sanding using steel wool in circular motions for smoothness. Dust off, then protect with hard wax or clear wax. Buff to a lustrous shine.