As a professional furniture restorer with decades of experience working on heirloom pieces, I always start by thoroughly cleaning the furniture with TSP (trisodium phosphate) to remove grease and grime. Then, sand with 150-grit sandpaper to ensure the new finish adheres properly to the wood. Wipe away dust using a tack cloth or damp rag for a smooth base.
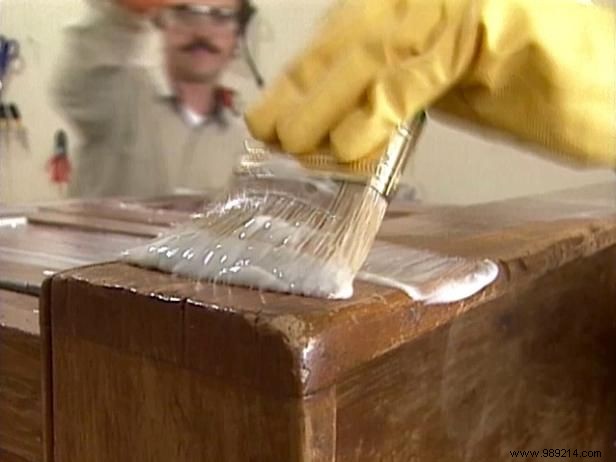
Using a paintbrush, apply a thick layer of stripping agent in one direction, following the manufacturer's instructions. Let it sit for the recommended time. Test with a spatula or nylon pad—if the paint or varnish doesn't lift easily, apply a second coat and wait again. This method, honed over years of antique restorations, minimizes damage to the underlying wood.
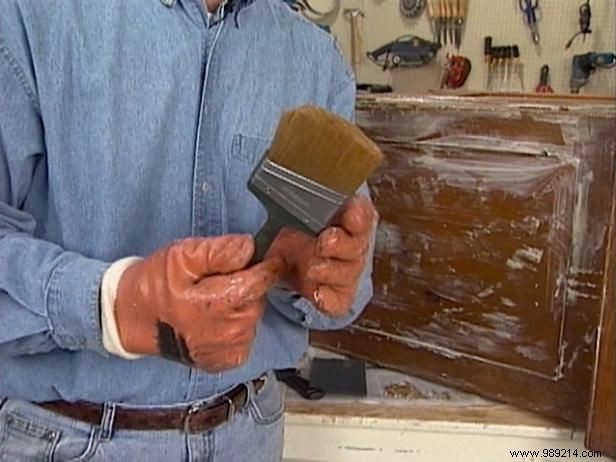
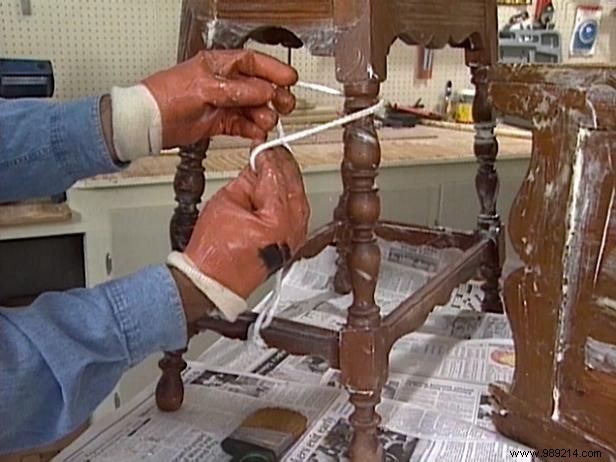
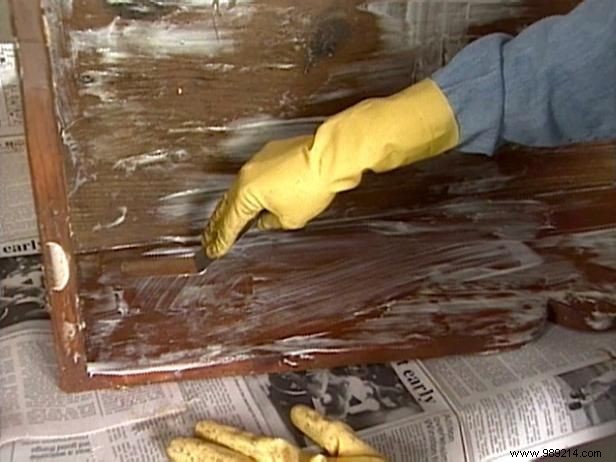
Scrape off softened finish and residue with a putty knife or stripping pad. For intricate details, use a stiff, old paintbrush—dry first for stiffness, then dampen to loosen remnants. On spindles, wrap cotton string around them to pull away residue. Finish with a damp rag: water for latex-based strippers, mineral spirits for solvent-based. Allow complete drying before staining.
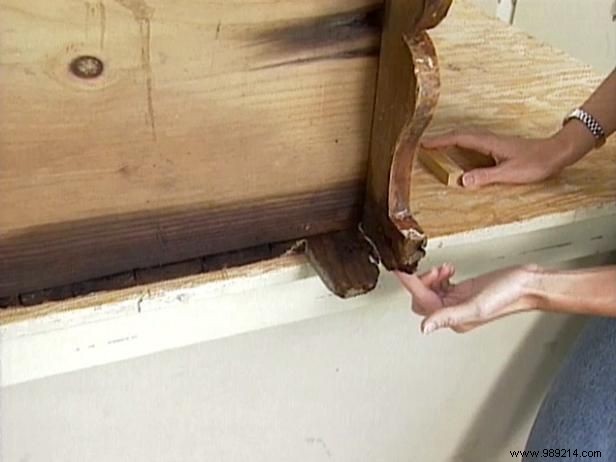
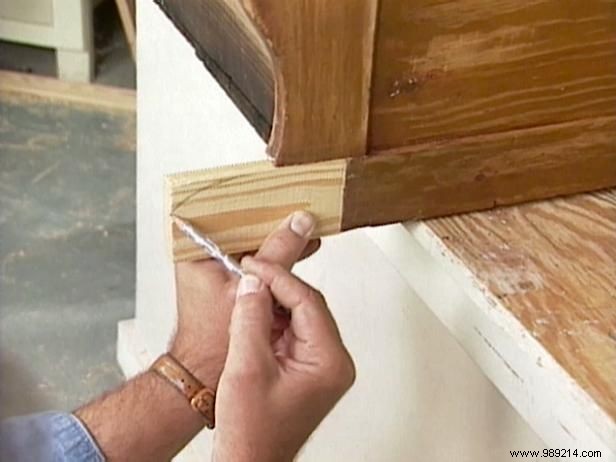
Minimal repairs preserve the antique's authenticity and value. Match rotten wood patterns using the opposite side as a template before cutting replacements. Source period-appropriate knobs and hinges for drawers or doors. Secure with glue and a pneumatic nailer—or hammer and nails carefully to avoid splits.
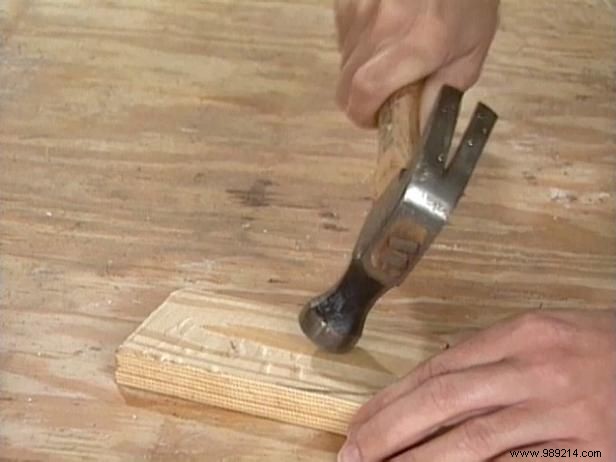
To blend repairs seamlessly, distress new wood with a hammer for authentic wear—create dents and bumps along edges and surfaces. Alternatively, roll a rock over it for natural patina, a technique trusted by restoration experts.
Match the original patina by layering stains: start dark, add light (like antique white), overlay dark again, and blend with a shading pencil. Mix stain into wood filler before patching nail holes, as some fillers resist staining post-drying.

Position repaired pieces securely with screws and wood glue if they bear weight, ensuring structural integrity without compromising aesthetics.
Smooth the whole piece by sanding with the grain, using even pressure. Remove excess filler and stripping damage. Wipe dust with a damp cloth for a flawless finish.
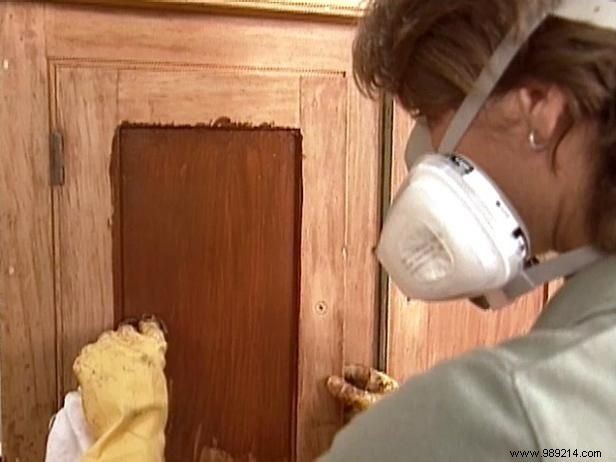
In good light, apply final stain with a lint-free cloth, wiping excess immediately for even absorption and a professional sheen.