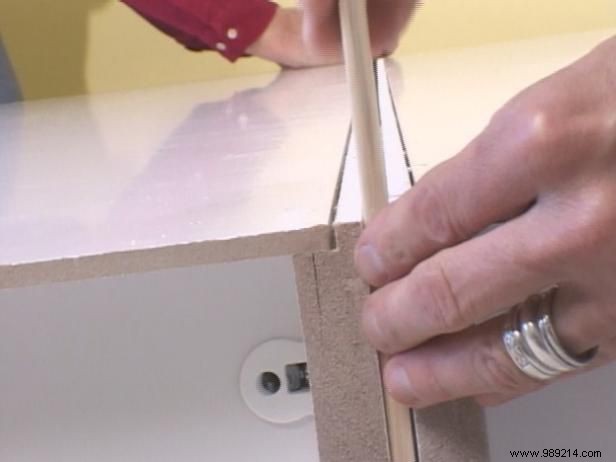
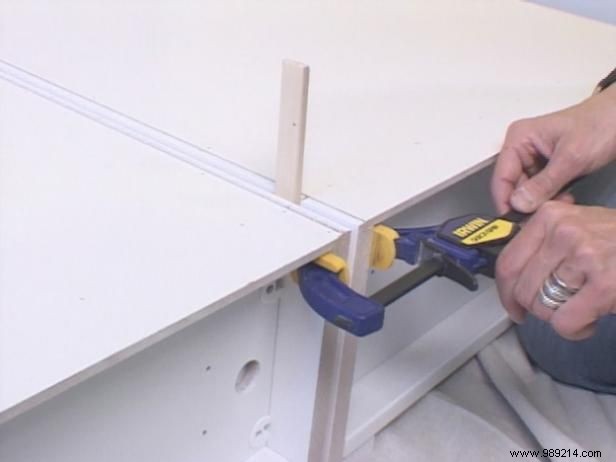
To ensure the hinges fit perfectly, maintain precise spacing between the bookcases using the quarter-inch spacers included with most kits (image 1). Clamp the units together securely (image 2) and check that the tops are perfectly level before locking them in position.
Accurate hinge placement is key to keeping shelves aligned. Start by loosely installing screws at the top, bottom, and center positions for stability.
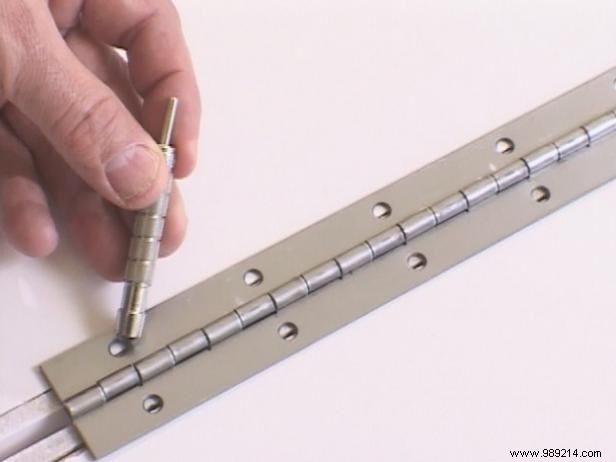
Use a hole-centering bit to pre-drill the first screw hole at the top of the hinge, then drill the remaining holes. Avoid fully tightening screws until both hinges are attached.
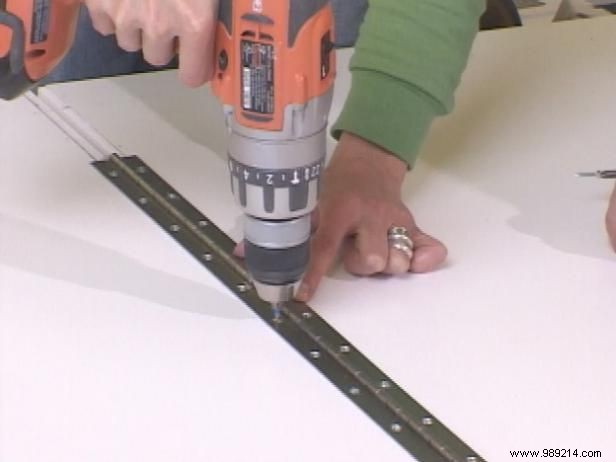
Fully tighten all screws into the hinges, double-checking that everything remains perfectly straight and aligned.
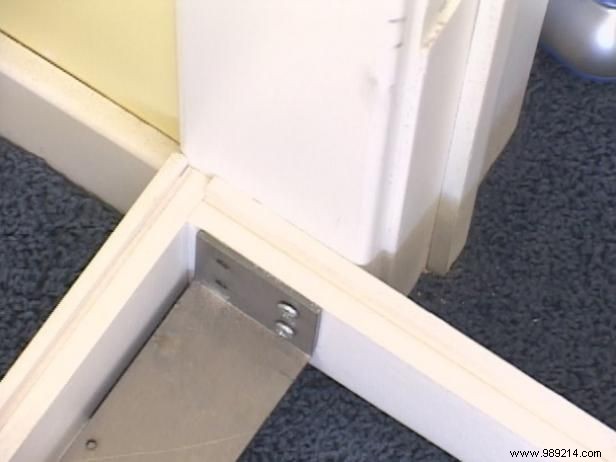
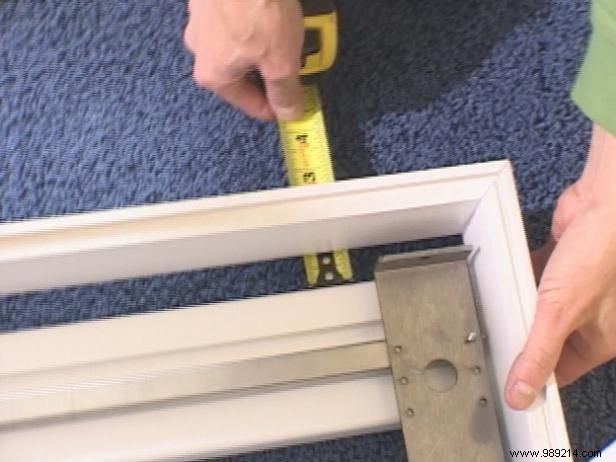
For mounting the bookcase door brackets, align the pivot points of the sill and valence precisely. Ensure the door edge is flush with the trim (image 1), and position the valence and sill evenly spaced at both ends (image 2).
Mark the threshold with tape, then shift the valence over by 5/8 inch to allow for trimming and secure it in place.
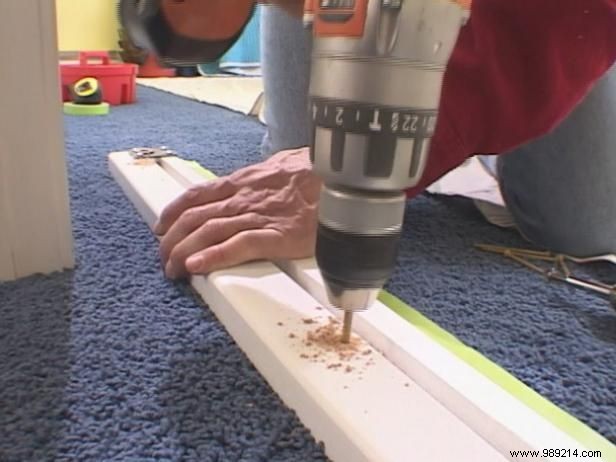
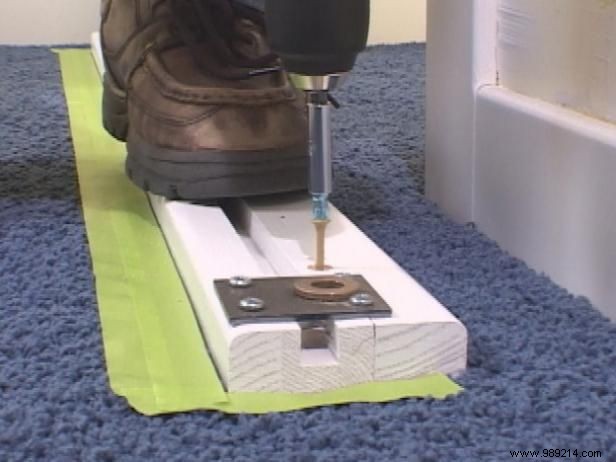
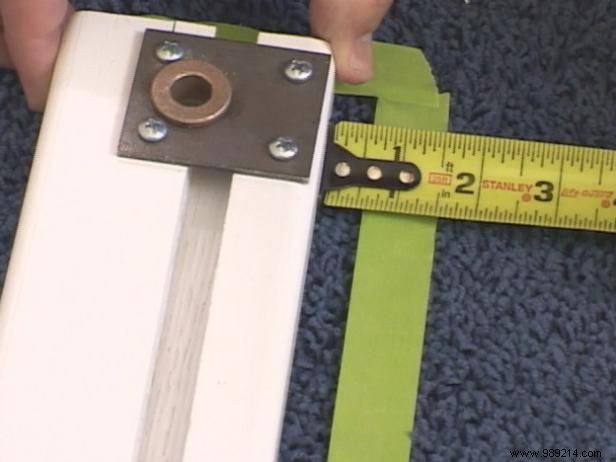
Drill pilot holes in the sill (image 1), then secure it directly to the subfloor using 3-inch deck screws (image 2).