With years of hands-on home renovation experience, I've found that custom wainscoting dramatically elevates a room's style. Burlap delivers an authentic earthy texture at a fraction of the cost of traditional wallpaper or millwork—budget-friendly elegance done right.
Adrian Henson
Choose whether to cover all four walls or accent one. Rolled burlap works best in manageable panels, with seams hidden by trim. Divide wall lengths evenly—for a 12-foot wall using 3-foot-wide panels, plan four 3x3-foot sections. Total the wall lengths, add 15% for waste, and convert to yards (divide by 3 feet per yard) when ordering online.
Adrian Henson
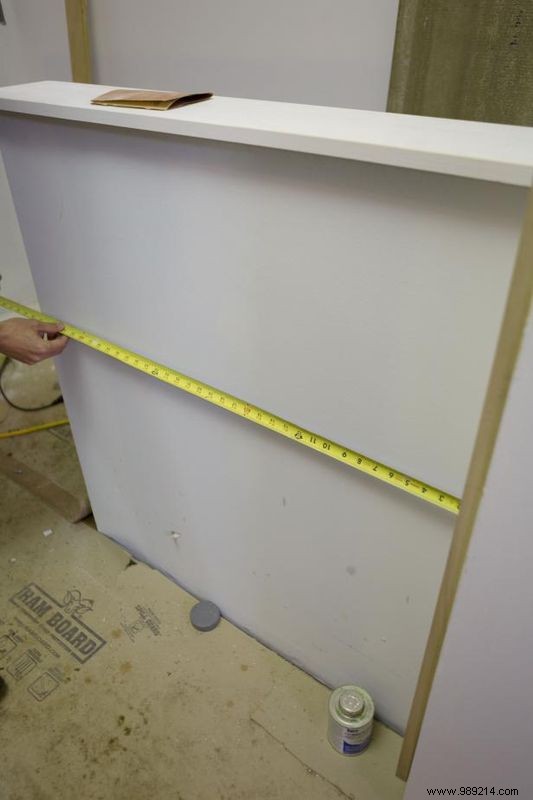
For partial-height wainscoting, install a top trim piece to transition to the upper wall paint. Without a chair rail, add horizontal trim over the burlap edge. Remove base trim for reinstallation over burlap; here, simple 1x trim was painted. Mark burlap height (minus trim overlap) from the floor using a 4-foot level. Shut off power, remove outlet plates, and cut burlap into panels.

Adrian Henson
Paint walls flat to prevent color bleed through burlap weave; allow full drying. Test adhesive amount—enough to secure without oozing through. Apply to one section at a time for best results.
Adrian Henson
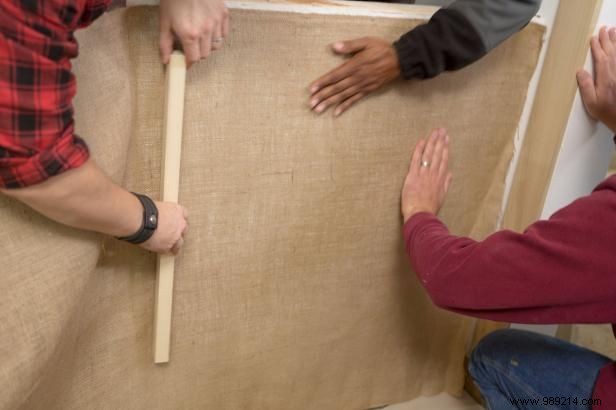
Start at an inside corner, staple first vertical edge (hidden later by trim). With a helper, pull taut without distorting weave, then smooth onto adhesive using a flat tool. Keep gentle, consistent tension.
Adrian Henson
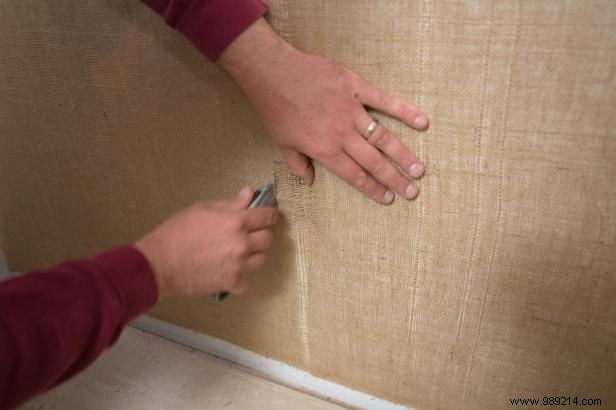
Cut burlap above outlet boxes with a utility knife; trim plates will cover edges upon reinstallation.

Adrian Henson
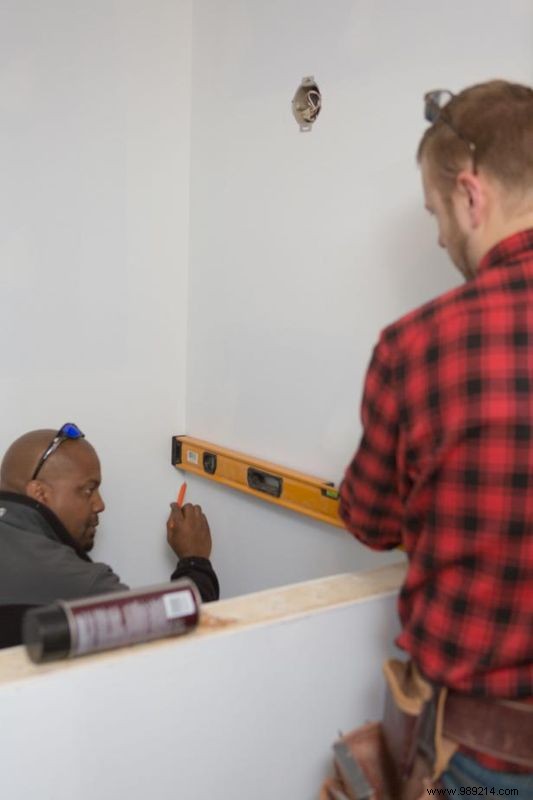
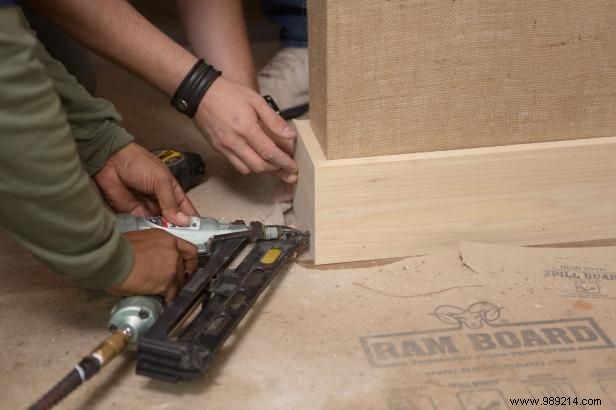
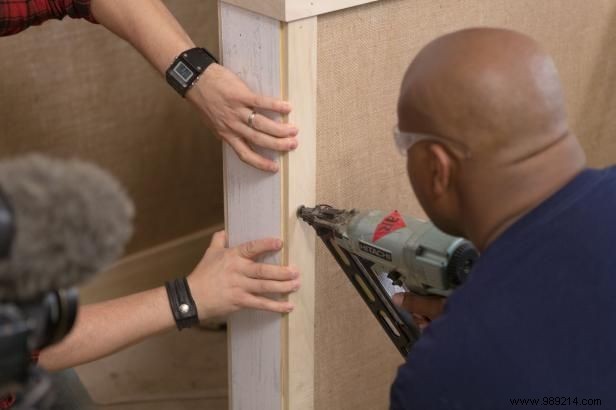
Mark level line for trim top, overlapping burlap by at least 1 inch. Nail into studs with 15-gauge finish nails.
Adrian Henson
Over carpet, reinstall base molding directly. On hard floors, add shoe molding for subfloor irregularities—check with 4-foot level. Secure with 15-gauge nails into studs.
Adrian Henson
Measure each precisely, as uneven floors affect top spacing. Use narrow-crown staples and construction adhesive if not hitting studs. Caulk joints (avoid burlap), prime, and paint trim beforehand. Reinstall outlet plates and finish with paint or stain.