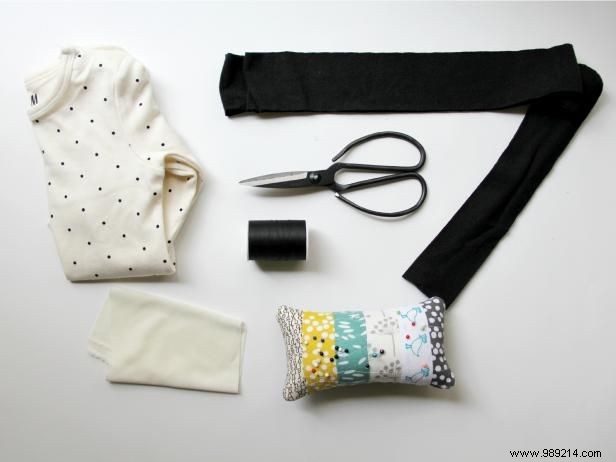
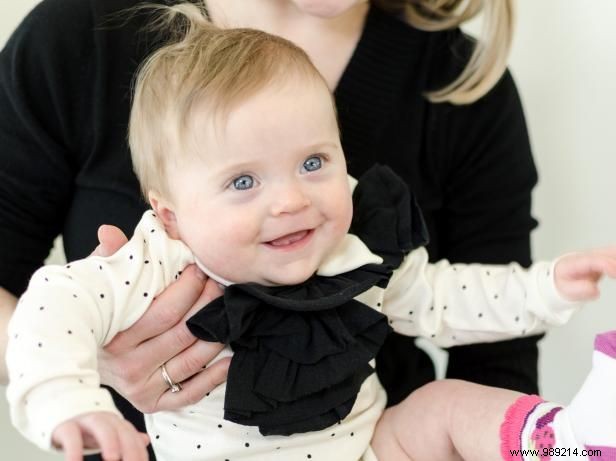
A ruffled onesie creates stunning baby photos and cozy dress-up outfits while keeping little ones comfortable. This straightforward project takes about an hour and is perfect for a handmade baby shower gift.
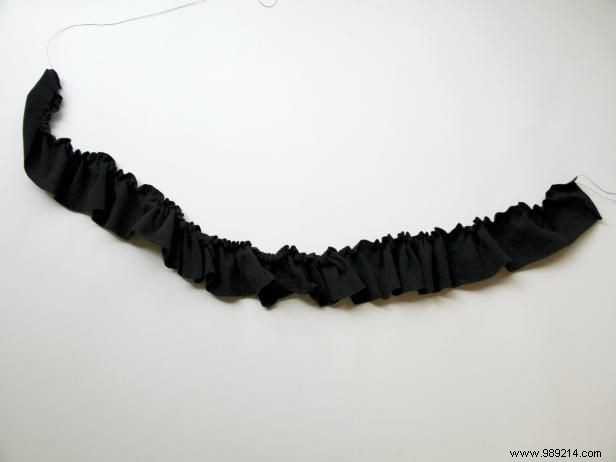
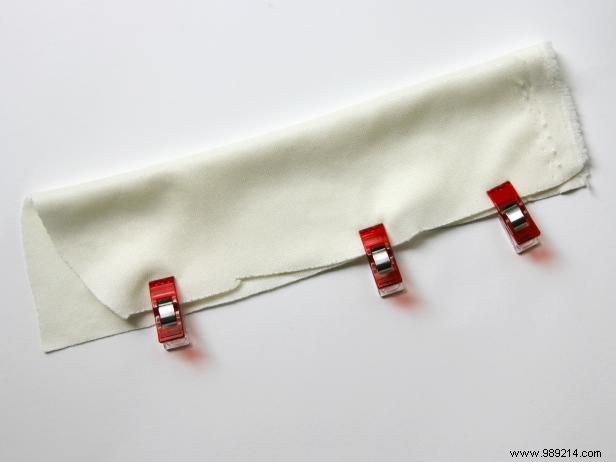
Sew a gathering stitch along the top edge of the 2-inch woven fabric strip. Set your sewing machine to the longest stitch length (usually 5) and sew a basting stitch around the top edge, leaving the ends open. Gently pull the bobbin threads from both sides to draw the fabric together in the middle.
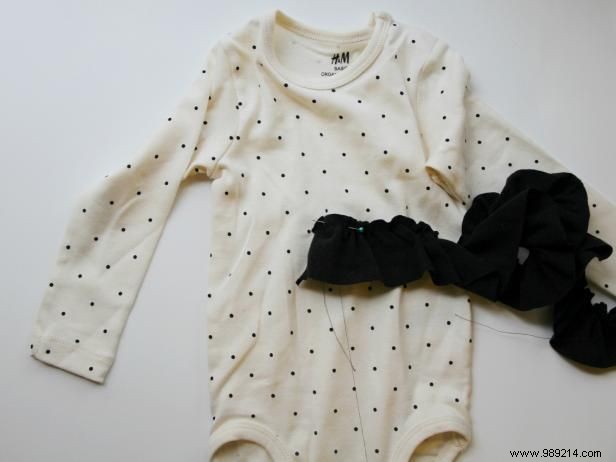
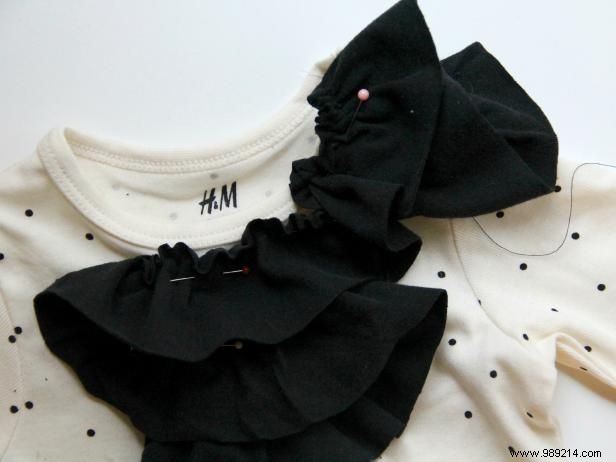
Place one end of the ruffle at the center front of the onesie's neckline. Pin carefully to catch only the front layer, avoiding the back.
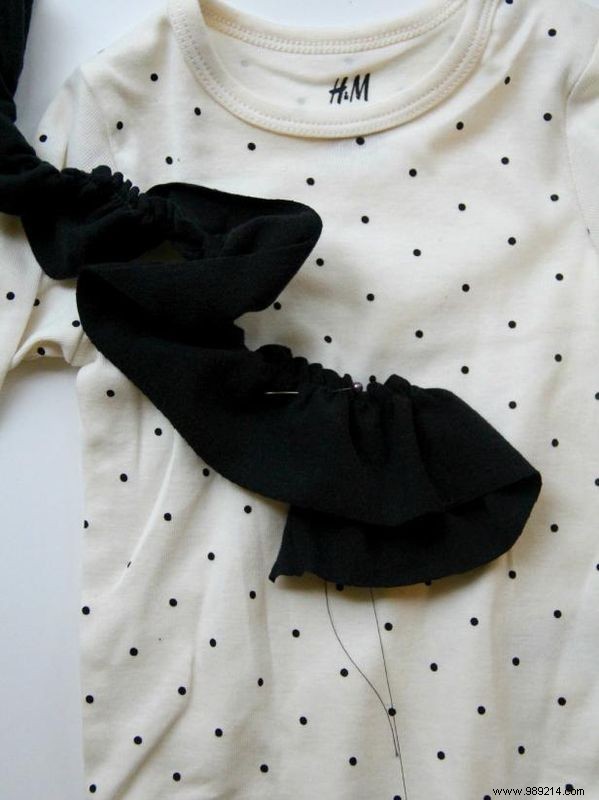
Fold the ruffle over itself at an angle to overlap layers. Position the bottom edge of the next ruffle over the top edge of the previous one and pin. Repeat, gradually increasing ruffle size as you work up the neckline.
With extra ruffle length, extend it over the shoulder. Pin along the neckline to the shoulder seam, then fold back, decreasing ruffle size toward the sleeve. Trim excess.
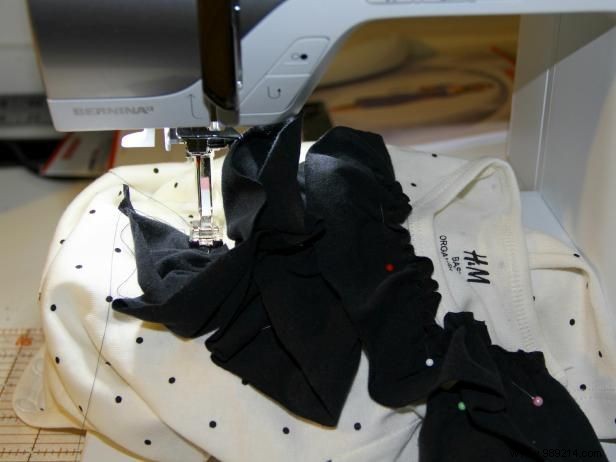
Match thread to the ruffle fabric and use a zigzag stitch along the gathered top edge of each layer. Sew only the front of the onesie. Start at the bottom smallest ruffle, lift upper layers aside, and continue, stopping and restarting at folds.
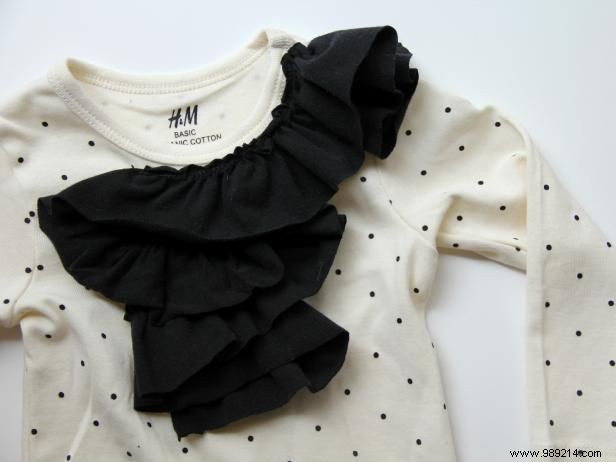
You're done with the ruffles—or add a bow for extra flair.
Cut a 2-inch piece from scrap fabric for the bow center; set aside. Fold the 8-inch piece in half right sides together, pin, and stitch the long edge. Turn right side out.
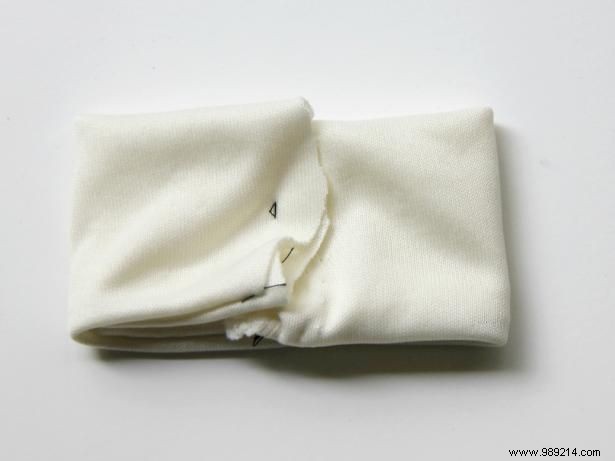
Bring tube ends together at the center and secure with several stitches. This creates the main bow.
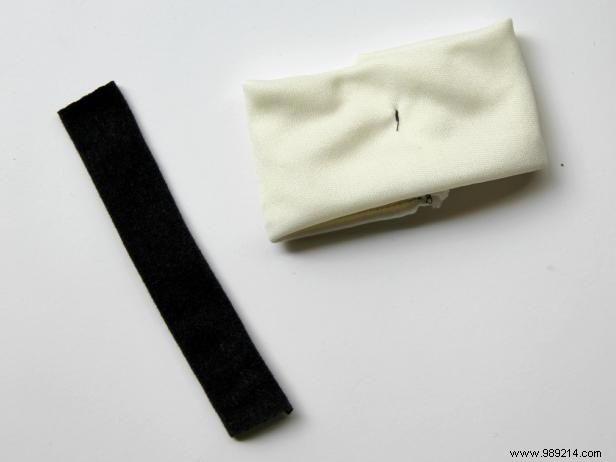
Fold the 2-inch strip in half lengthwise with raw edges together, or trim to 3/4-inch width.
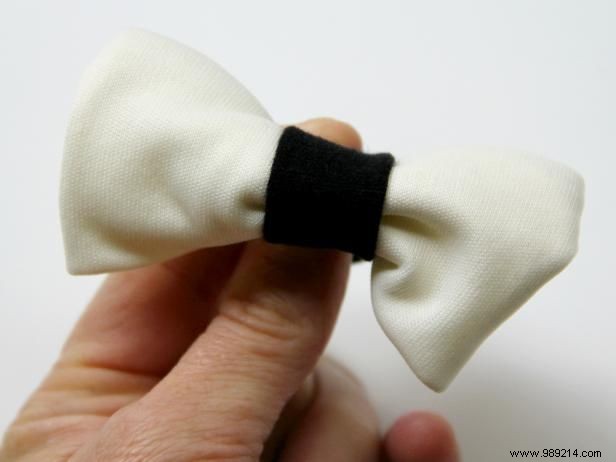
Wrap tightly around the bow middle. Pinch back ends together and sew secure. Trim excess to 1/2-inch seam.
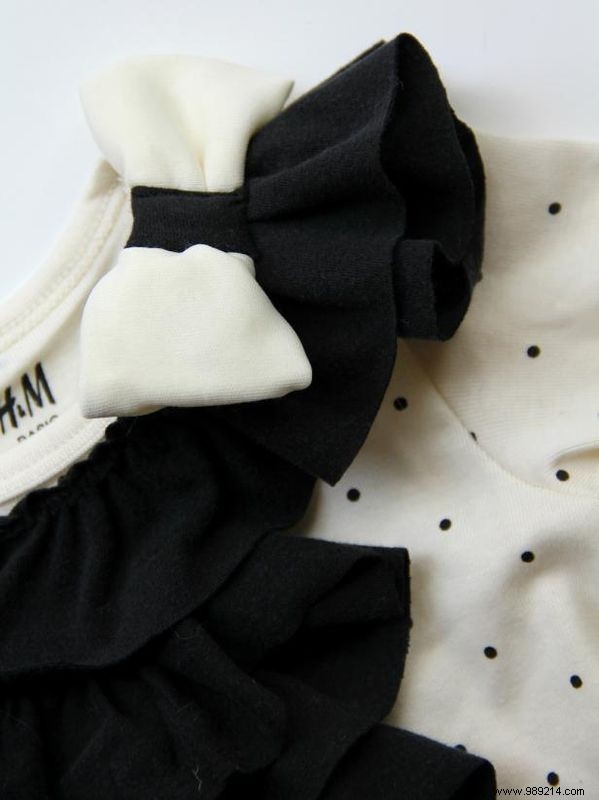
Stitch the bow on both sides of its center, over the onesie shoulder.
Jason Kisner, 2013, DIY Network / Scripps Networks, LLC. All rights reserved.
Baby clothes for the DIY network.
Embellish further with buttons, lace, or more as desired.