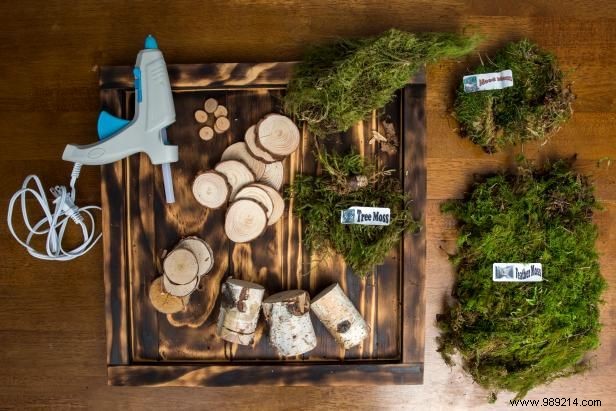
As an experienced crafter specializing in natural DIY projects, I recommend sourcing preserved moss, wood slices, and small wood logs from home and garden stores or online retailers. Sheet Moss is the most user-friendly choice, though Rock Cap and Cushion moss work beautifully too. Always select dried, preserved moss—it's maintenance-free and ideal for lasting artwork that doesn't require watering.
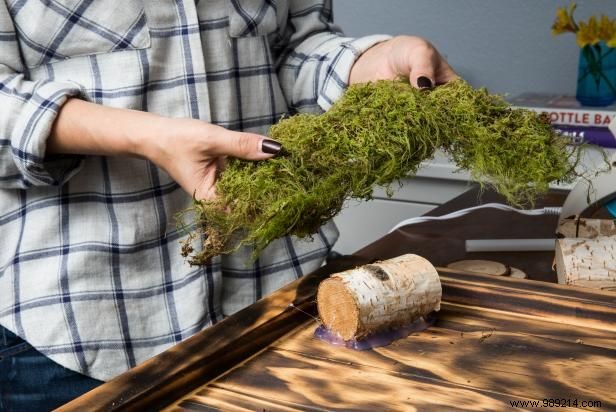
Begin by placing a flat wooden tray on your workspace. Experiment with the materials to craft a nature-inspired design. Secure a small log in the corner first, then layer moss atop it to build a realistic hill effect. This 3D technique elevates your piece, transforming it into a captivating forest vignette.
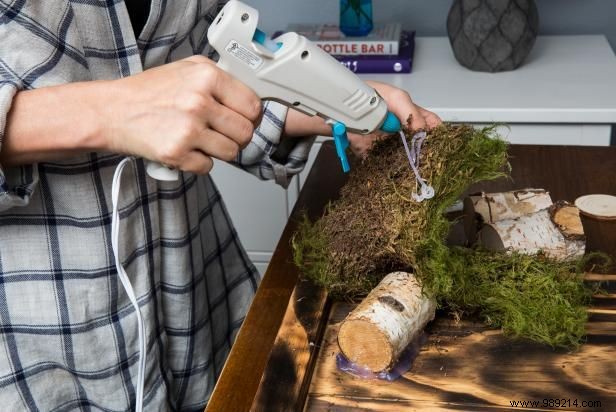
Once your layout is finalized, use a hot glue gun to attach the moss. In my hands-on experience, gently rolling it out on the side of the tray first removes dust and fragments, ensuring a firm, clean adhesion without mess.
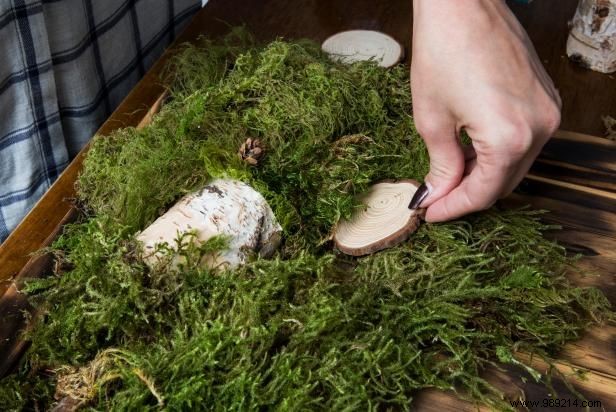
Enhance dimension by nestling wood slices into the moss for scale and character. Mix sizes for dynamic appeal. Hot glue is best—apply generously and press firmly for 30 seconds to set securely.
With everything in place, brush away any loose particles and stand the tray upright to showcase your woodland masterpiece.