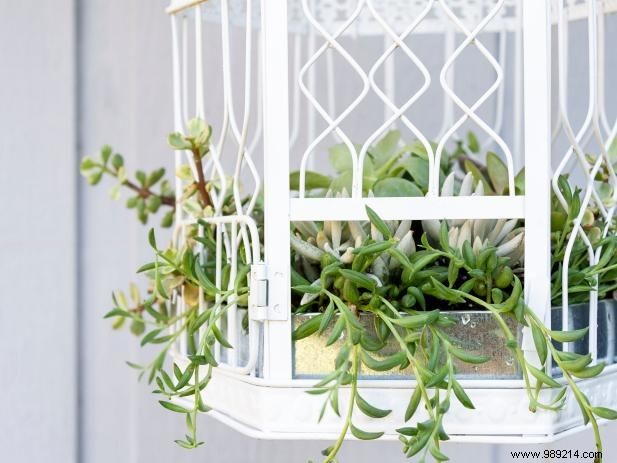
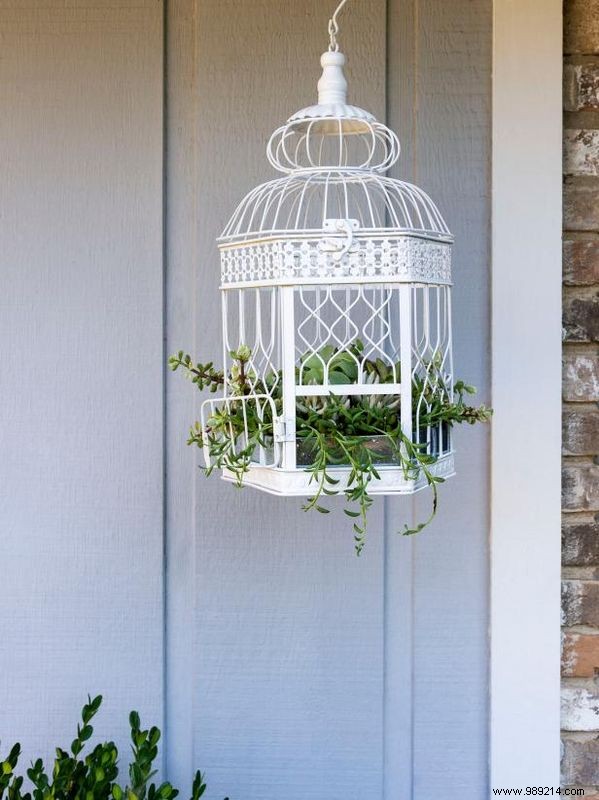
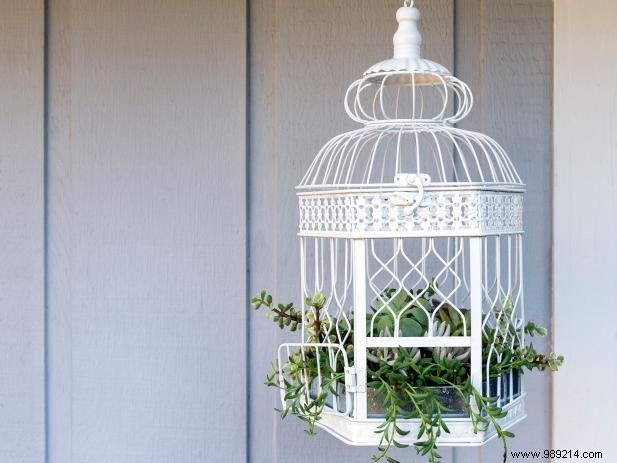
Repurposing a vintage birdcage into a lush succulent garden adds unique charm and whimsy to your outdoor space. The key challenge is crafting a liner that perfectly fits any cage shape or size. As an experienced DIY crafter, Sam Henderson shares his proven step-by-step method for stunning, long-lasting results.
Photos by Sam Henderson
Before beginning, use pliers to remove any perches or accessories, then thoroughly clean the cage.
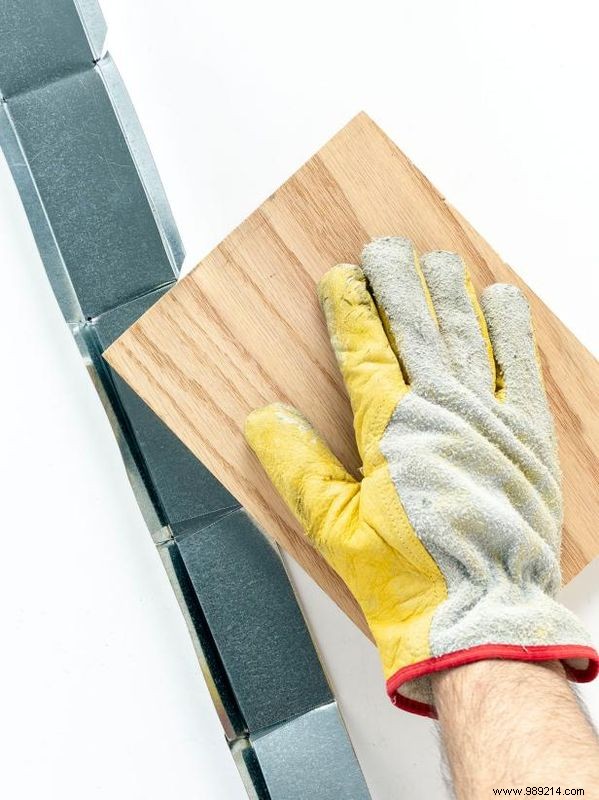
Measure the inside perimeter of the cage base. Cut the galvanized flashing to 5 inches wide by the perimeter plus 2 inches. Always wear leather gloves to handle the sharp edges safely.
Position the strip inside the cage, aligning ends at the back. Gently crease the metal to match the cage's interior corners. Remove and flatten on a stable surface, using a straightedge like wood to sharpen the creases.
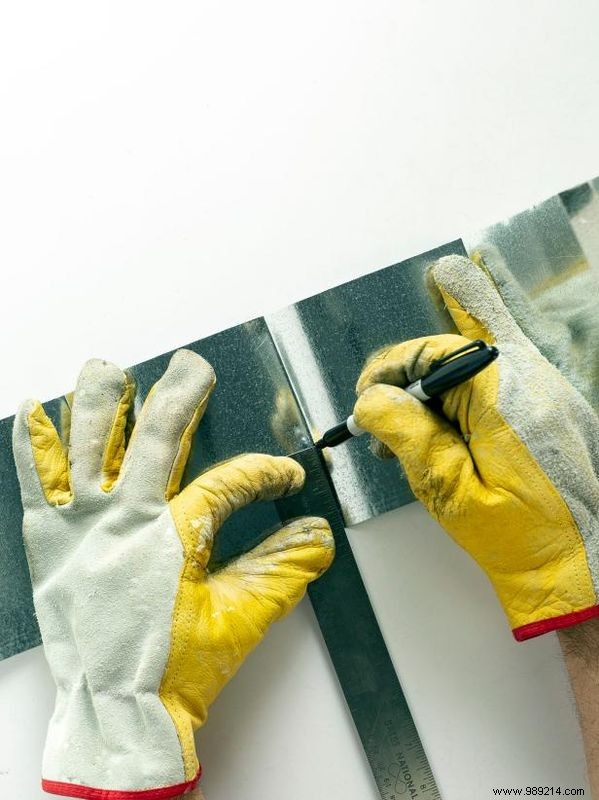
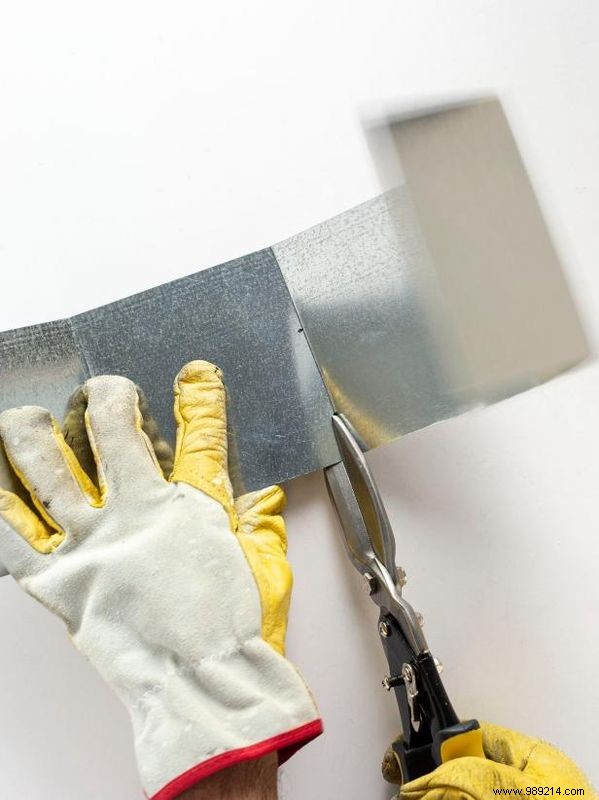
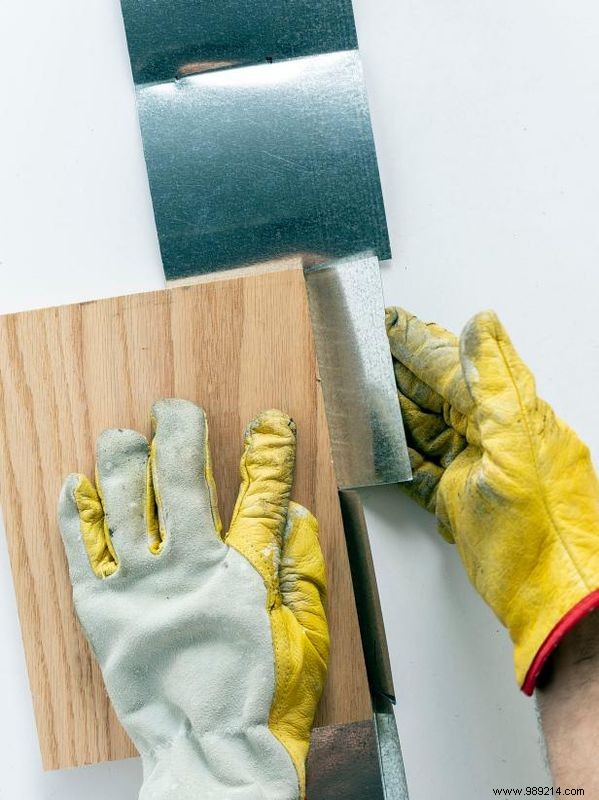
On each crease, mark points 2 inches up one long side and 1 inch down the other (see Image 1). Cut from the long side to these marks with tin snips, wearing gloves (Image 2). Fold flaps along both long sides using a straightedge (Image 3).
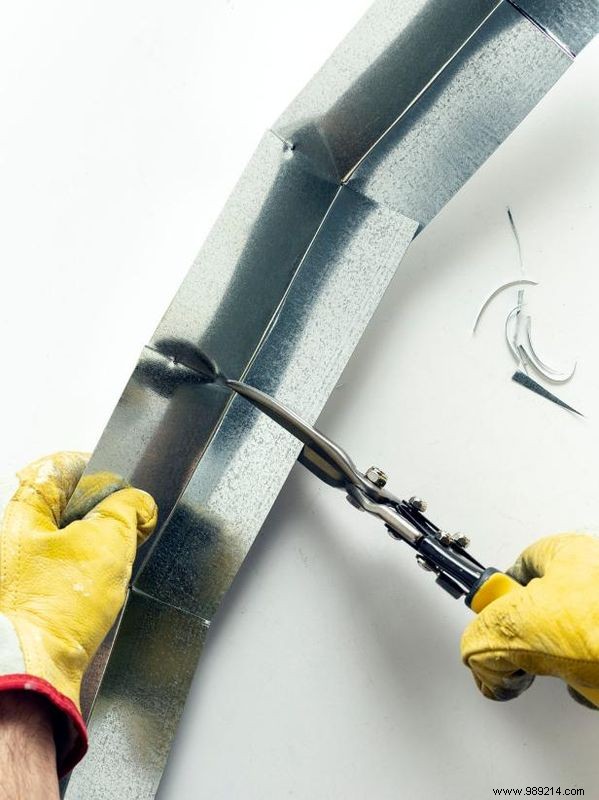
On the 2-inch flaps' short ends, cut angled notches from outer edge to fold line for easy bending (Image 4). Fold all 2-inch flaps (except one end) firmly with wood, bending 1-inch fins at 90 degrees (Image 5).
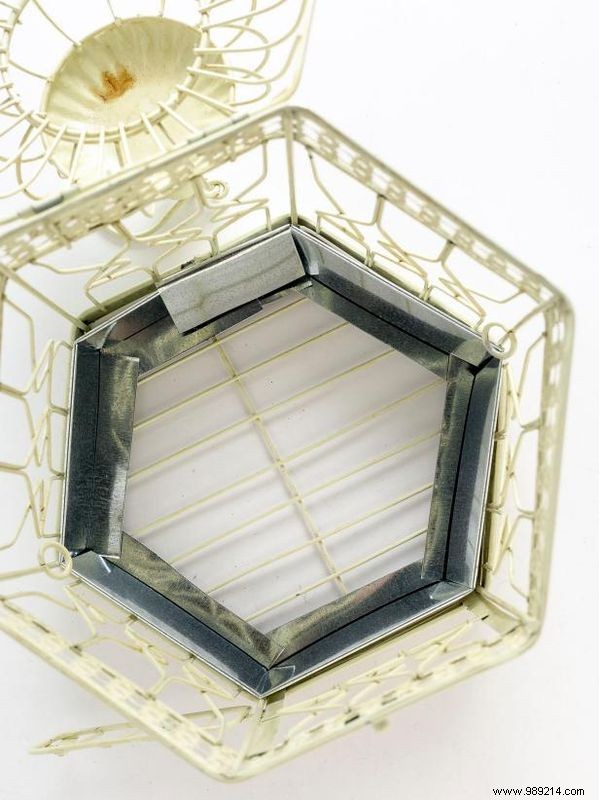
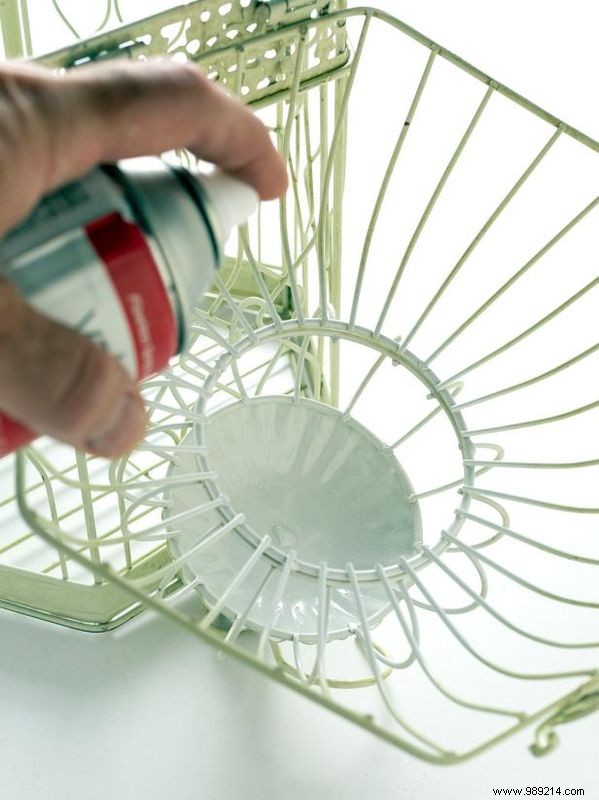
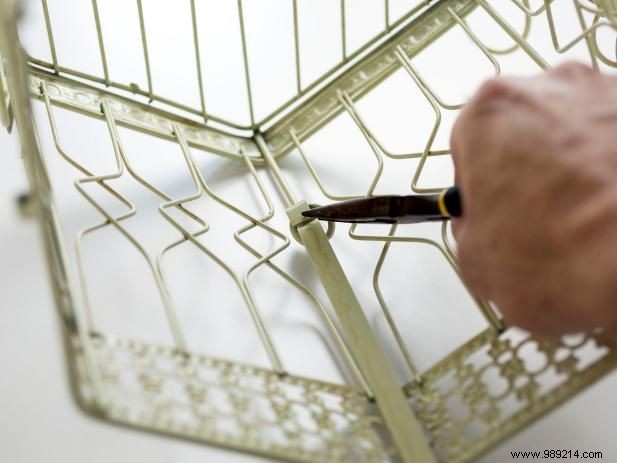
Shape the liner to fit the cage bottom, tucking the folded end into the unfolded one and pressing down. Test-fit, then remove. Optionally, spray paint the cage and liner for a custom finish.
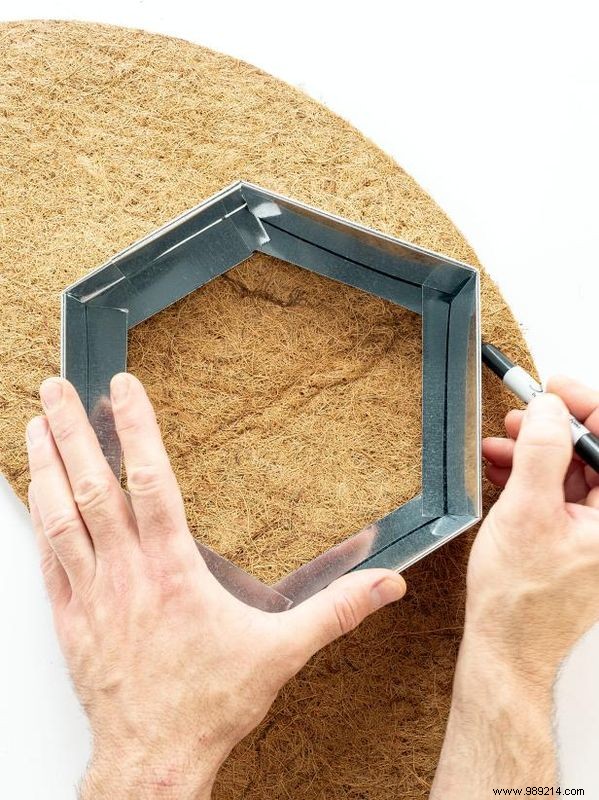
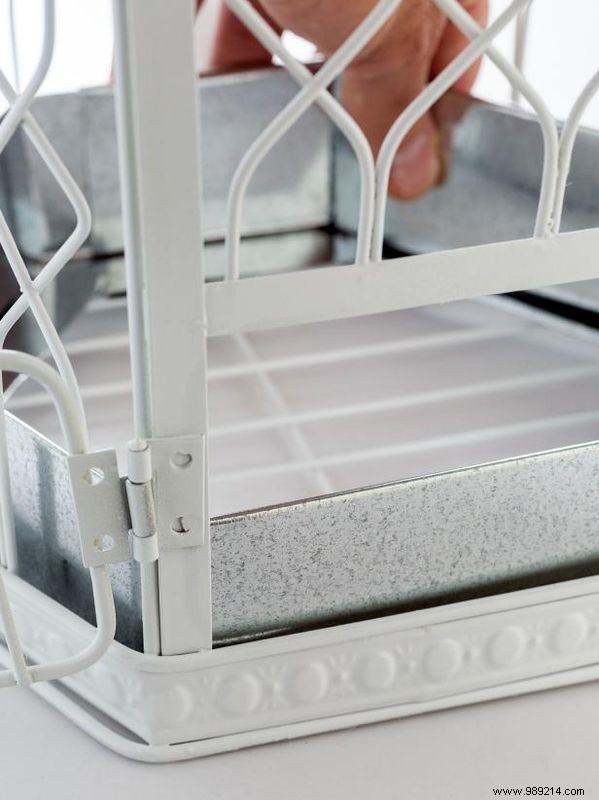
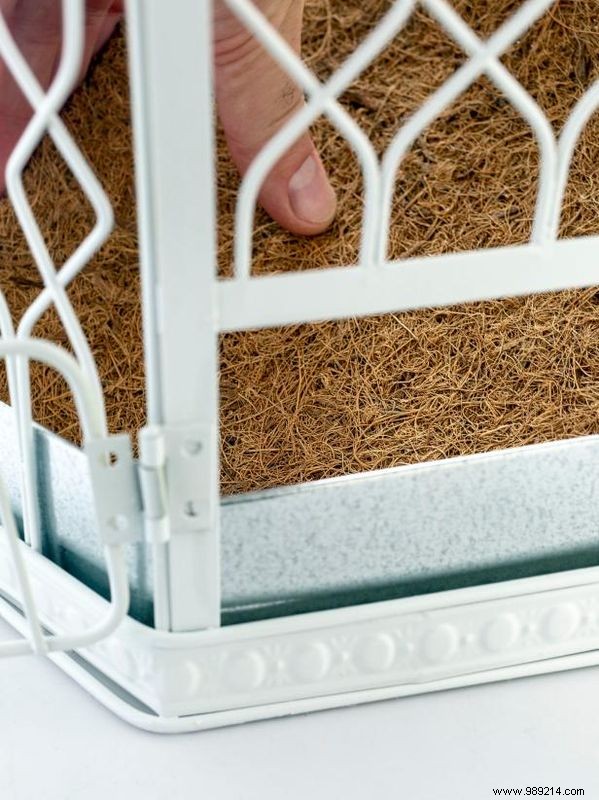
Trace the metal liner onto the hanging basket liner and cut to shape (Image 1). Insert the metal liner into the cage bottom, overlap at back (Image 2). Add the fiber liner on top (Image 3).
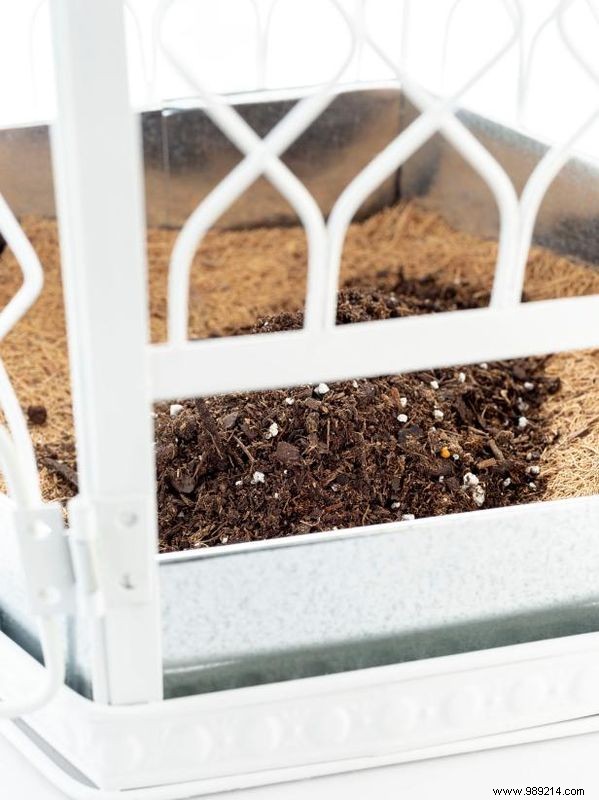
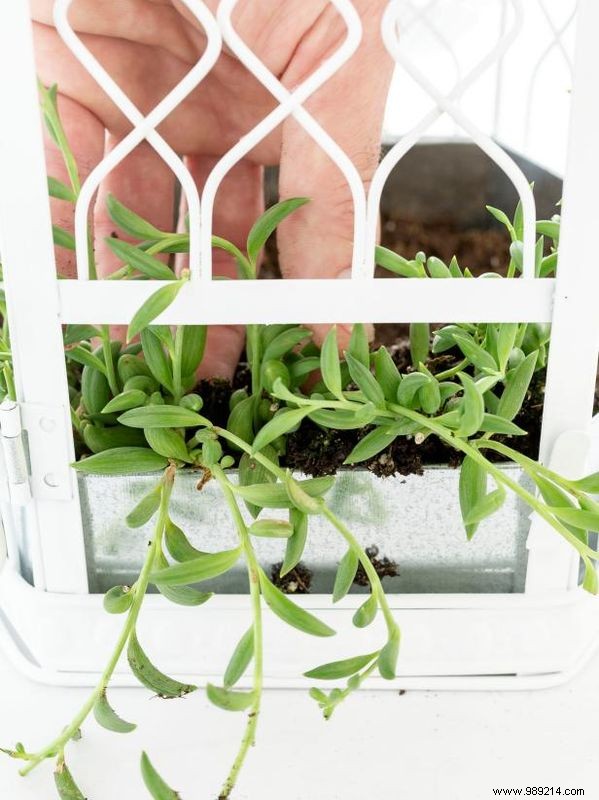
Fill with soil to about 1/2 inch deep (Image 4). Arrange succulents, favoring trailing varieties near the edges (Image 5). Gently weave plants through the cage wires. Fill any gaps with soil, water lightly, and hang in a bright spot.