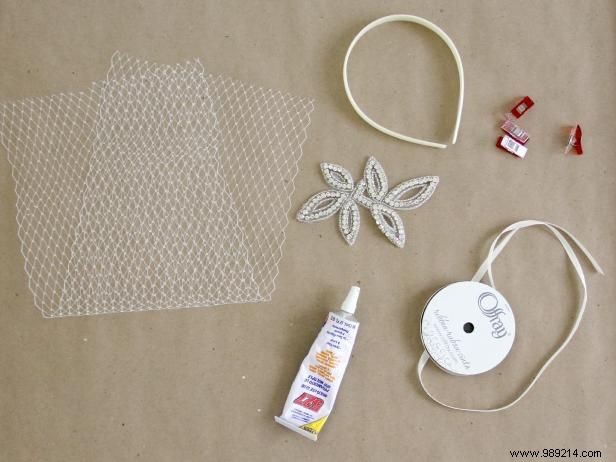
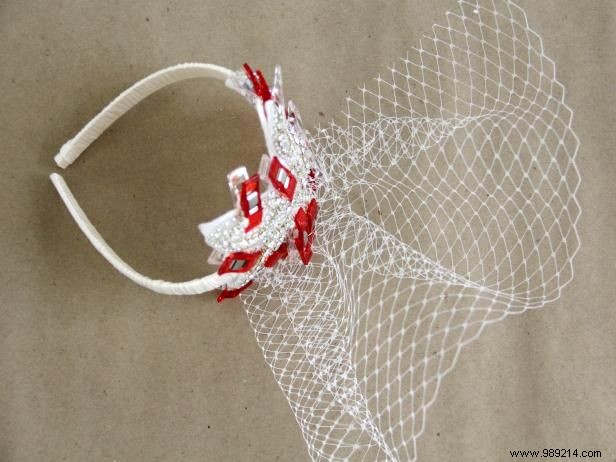
Discover how to craft a vintage-inspired birdcage wedding veil at home. This simple DIY project delivers timeless elegance for your bridal look, using accessible materials and proven techniques trusted by crafters.
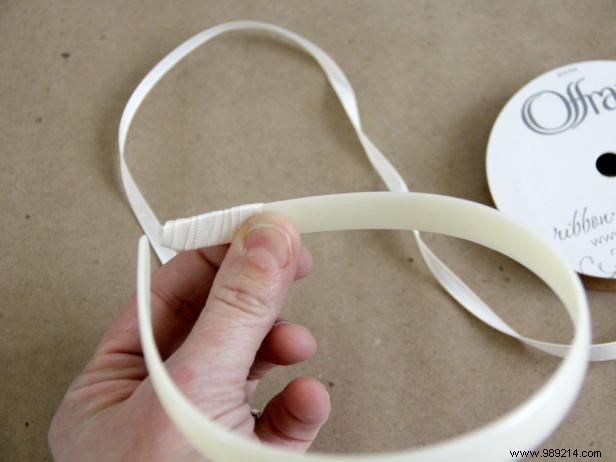
Skip if you have a white silk headband (available in craft store wedding sections). Otherwise: Apply a dab of glue to the bottom of the plastic headband. Place the wrong side of the ribbon end over the glue, then wrap tightly around the headband, smoothing out wrinkles as you go.
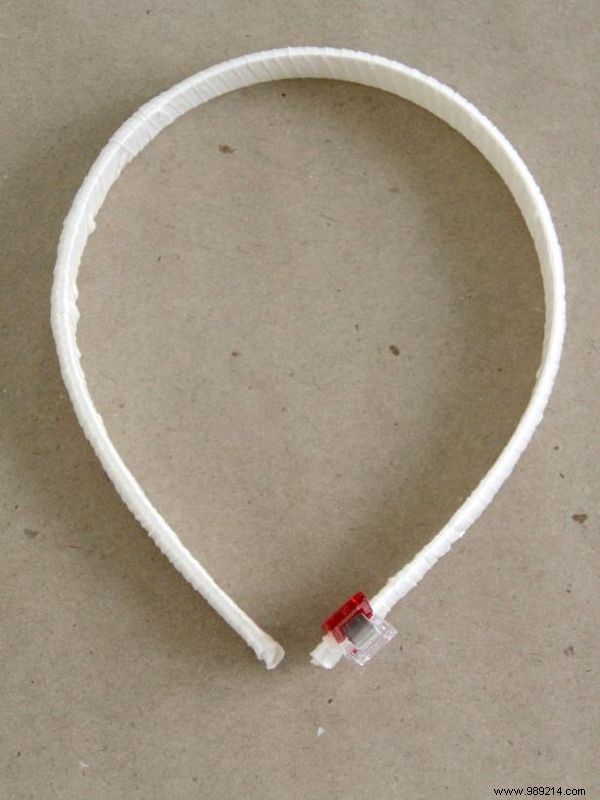
Wrap until you reach the other end. Add another dab of glue to the bottom, press the ribbon end down, trim excess, and use a binder clip to hold until dry.
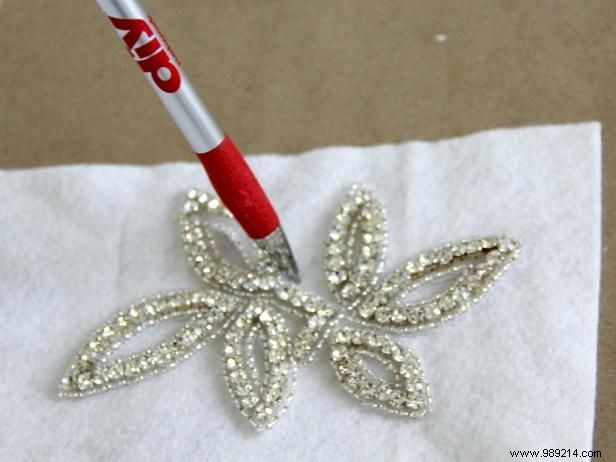
Place the rhinestone appliqué on scrap fabric. Trace around it with a pen directly on the fabric, then cut out the shape. Set aside.
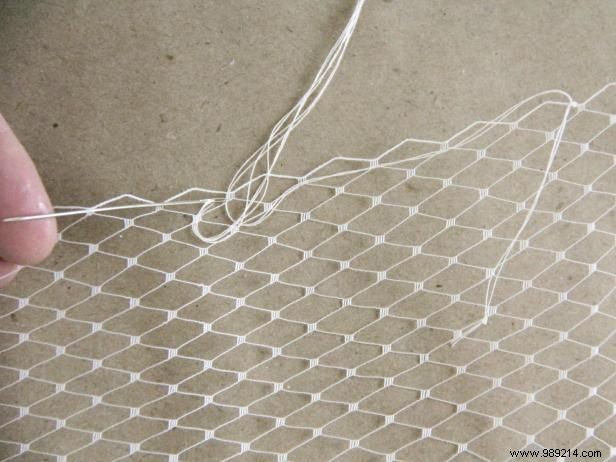
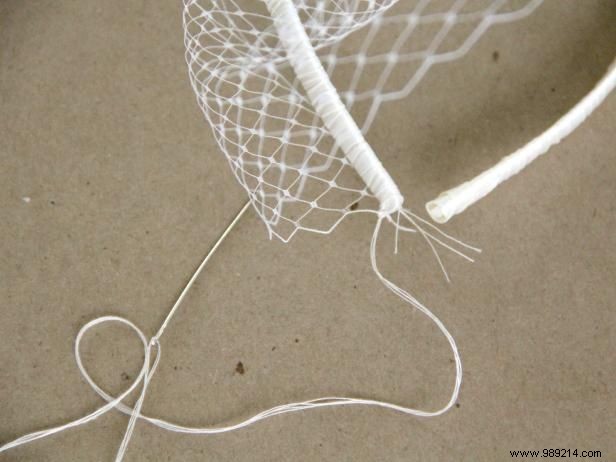
Using needle and thread, sew a loose running stitch over and under along the top edge of the tulle from one end to the other, leaving long thread tails at both sides.
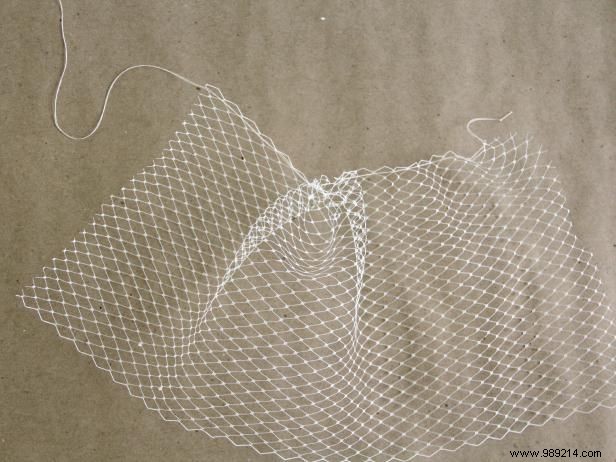
Gently pull the thread tails from both ends to gather the top edge until it matches the length of the rhinestone appliqué.
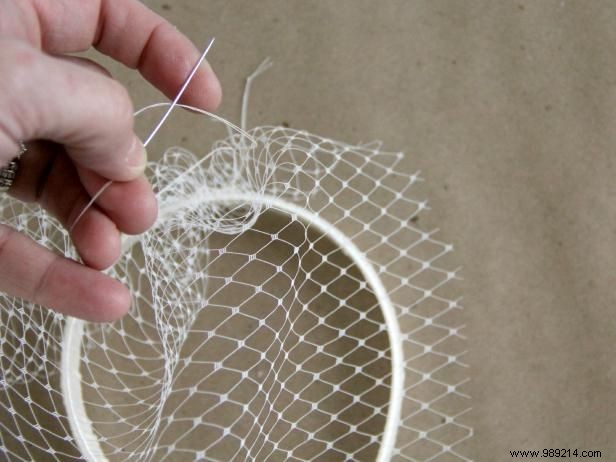
Sew the gathered top edge of the tulle securely to the top (or side, for an angled style) of the headband using needle and thread.
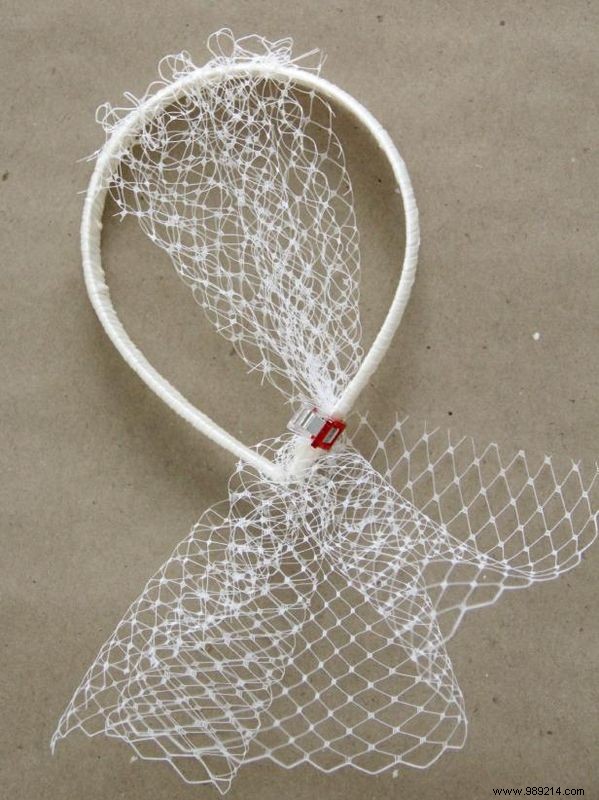
Gather the bottom edge of the tulle and secure it with a binder clip to keep it tidy for the next steps.
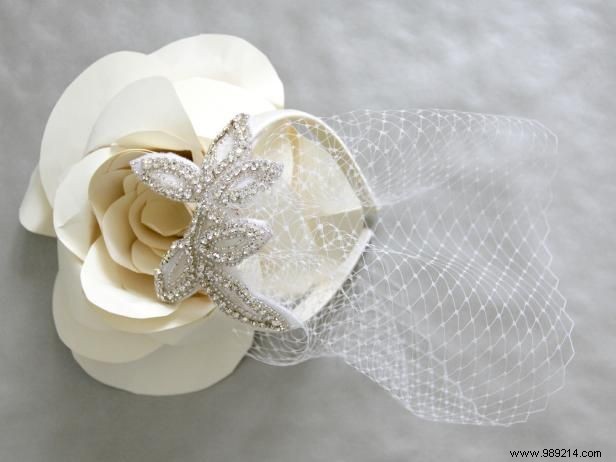
Apply glue to the back of the rhinestone appliqué and the front of the fabric shape. Place the appliqué over the gathered tulle on the headband, position the fabric underneath to sandwich everything together. Align edges and clip in place.
Confirm the tulle is between the headband and appliqué. Tuck the tulle bottom aside and hold clips steady until glue dries completely.
Once dry, stitch the bottom side edges of the tulle to the headband bottom with 1-2 stitches per side for elegant positioning.
Congratulations—your handmade birdcage veil is ready for your wedding day.