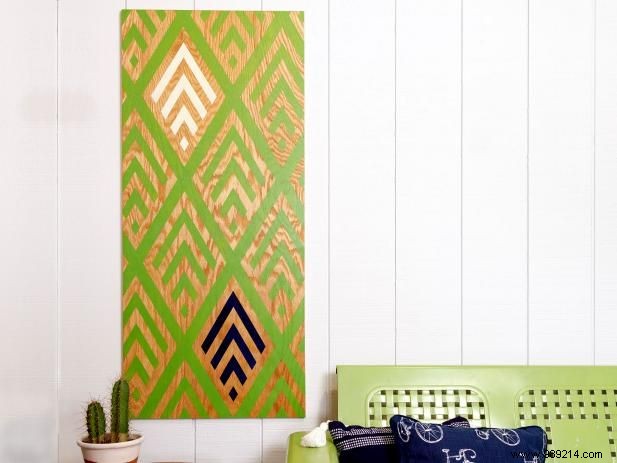
As an experienced DIY enthusiast like Sam Henderson demonstrates, blurring the lines between indoor and outdoor spaces starts with durable, custom artwork. Weatherproof your creations using plywood and a marine-grade sealer to add vibrant, lasting style to your exterior.
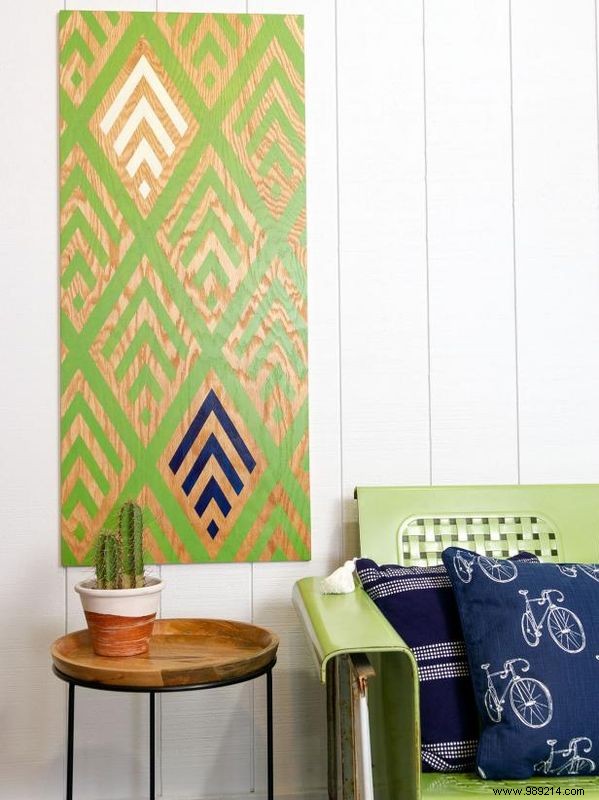
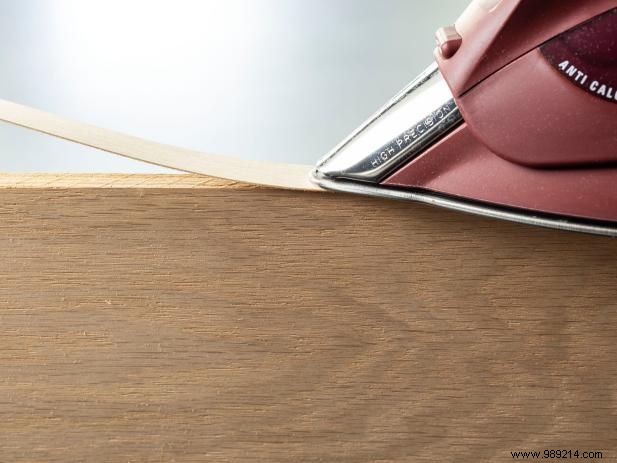
Photo: Sam Henderson
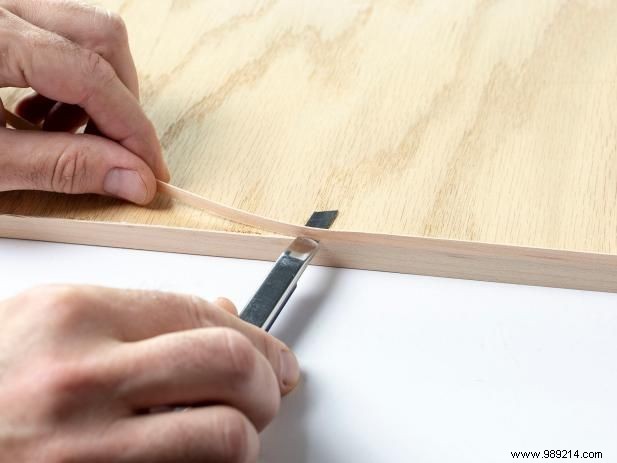
Photo: Sam Henderson
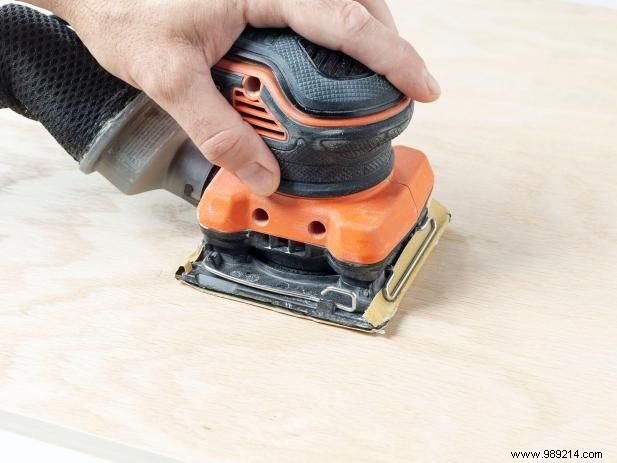
Photo: Sam Henderson
Cut ½" plywood strips for each board edge, making them 1" longer than the side. Following manufacturer instructions, iron the veneer onto the edges on high heat (Image 1). Let it cool, then trim excess with a utility knife so it's flush with the board surface (Image 2). Sand all surfaces and edges smooth (Image 3), then wipe clean with a tack cloth or damp paper towel.
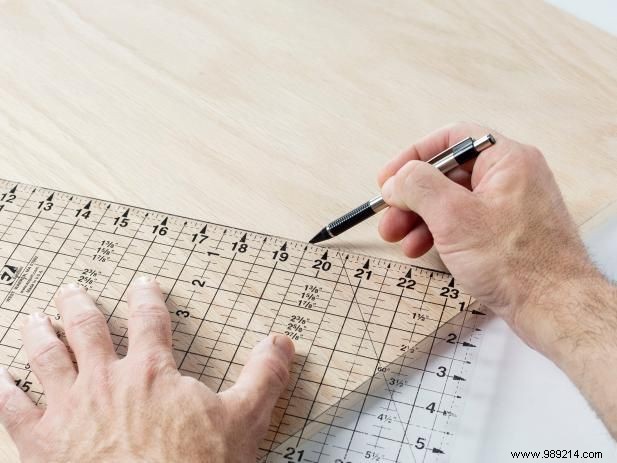
Photo: Sam Henderson
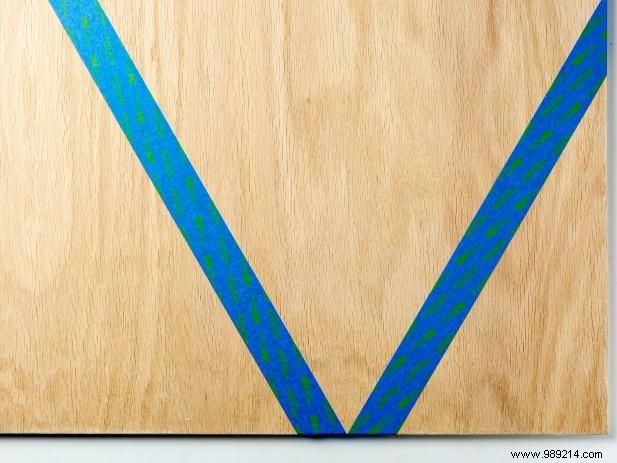
Photo: Sam Henderson
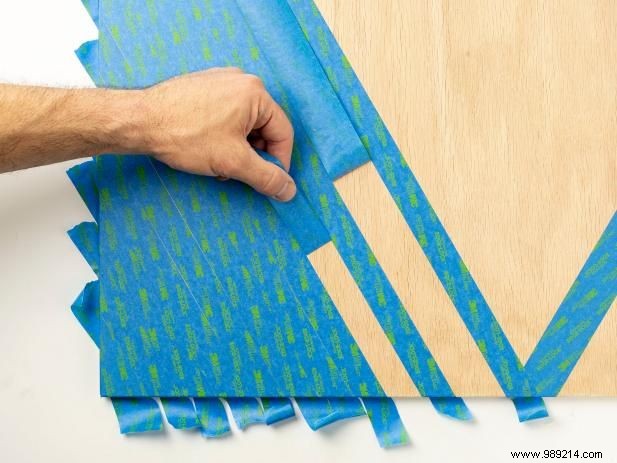
Photo: Sam Henderson
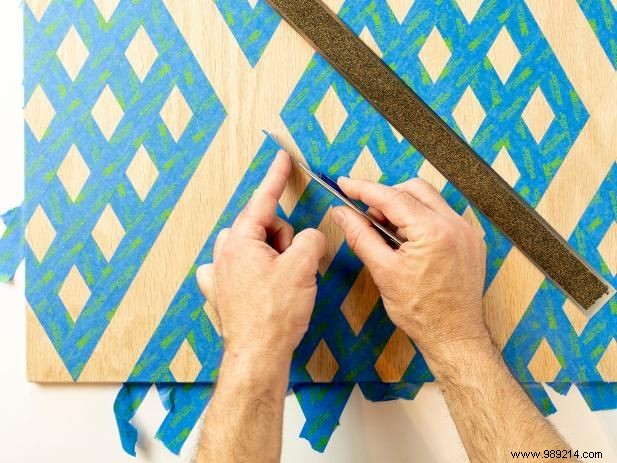
Photo: Sam Henderson
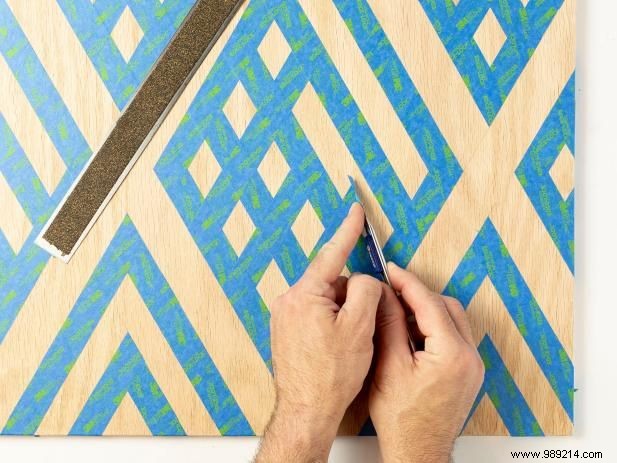
Photo: Sam Henderson
Using a straightedge or protractor, draw a line 60° from the bottom, starting 13" from the left edge (Image 1). Place 1½" painter's tape along this line, then draw another 60° line from the tape's right edge at the bottom. Add more 1½" tape to form a V (Image 2). Fill both sides with 1" tape strips, adding a 1½" strip after every nine 1" strips until covered. Remove every other 1" tape to form stripes, keeping 1½" pieces (Image 3). Repeat perpendicularly using the initial 1½" tape. Cut crossing 1" tape with a utility knife and ruler for diamond grids (Image 4). Inside each diamond, cut tape for three inverted V's and a bottom diamond (Image 5). Press all tape edges firmly to prevent paint bleed.
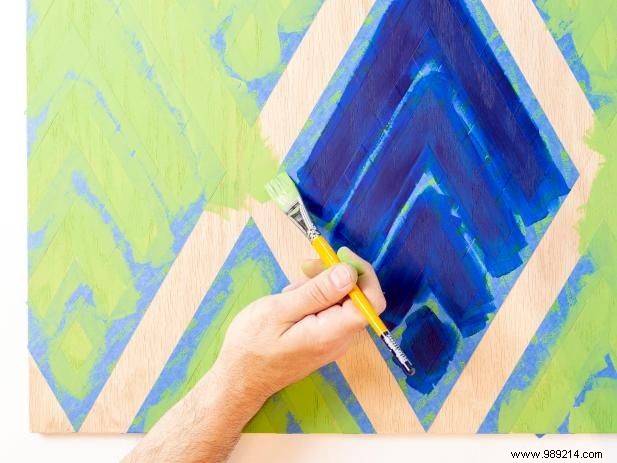
Photo: Sam Henderson
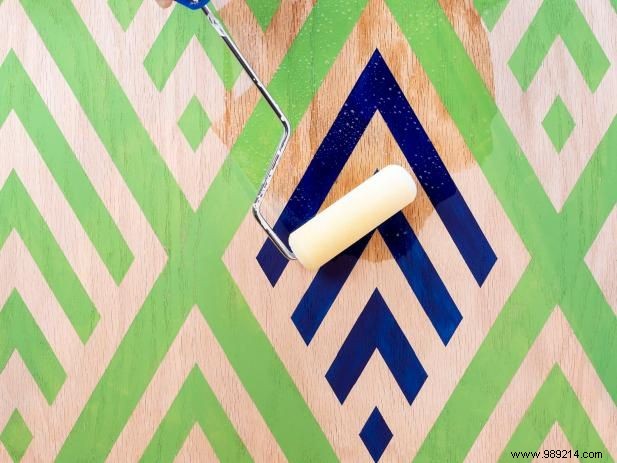
Photo: Sam Henderson
Paint select arrowhead patterns with accent colors using a small brush. Fill remaining areas with base color (Image 1). Let dry fully, remove tape, then roll clear spar varnish over front and edges (Image 2). Apply a second coat to the back. Allow complete drying before outdoor display.
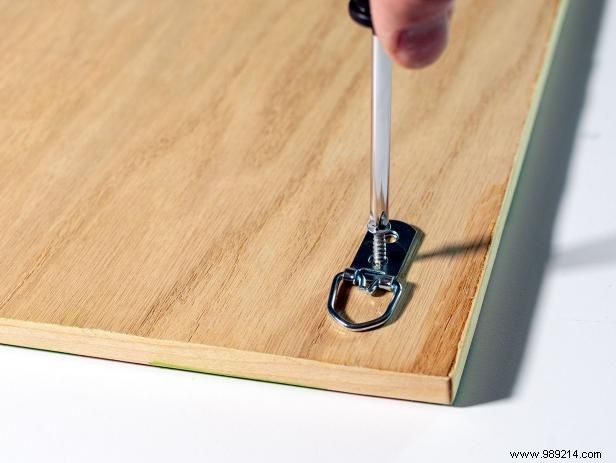
Photo: Sam Henderson
Secure two D-rings to the back and hang your custom artwork proudly.