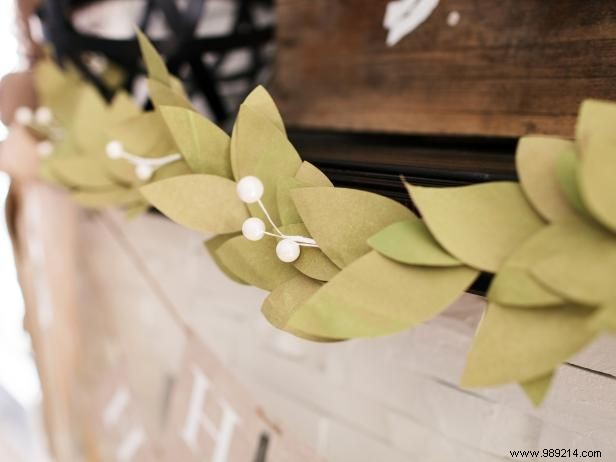
Created by floral designer Rennai Hoefer of ten22 studio, this laurel wreath beautifully adorned our holiday mantelpiece. Its timeless elegance suits year-round home decor, weddings, or parties.
Rennai Hoefer, ten22 studio | 2014
Rennai Hoefer, ten22 studio | 2014
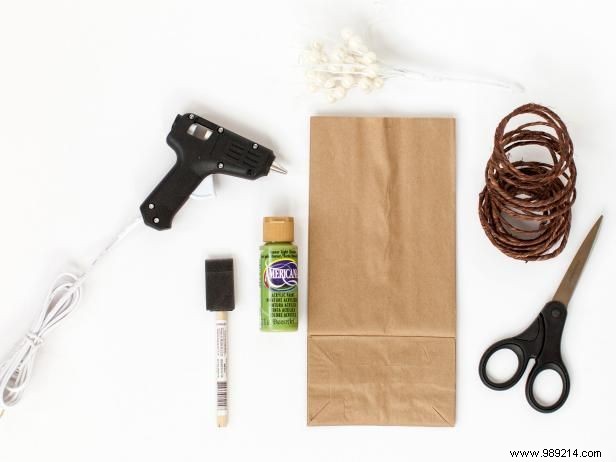
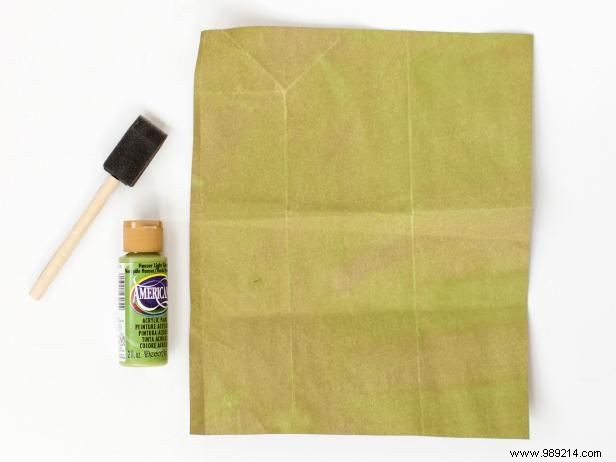
Cut brown paper bags into flat sheets, discarding any with prints. Mix paint with plenty of water for a thin consistency, then coat the bags. Allow them to dry fully.
Rennai Hoefer, ten22 studio
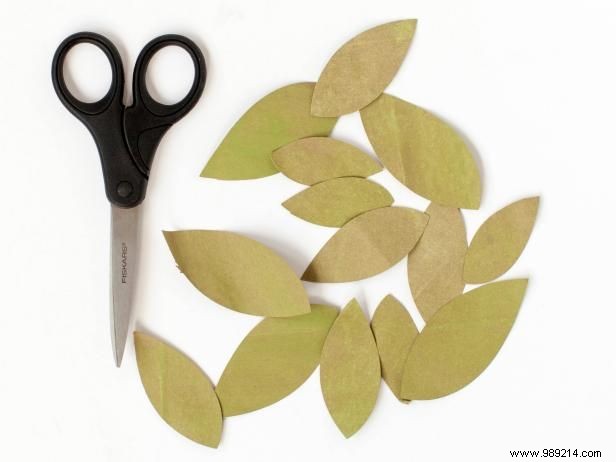
Once dry, cut leaves in various sizes to create a natural look.

Rennai Hoefer, ten22 studio
Secure the leaves to a wire frame using hot glue for a sturdy base.
Rennai Hoefer, ten22 studio | 2014
Wrap holly sprigs around the wire between leaves for pops of color and texture.
 Rennai Hoefer, ten22 studio | 2014
 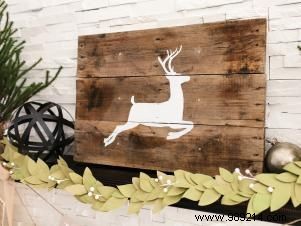 Rennai Hoefer, ten22 studio | 2014
 Finish with a rustic chic vibe: Follow step-by-step for the "Happy Holidays" banner and use the reindeer drawing template.