Family Encyclopedia >> Home & Garden

DIY Halloween Skull Art: Easy Step-by-Step Foam Board Tutorial

Step 1: Gather Your Materials

DIY Halloween Skull Art: Easy Step-by-Step Foam Board Tutorial

By Rennai Hoefer, experienced crafter

Collect Materials

Step 2: Prepare the Pattern Template

DIY Halloween Skull Art: Easy Step-by-Step Foam Board Tutorial

By Rennai Hoefer

Prepare Pattern Template

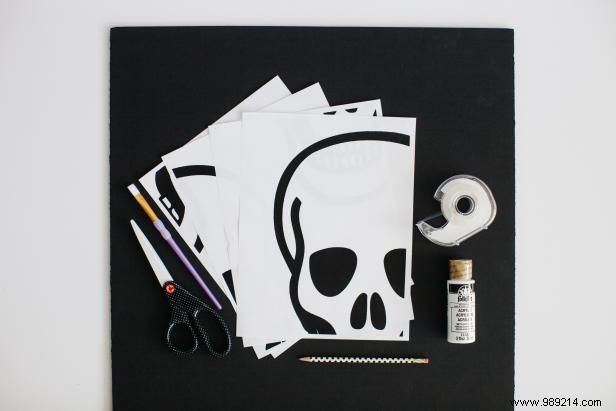
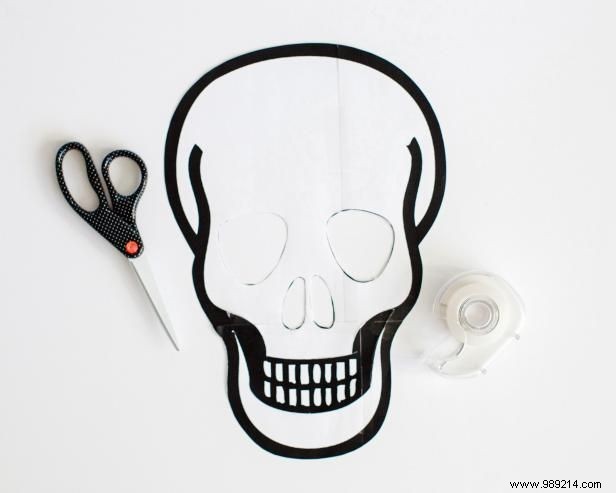
Print the skull pattern, cut out the pieces, and glue them together for a complete template.

Step 3: Trace the Design

DIY Halloween Skull Art: Easy Step-by-Step Foam Board Tutorial

By Rennai Hoefer

Trace

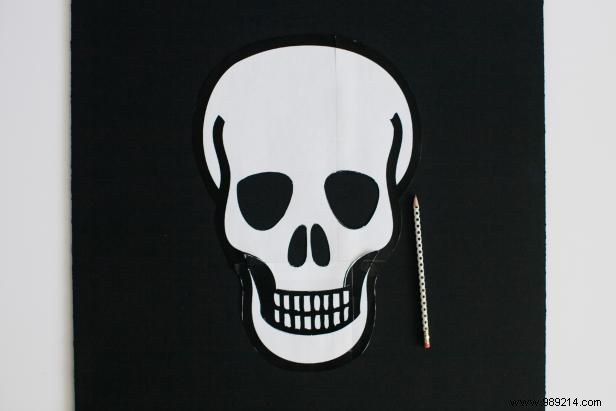
Securely trace the skull outline onto foam board using a pencil for precise lines.

Step 4: Paint the Skull

DIY Halloween Skull Art: Easy Step-by-Step Foam Board Tutorial

By Rennai Hoefer

Paint

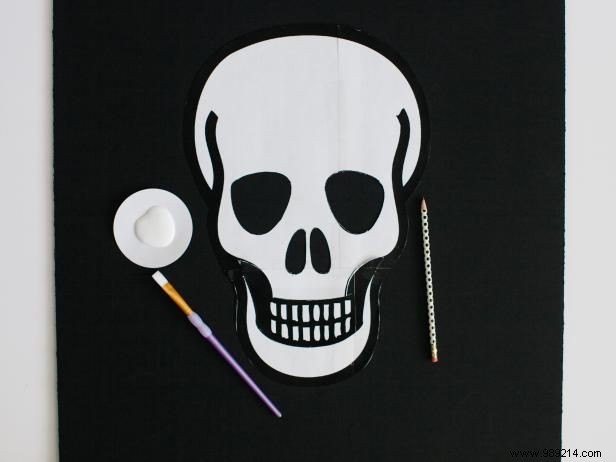
Apply white paint with a brush to fill the traced skull. Add a second coat for smooth, even coverage.

Step 5: Frame and Display

DIY Halloween Skull Art: Easy Step-by-Step Foam Board Tutorial

By Rennai Hoefer

Mount and Display

Insert the finished skull art into a frame. Showcase it on your mantel or hang it on the wall for a haunting Halloween vibe.