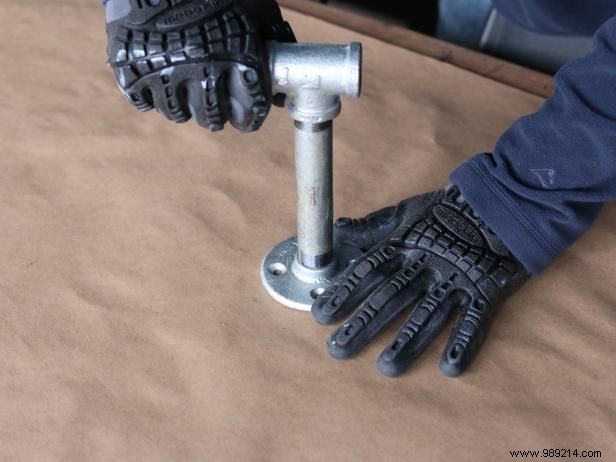
Securely attach the 6-inch galvanized metal threaded nipple to the flange. Once tightened, screw the metal tee onto the top of the nipple for a sturdy foundation.
Always wear heavy-duty work gloves to protect your hands from sharp edges and threads.

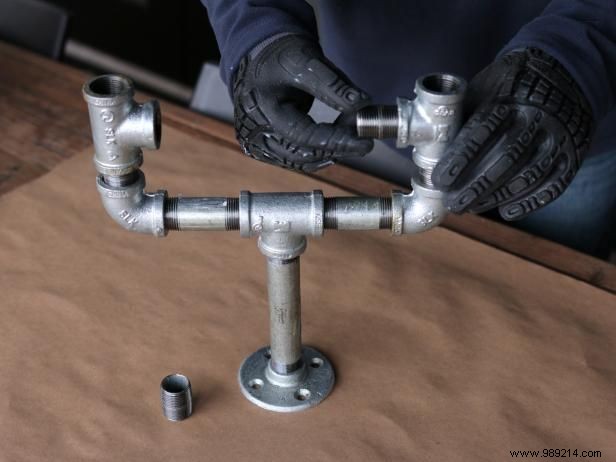
Screw 3-inch galvanized metal threaded nipples into each end of the tee. Then, thread the elbows onto these nipples, positioning the curved sides upward.
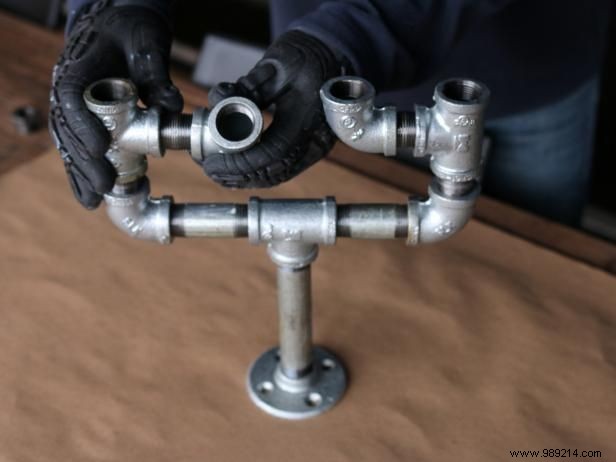
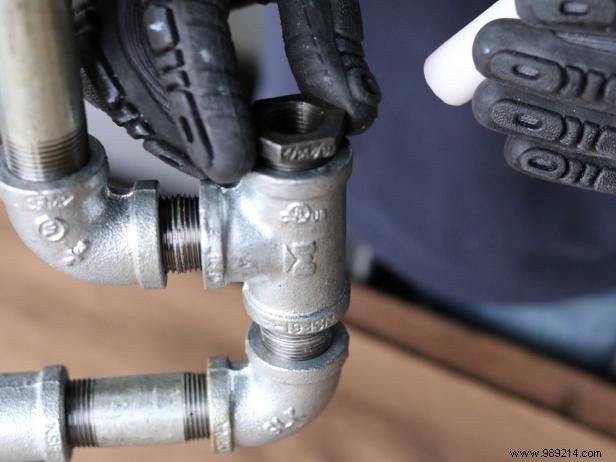
Attach 1-inch threaded nipples to all three openings of the tee. Next, connect elbows to these nipples, orienting them to point toward the chandelier's center.
Screw elbows onto the tees, ensuring the curved sides face upward for proper candle placement.
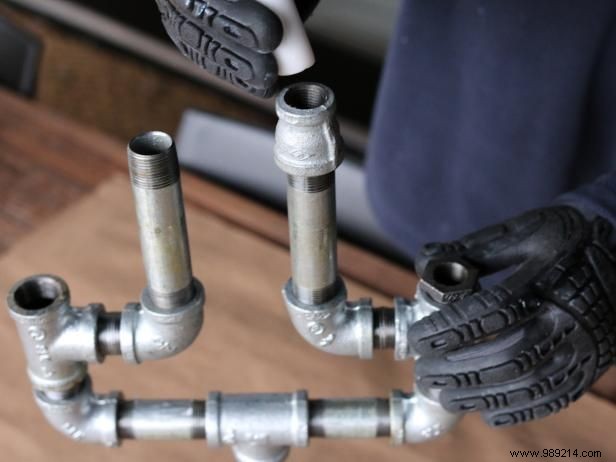
Thread a 4-inch galvanized metal threaded nipple into each elbow. Place the taper candle holders on top of the nipples.
For added visual appeal and a professional touch, screw metal bushings onto the tops of the 4-inch threaded nipples that hold the candles.