Photo by Rennai Hoefer
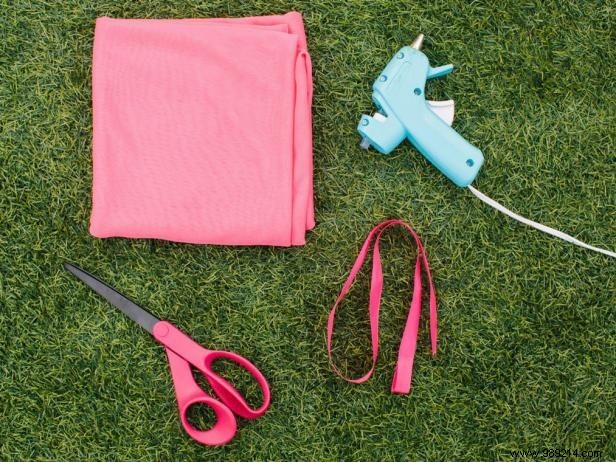
As a seasoned crafter with years of hands-on experience in DIY hair accessories, I've perfected this braided headband technique—inspired by expert Rennai Hoefer. Ideal for girls' spa days, these versatile pieces double as chic everyday wear.
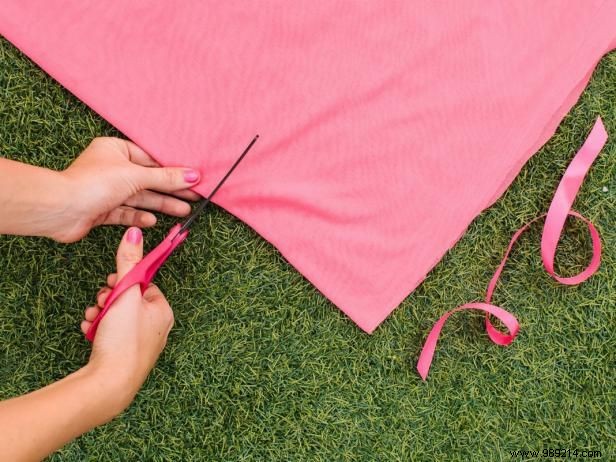
Photo by Rennai Hoefer
Fold your fabric from finished edge to finished edge three times for a sturdy base.
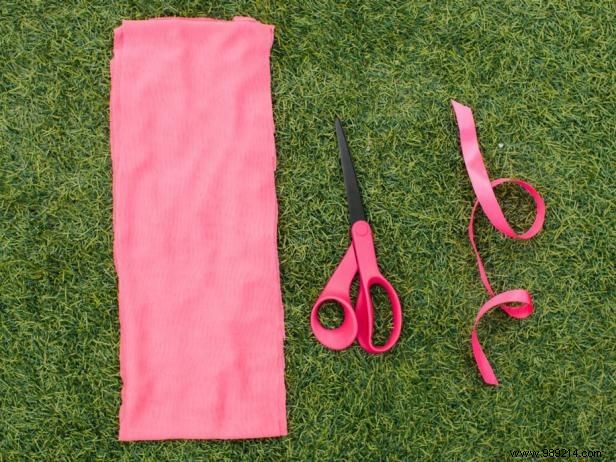
Photo by Rennai Hoefer
Cut a 5-inch strip for each guest. Tip: Thicker material yields a fuller headband; opt for narrower strips for a slimmer look.
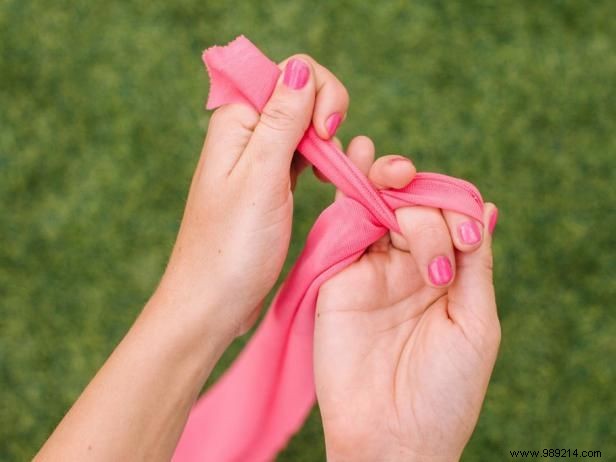
Photo by Rennai Hoefer, ten22 studio 2014
Hold one end of the strip between two fingers in your left hand. With your right hand, form a loop large enough for two fingers.
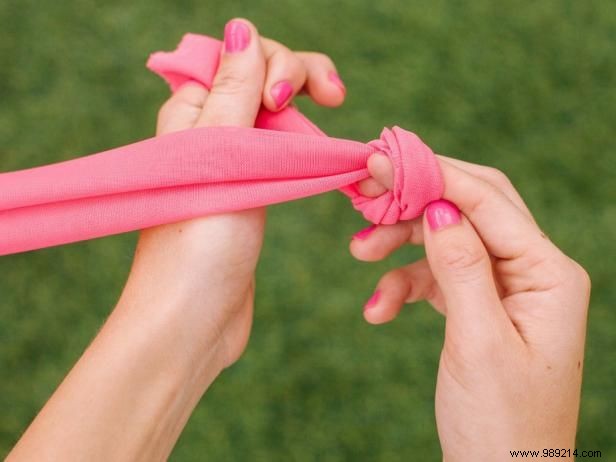
Photo by Rennai Hoefer
Cross the fabric over itself to lock the loop in place.
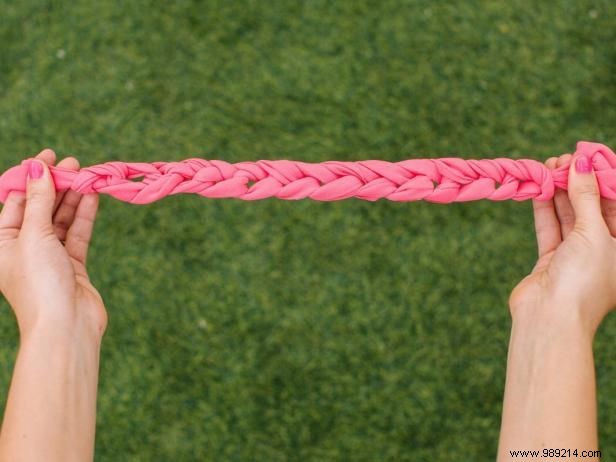
Photo by Rennai Hoefer
Pull the long end through the loop repeatedly until you've used all the material, building your braid evenly.
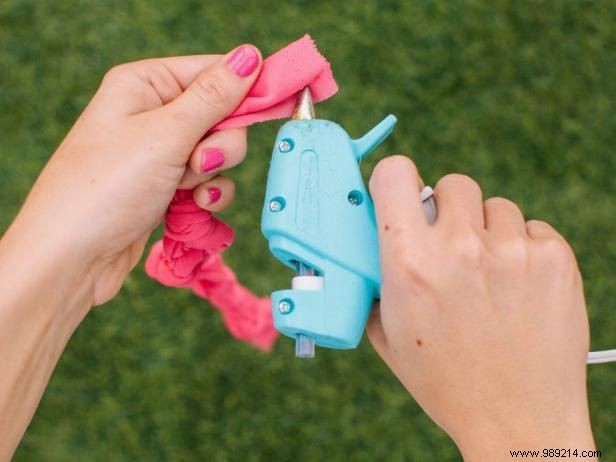
Photo by Rennai Hoefer
Roll one end tightly and secure with hot glue to prevent unraveling.
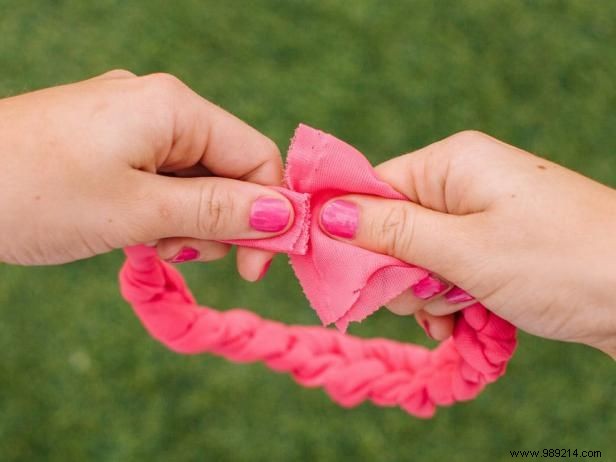
Photo by Rennai Hoefer
Wrap the unglued end around the secured side.

Photo by Rennai Hoefer
Apply hot glue to one corner, then the other, ensuring the ends bond fully around.
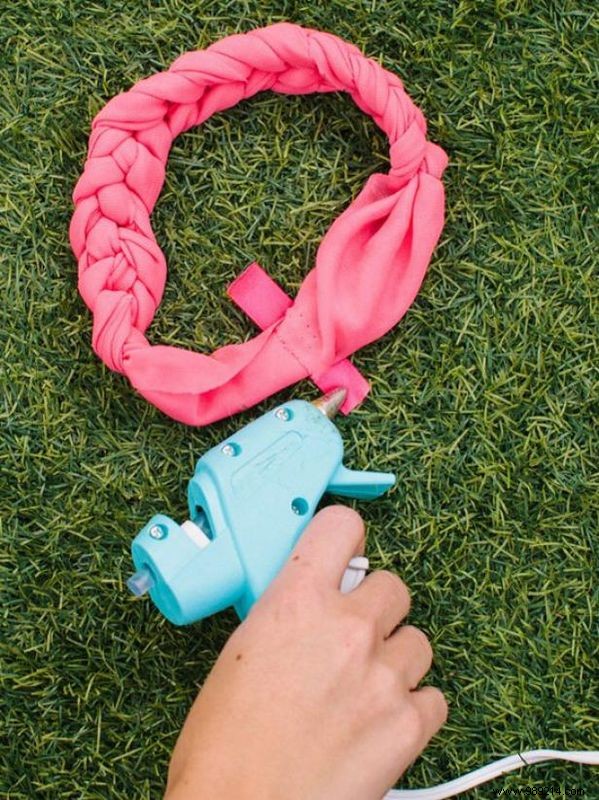
Photo by Rennai Hoefer
Cut a 2-inch ribbon piece and glue one end over the seam for a polished finish.

Photo by Rennai Hoefer
Wrap the ribbon around to conceal the seam completely. Fold the raw edge under for a clean look and glue it down.
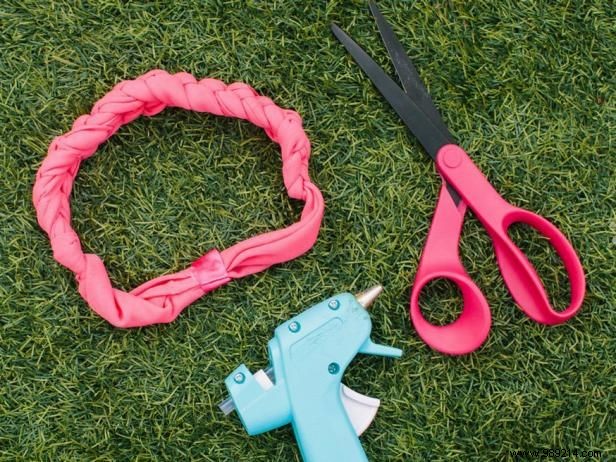
Photo by Rennai Hoefer
Your first braided headband is complete. Now craft more for friends and family—they're addictive!