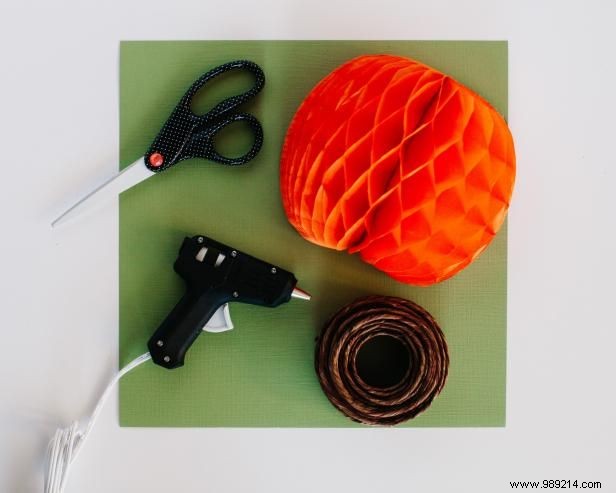
Photo by Rennai Hoefer
Trim the top and bottom of the honeycomb ball to create a perfect half-sphere shape.
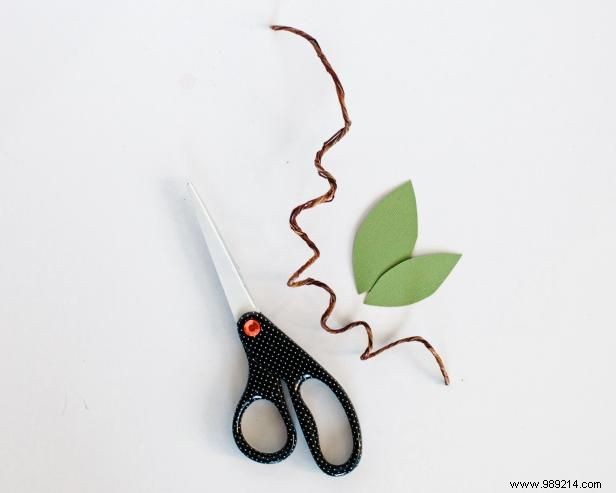
Photo by Rennai Hoefer
Cut a leaf shape from green paper. Shape a stem and vine using brown floral wire.
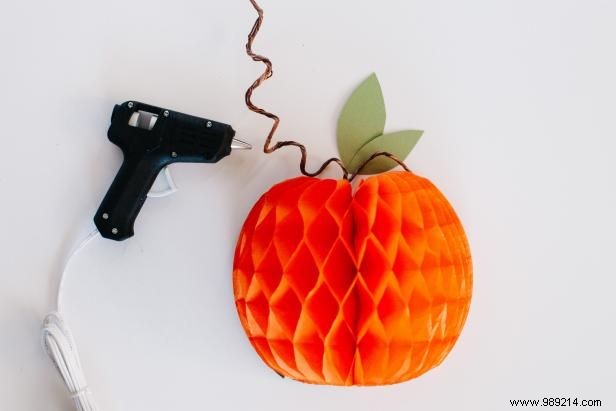
Photo by Rennai Hoefer

Photo by Rennai Hoefer
Unfold the honeycomb ball halfway and secure it to foam board using a hot glue gun (Image 1). Attach the stem, leaves, and vines to the top with additional hot glue (Image 1). Frame the artwork in black and display proudly (Image 2).