Skill Level: Beginner
Estimated Time: Half day
Estimated Cost: $130
Gary Payne

Gary Payne
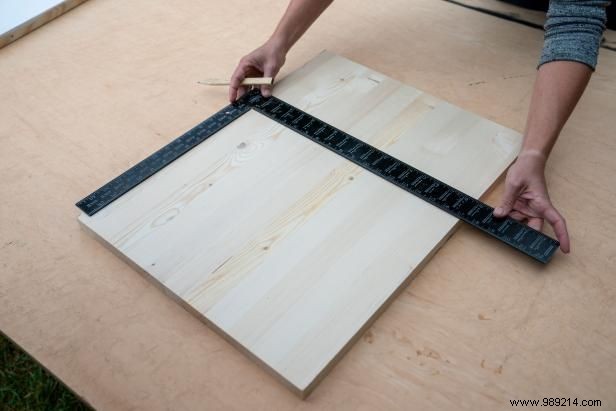
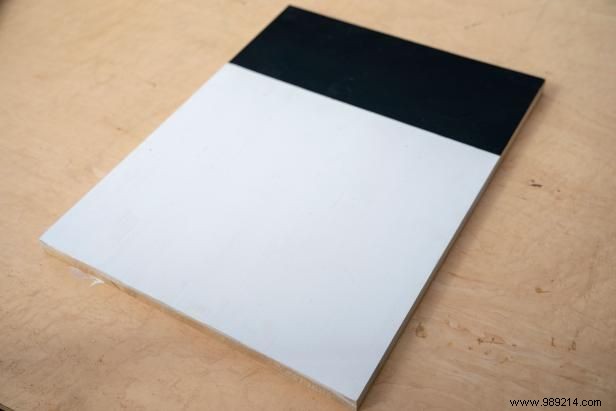
As an experienced woodworker, Gary Payne recommends cutting 1" plywood to 18" x 24". For simplicity, use a pre-cut craft board.
Gary Payne
Gary Payne
Gary Payne
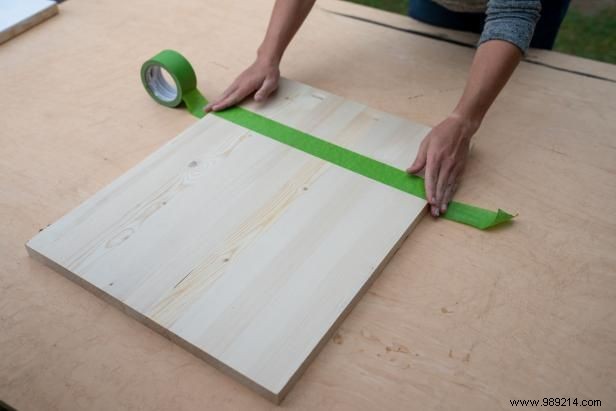
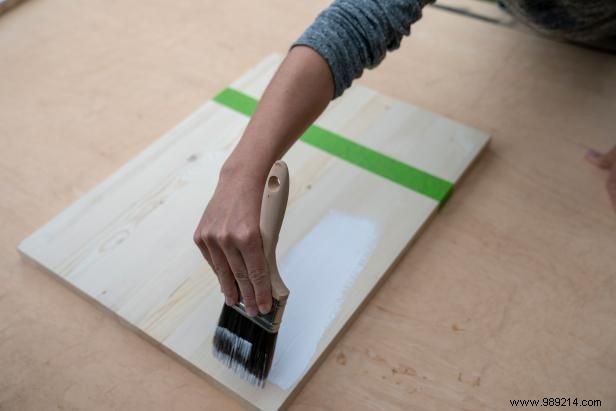
Measure 8" up from the bottom and mark a horizontal line with a speed square or T-square. Apply painter's tape along the line and paint the top 16" section with exterior white paint and primer.
Gary Payne
Once the white paint dries, reposition the tape below it and paint the bottom with black chalkboard paint. Remove tape after drying.
Gary Payne
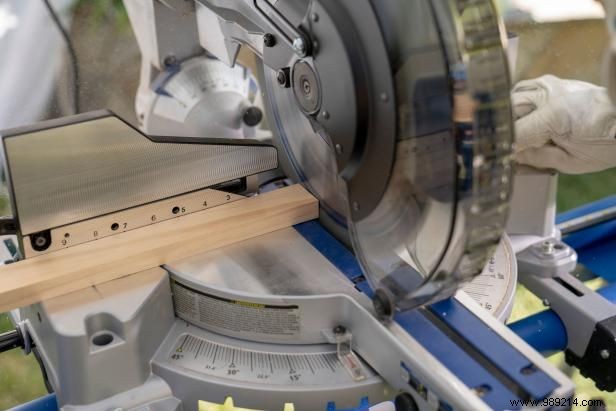
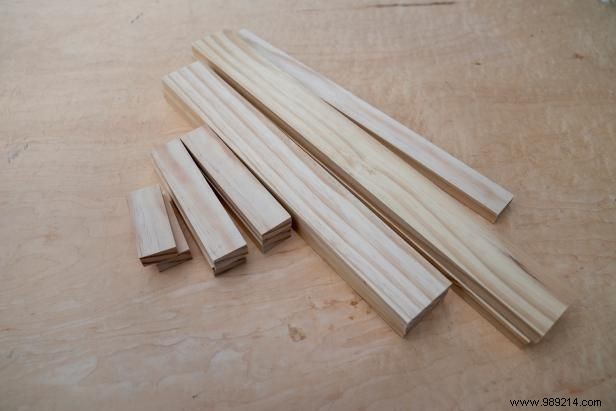
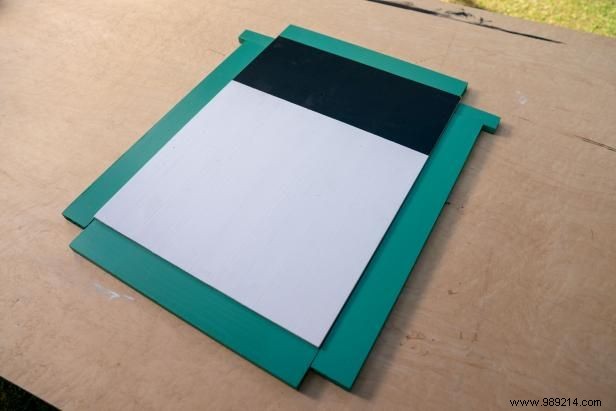
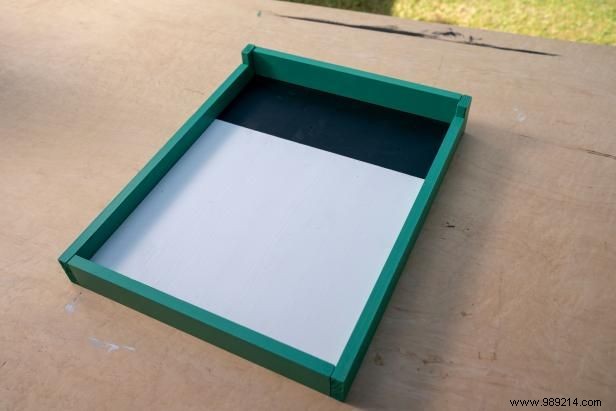
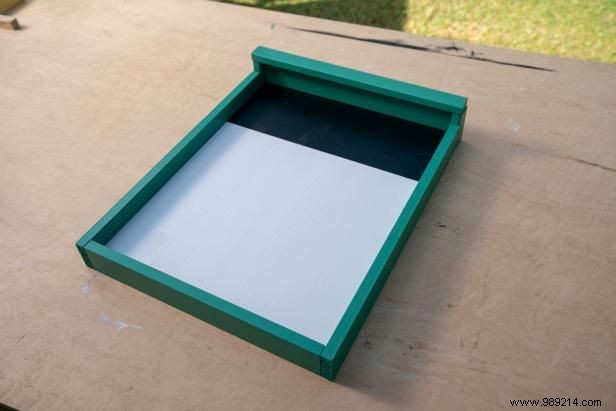
Cut 1x3 boards: two at 23-1/4" for sides, two at 18" for top and bottom.
Gary Payne
Use 1x2s for dividers and tray to catch caps. Cut two at 3-1/2" for sides, one at 19-1/2" for front, and four at 8-1/2" for spacers.
Gary Payne
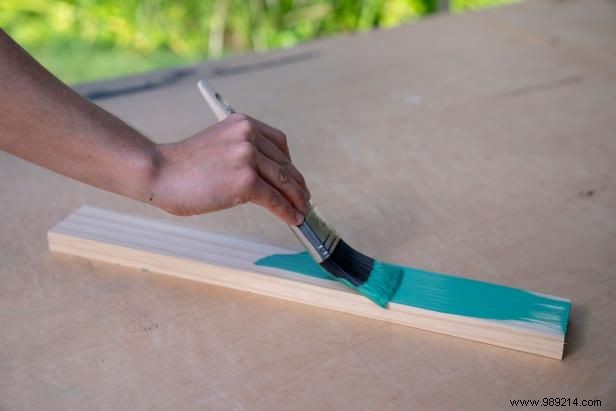
Paint frame and tray one color, dividers another for a professional finish.
Gary Payne
Gary Payne
Gary Payne
Gary Payne
Gary Payne
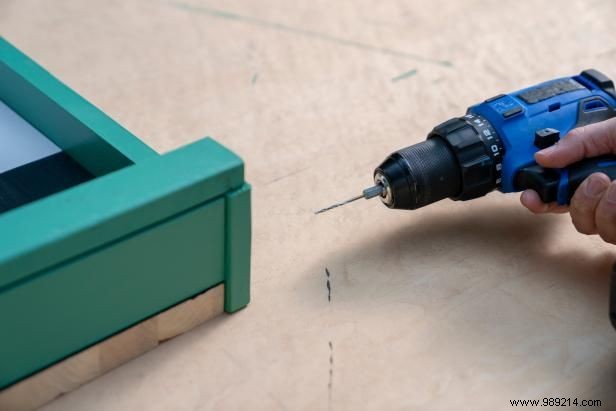
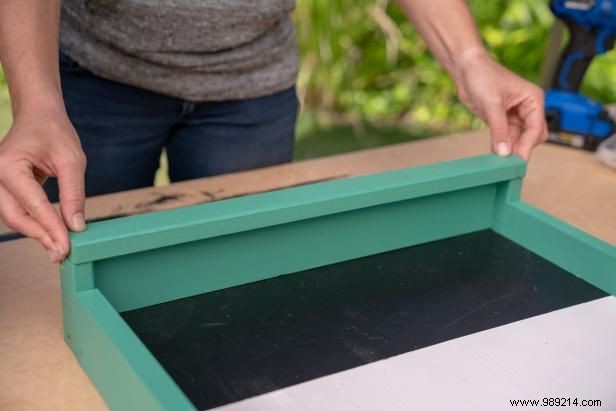
Attach 1x3 frame to plywood side, leaving 3/4" overhang at bottom for tray. Pre-drill holes to avoid splitting, secure with exterior screws. Add 3-1/2" side extensions, bottom 1x3, and 1x2 lip.

Gary Payne
Gary Payne
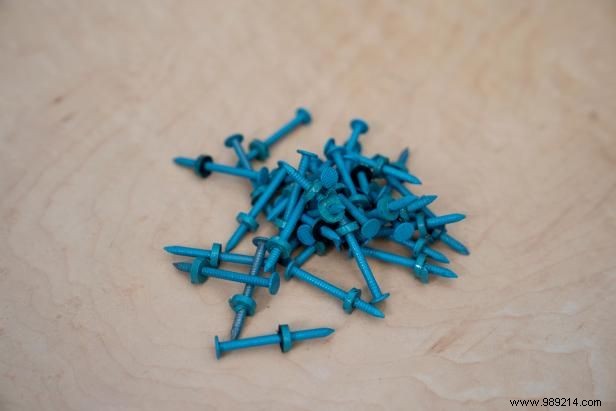
Slide neoprene washers 1-1/4" from nail heads for level placement. Optionally, spray paint nails and let dry.
Gary Payne
Gary Payne
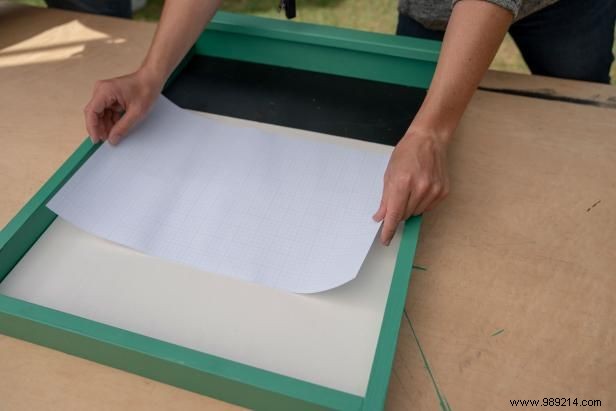
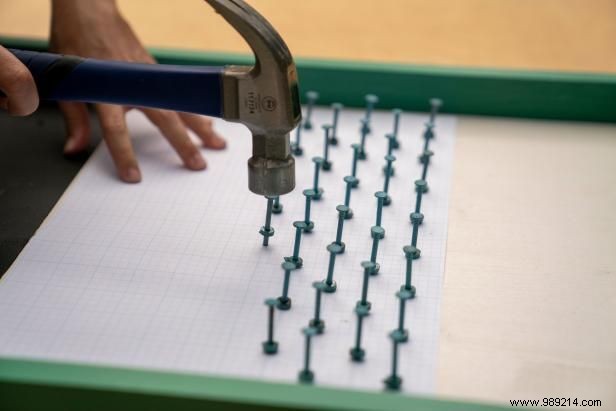
Use graph paper as a template. Space nails 1" apart horizontally, stagger rows by 1/2". Hammer until washers are flush with plywood. Remove paper.
Gary Payne
Gary Payne
Gary Payne
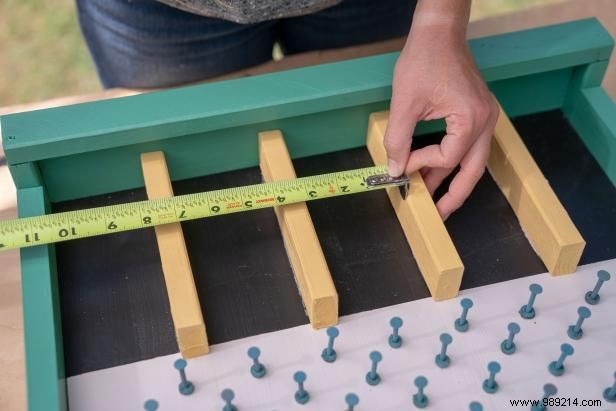
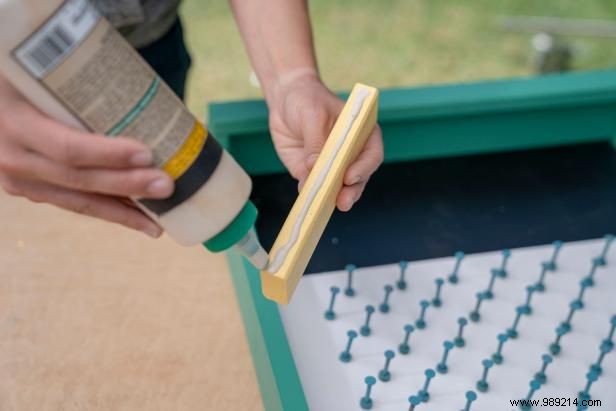
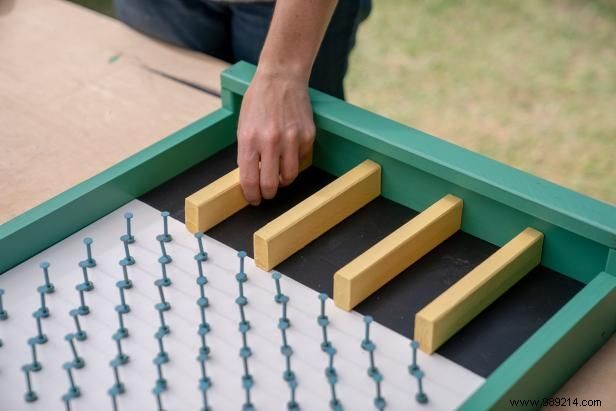
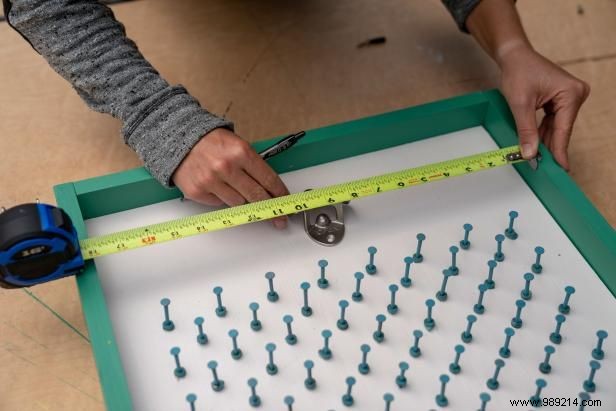
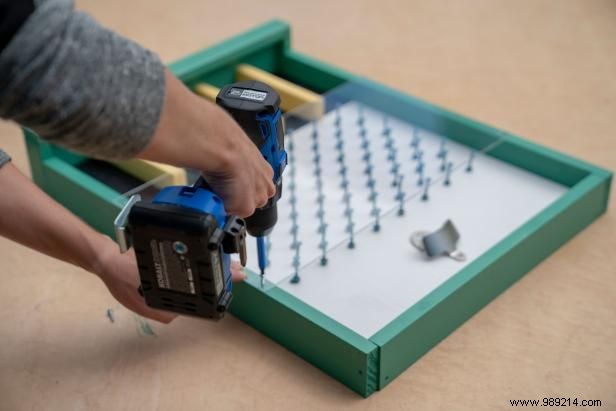
Position dividers evenly on lower tray. Secure spacers with wood glue and screws from below or back.
Gary Payne
Gary Payne
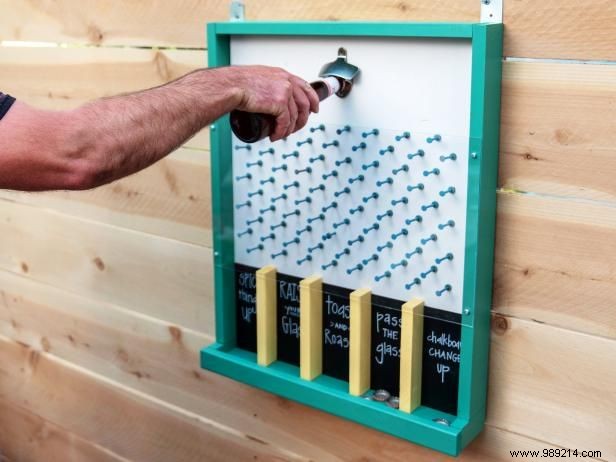
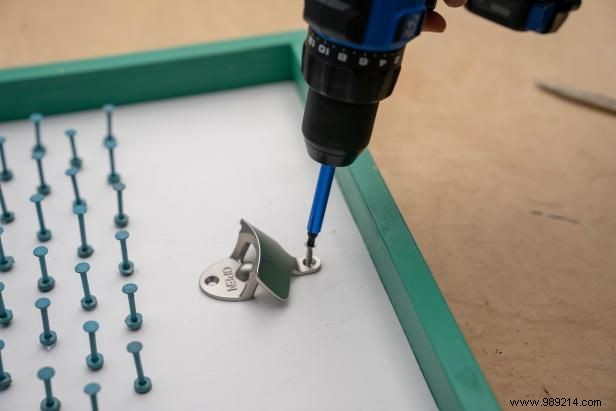
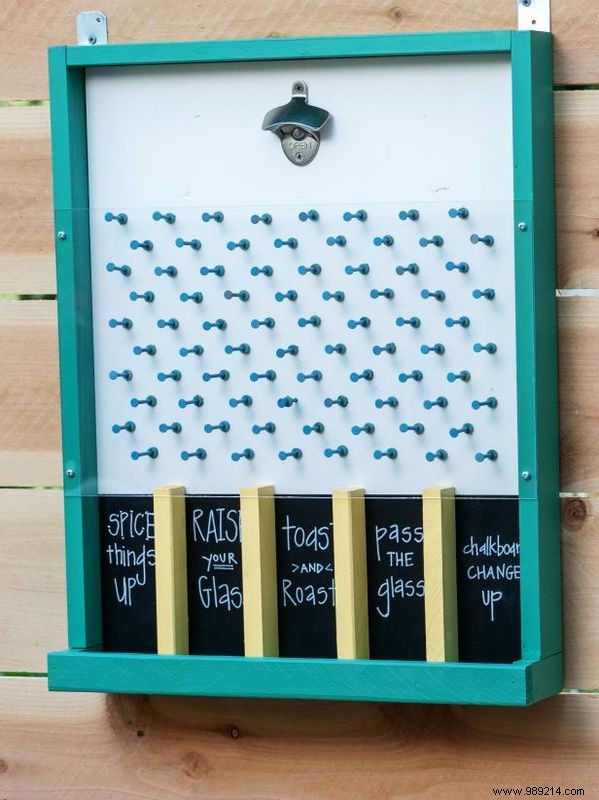
Center the bottle opener over the nails and secure with screws.
Gary Payne
Pre-drill holes in pre-cut Plexiglass and screw over nails to protect and contain tosses.

Gary Payne
Use chalk to add fun phrases or score points on each slot.
Gary Payne
Mount on the wall, open bottles, and enjoy endless game nights!