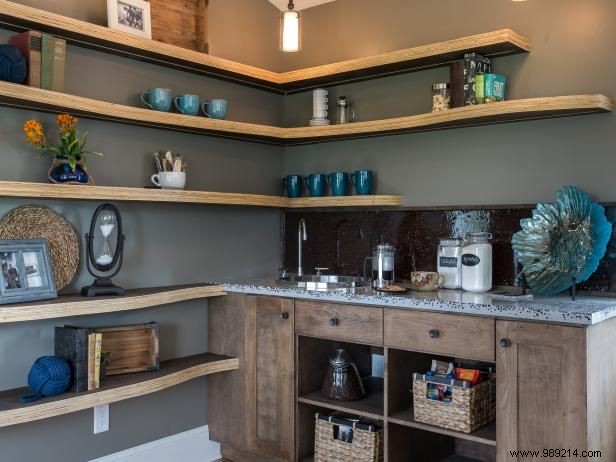
Transform your kitchen or coffee shop with a chic, organic coffee bean backsplash. This proven DIY technique, featured by expert craftsman Tony Flora on DIY Network, delivers professional results. Swap coffee beans for shells, vintage buttons, or other small accents for custom flair.
Tony Flora/AP Images, 2014, DIY Network/Scripps Networks, LLC. All rights reserved.
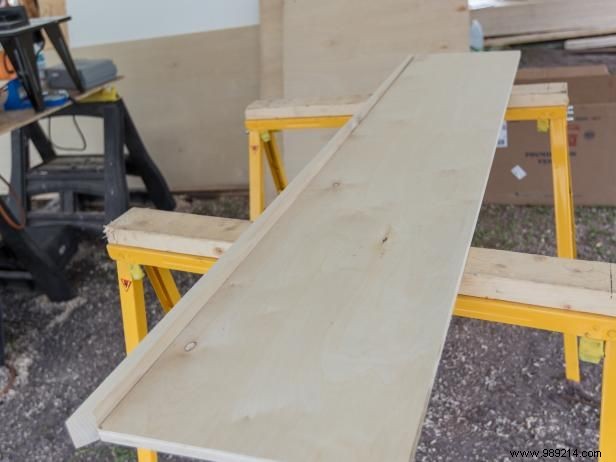
Start by cutting plywood to 13 1/4" x 70 1/2" on a table saw for a sturdy base.

Tony Flora/AP Images, 2014, DIY Network/Scripps Networks, LLC. All rights reserved.
Cut 1x4 poplar trim into 1 1/2" strips. Miter two to 72" and two to 14 3/4", then secure to the plywood with wood glue and 18-gauge brad nails.
Tony Flora/AP Images, 2014, DIY Network/Scripps Networks, LLC. All rights reserved.
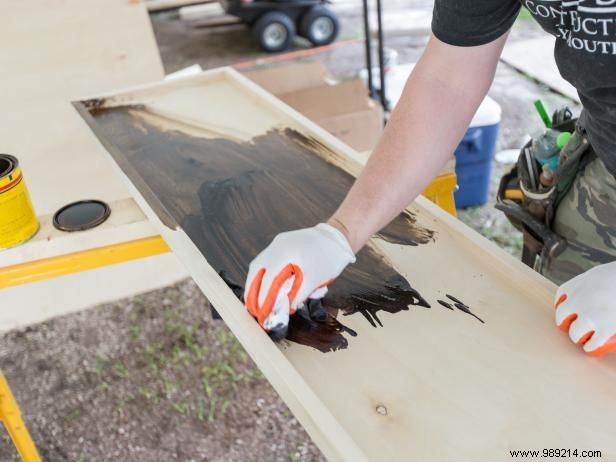
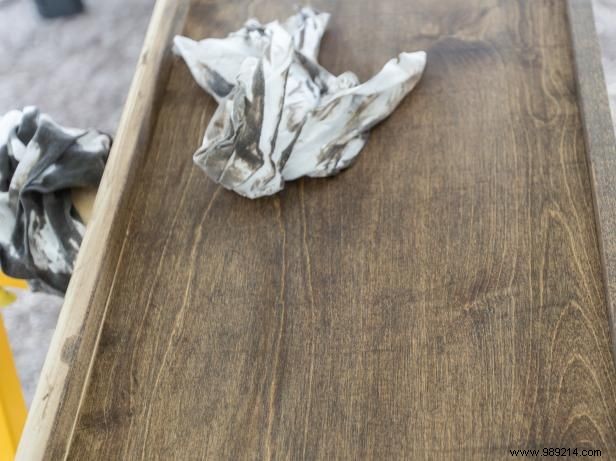
For seamless blending, stain the backing to match the beans. Choose a contrasting color for bold contrast.
Tony Flora/AP Images, 2014, DIY Network/Scripps Networks, LLC. All rights reserved.
Allow the stain to dry completely before moving on.
Tony Flora/AP Images, 2014, DIY Network/Scripps Networks, LLC. All rights reserved.
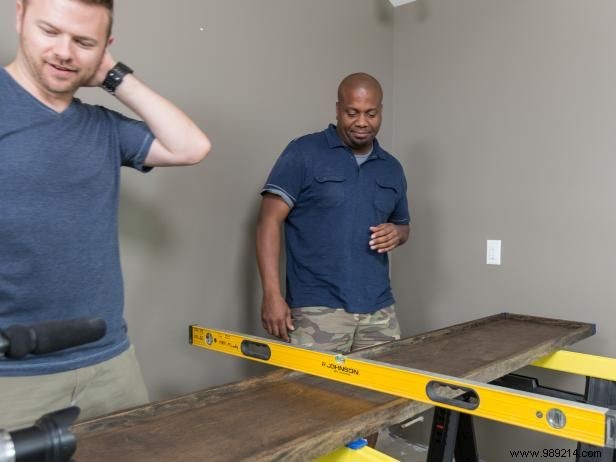
In a warm, dust-free spot, level the frame on a table or sawhorses—check both directions. Seal windows and vents against dust or bugs; ideally work in a garage to avoid fumes.
Tony Flora/AP Images, 2014, DIY Network/Scripps Networks, LLC. All rights reserved.
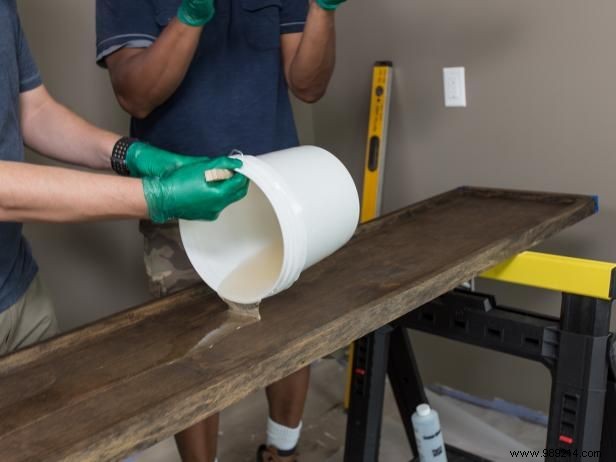
In a plastic bucket, mix 16 oz of 60 coat stick finish precisely per instructions—incorrect mixing prevents proper curing.
Tony Flora/AP Images, 2014, DIY Network/Scripps Networks, LLC. All rights reserved.
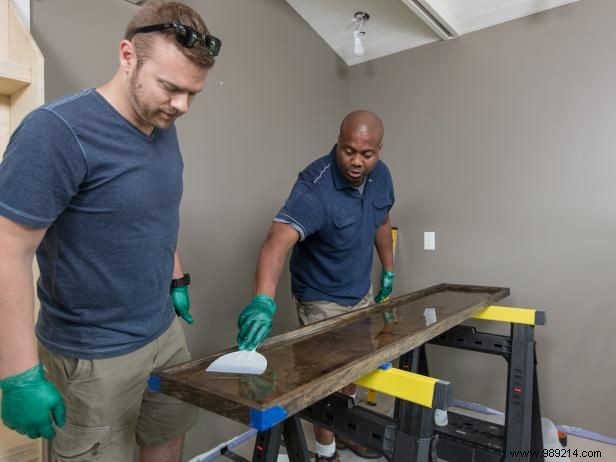
Spread epoxy evenly across the bottom, no thicker than 1/4" for optimal results.
Tony Flora/AP Images, 2014, DIY Network/Scripps Networks, LLC. All rights reserved.
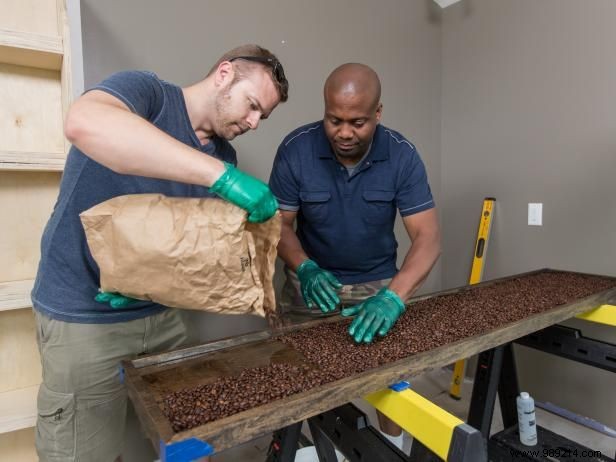
Pour coffee beans into the frame and work them in place with gloved hands.
Tony Flora/AP Images, 2014, DIY Network/Scripps Networks, LLC. All rights reserved.
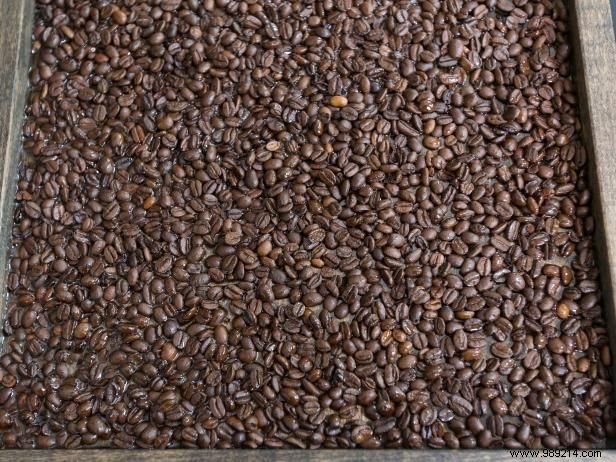
Let epoxy set for several hours to keep beans submerged.
Tony Flora/AP Images, 2014, DIY Network/Scripps Networks, LLC. All rights reserved.
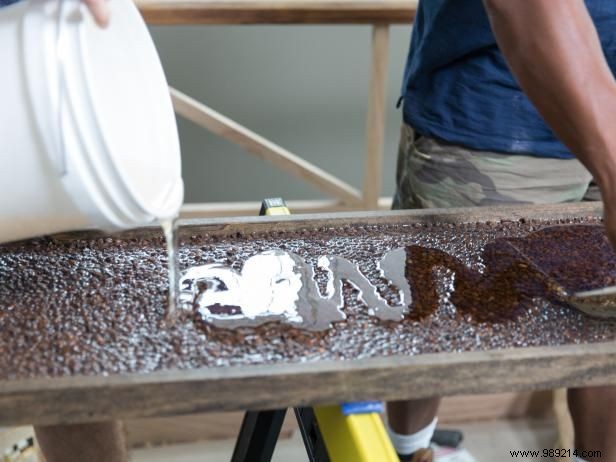
With base partially set, mix 32 oz more epoxy, pour over, and spread quickly for a glass-like sheen.
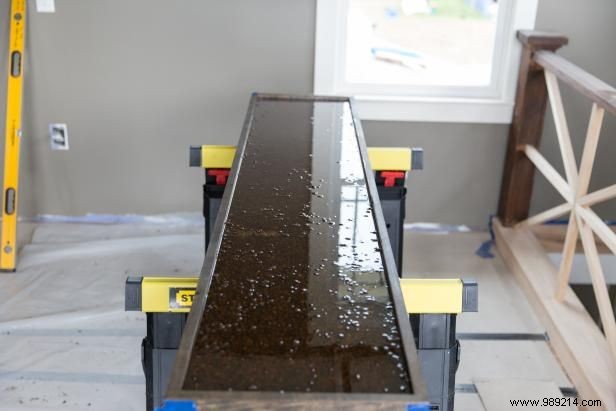
Tony Flora/AP Images, 2014, DIY Network/Scripps Networks, LLC. All rights reserved.
Allow overnight curing before installation.
Tony Flora/AP Images, 2014, DIY Network/Scripps Networks, LLC. All rights reserved.
Secure the hardened piece to the wall with construction adhesive or finish nails through the frame edges.