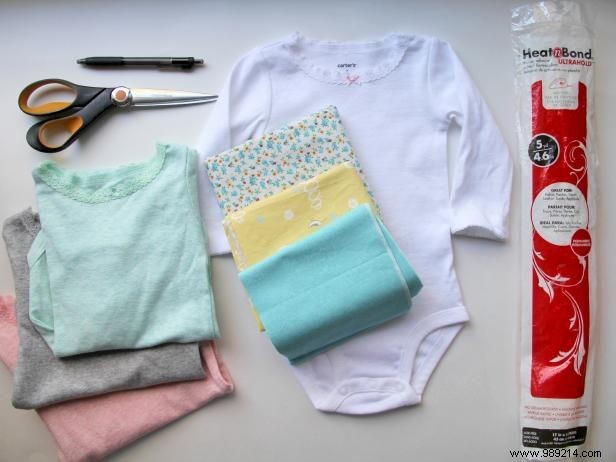
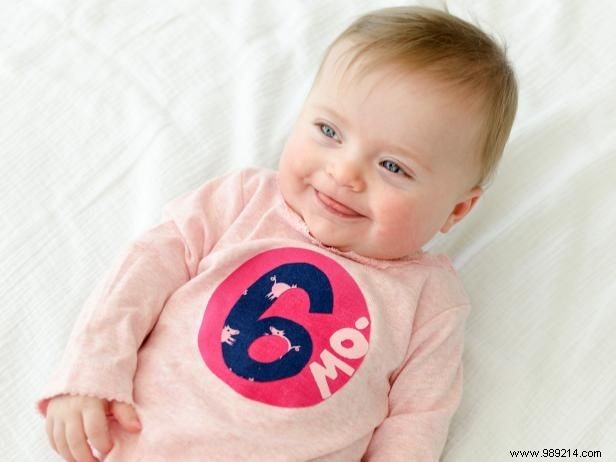
As a seasoned DIY crafter with years of experience creating personalized baby gifts, I've found that a set of monthly appliquéd onesies makes an unforgettable shower present. String them on a clothesline for display, package in assorted bags, and delight the new mom as her little one grows through fabulous, custom outfits month by month.
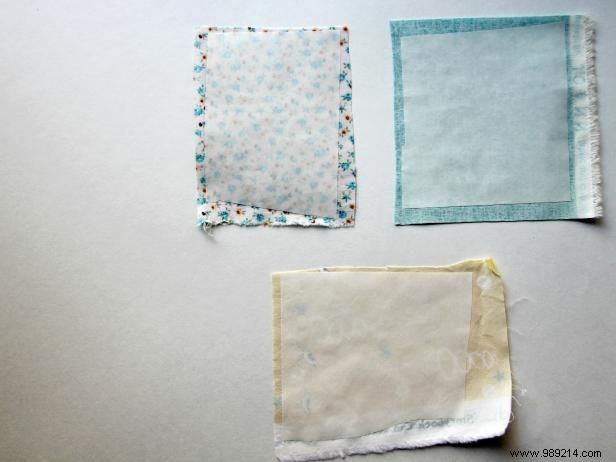
Cut Heat'n'Bond squares to match your fabric scraps. Following the package instructions, iron the rough side down onto the wrong side of the fabric for a secure bond.
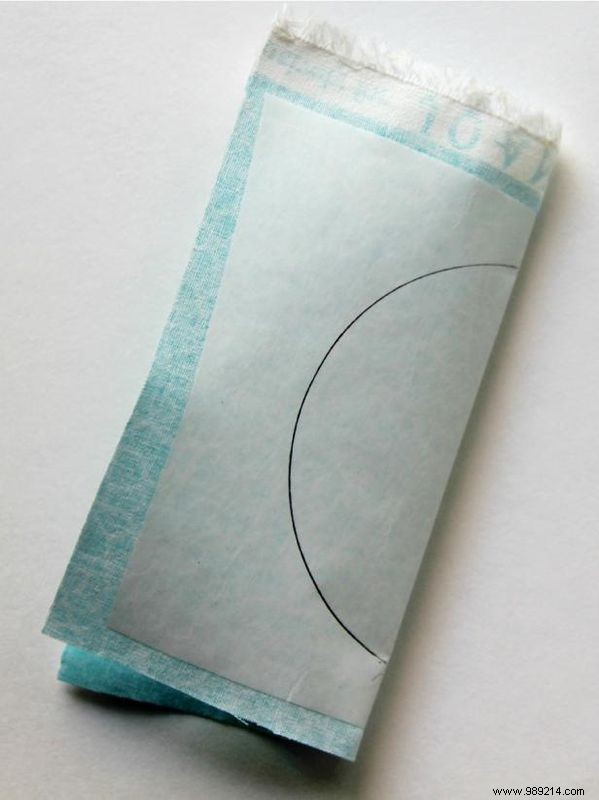
Use a pen to draw a circle, square, or your preferred shape directly on the fabric.
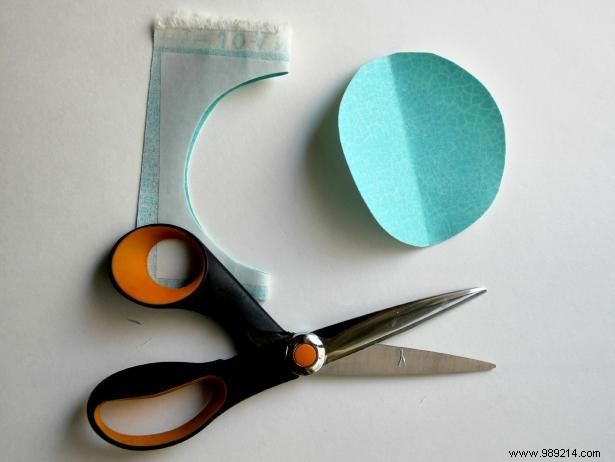
Carefully cut out the shape. This forms the base for your appliqués.

Use the cut shape as a template to trace onto the next fabric piece.
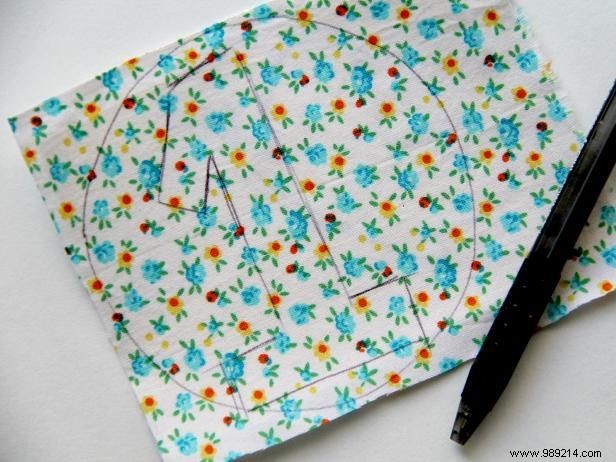
Sketch the number inside the circle slightly larger than desired, allowing room to trim inside the lines and avoid visible pencil marks. Alternatively, use a washable fabric marker.
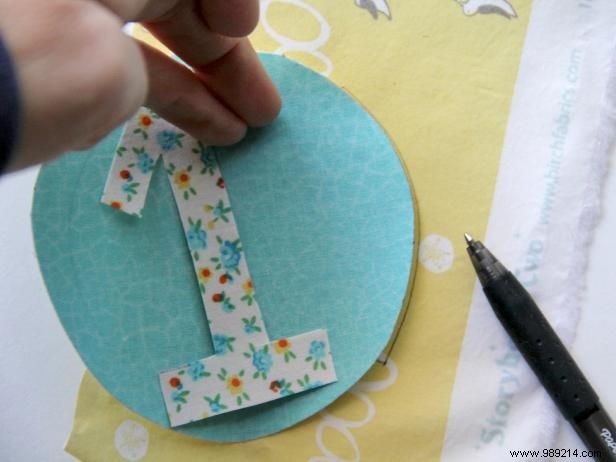
Cut out the number and place it on the base shape to gauge letter sizing for the month. Trace the circle outline onto your final fabric layer.
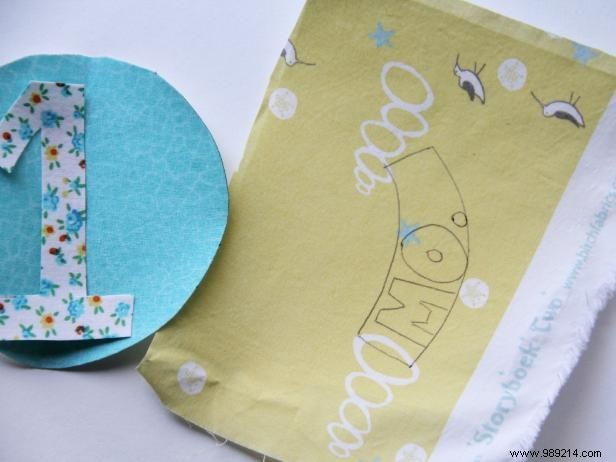
Draw and cut out the month letters precisely.
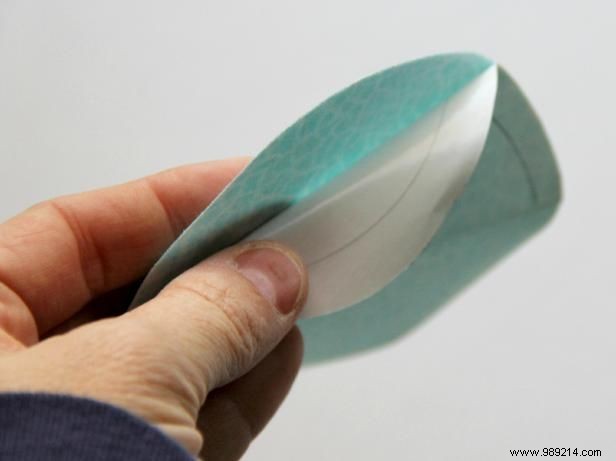
Remove the Heat'n'Bond paper liner from the wrong side of each shape.
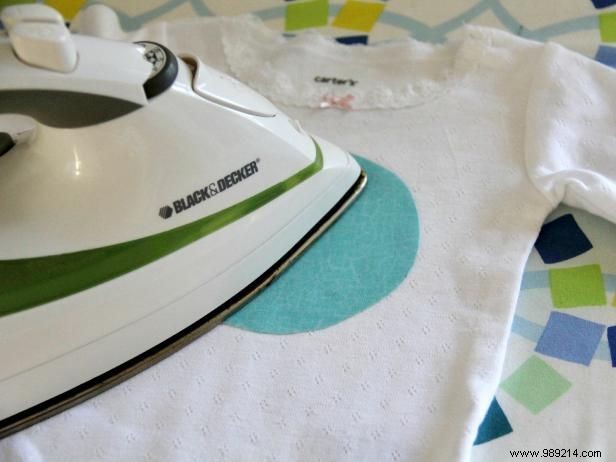
Position the base shape on the onesie and iron to adhere, per Heat'n'Bond instructions.
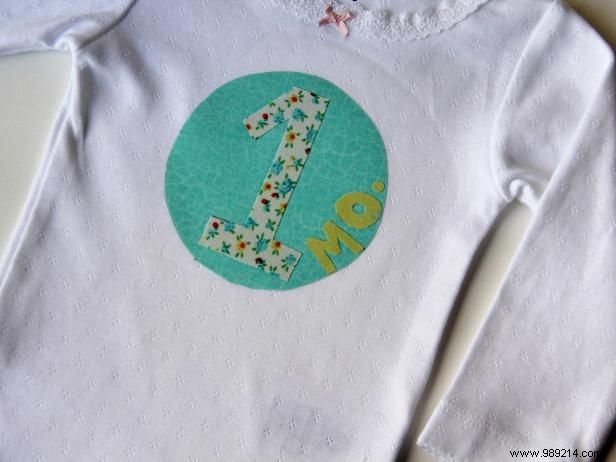
Iron on the number and month letters for a durable hold.
Jason Kisner, 2013, DIY Network / Scripps Networks, LLC. All rights reserved.
Baby clothes for the DIY Network.
Repeat for each month to create a complete set—the ultimate photo-worthy gift for documenting baby's milestones. These appliqués withstand multiple washes without fraying. For extra durability, stitch around the edges with a straight stitch.