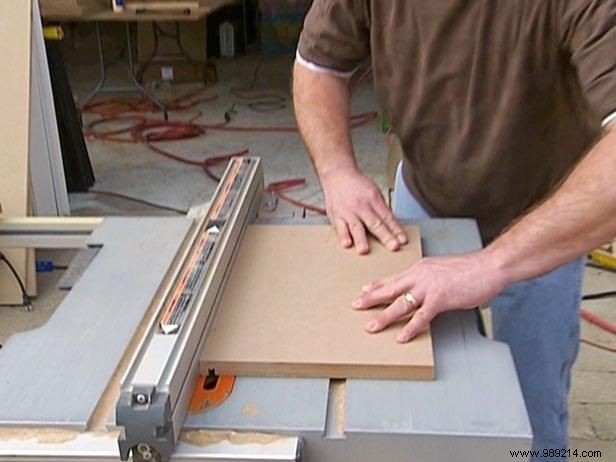
As an experienced woodworker and cigar enthusiast, start by precisely measuring the interior dimensions of the cabinet drawer that will house your humidor. Using these measurements, cut four matching sheets of MDF to serve as the sides and back. Set your table saw blade to about half the thickness of the MDF sheets, then run the two side pieces through to create slots for the bottom panel to slide into securely.
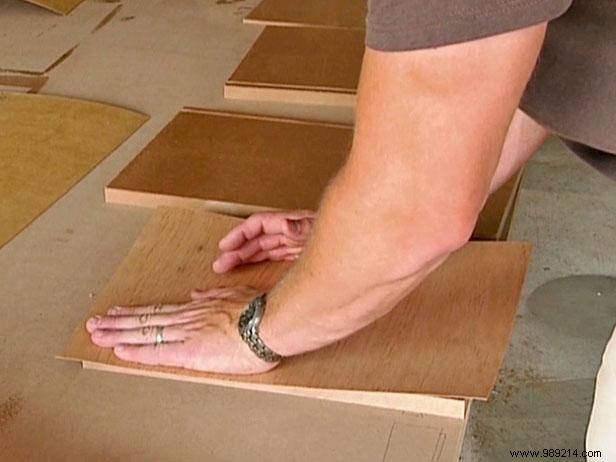
Apply glue to the interior-facing surfaces of the MDF pieces and adhere Spanish cedar veneer, ideal for cigar storage due to its natural moisture-regulating properties. Trim excess veneer with a handheld router for a clean fit. Run a bead of glue along the edges and assemble the sides to the back panel, forming a sturdy drawer frame.
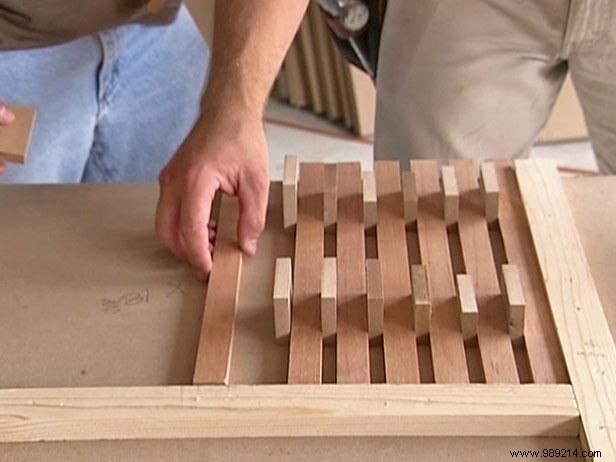
For the cigar shelves, cut enough MDF slats to fit the drawer's width and set them aside. Create a 90-degree template from scrap wood to ensure accuracy. Cut 2-inch spacers (twice the number of slats) from scrap MDF. Align the first slat with the template's top, position spacers a few inches down and near the bottom, then place the next slat. Repeat with additional spacers and slats until you have eight strips assembled.
Apply glue between slats with spacers in place, then top with a horizontal slat. Secure with a nailer for strength. Repeat to attach the bottom horizontal slat, completing the rack frame. Position it at the base of the drawer for optimal support.
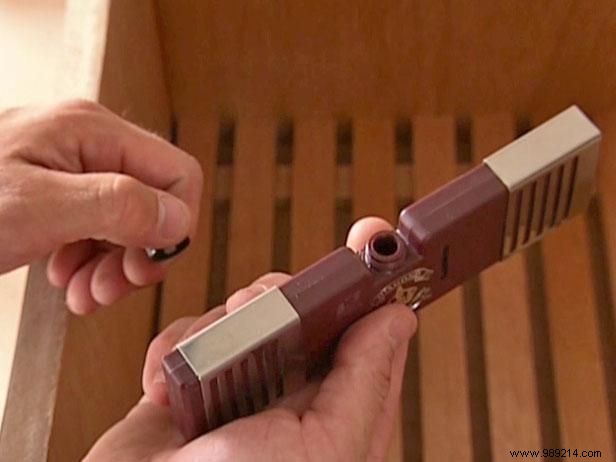
Mount the humidifier along the top edge of one drawer side, calibrating it to maintain 70% humidity—the gold standard for premium cigars. Install the hygrometer on the opposite side to accurately monitor conditions.
Secure a piano hinge to the top edge of the drawer assembly, then affix the final MDF panel as the front door, ensuring smooth operation and a professional finish.