With years of hands-on experience in fabric crafts, we've refined this technique for durable, custom rug borders. Cut four fabric strips, each 1 inch longer than the rug's sides. For width, double the desired finished border (e.g., 2 inches) and add 1 inch seam allowance—we recommend 5-inch strips for a polished 2-inch border. Fold and press a 1/2-inch hem inward along both long edges of each strip. Then, fold the strip in half lengthwise with right sides facing out and press firmly.
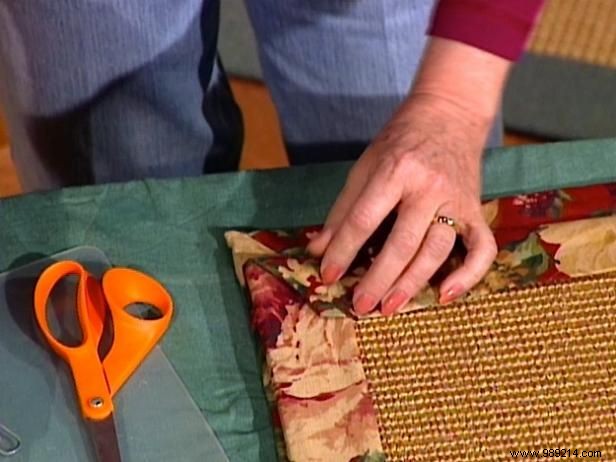
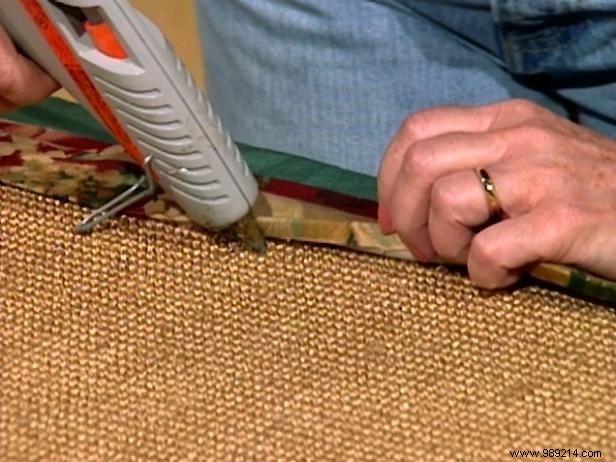
Start by attaching the end borders. Align the rug edge with the fabric edge, apply hot glue along the fabric's edge on both front and back, and press firmly to secure. Trim excess fabric even with the rug ends. Glue the side borders to the back, folding ends over to the front for a clean edge. At corners, miter the fabric at a 45-degree angle for a professional mitred corner, then glue securely. Repeat for all edges, ensuring a taut, even fit on your fiber rug.
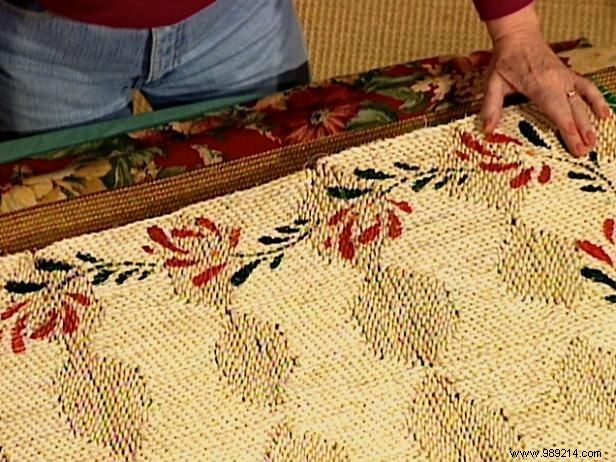
Elevate a simple natural fiber rug affordably with stenciled borders using stencil paint. Alternatively, mask off areas with tape and newspaper, then spray paint for stripes or patterns. For highly patterned rugs, brush on interior/exterior paint to enhance designs. Seal painted areas on both sides with clear sealer to prevent bleeding onto floors. Note: Natural fibers can slip—add nonslip rug underlay for safety.