As a DIY enthusiast with years of crafting experience, I've found that spilling paint on planters creates vibrant, artistic results you'll love. Start with an old terracotta pot, inexpensive craft paints in bold colors, and pour away. For family fun, let the kids handle the pouring—it's mess-free creativity at its best.
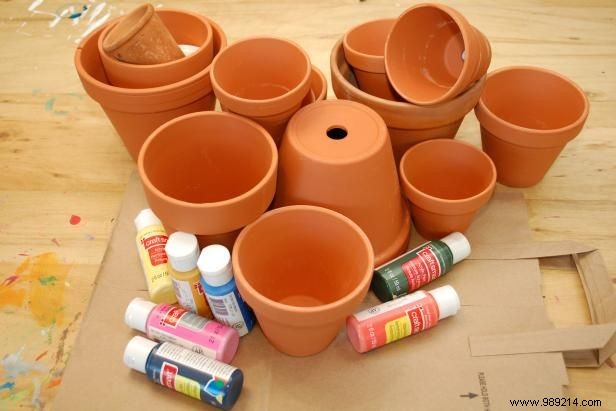
Protect your workspace with a drop cloth to catch drips and spills. Gather paints, pots, and enthusiasm.
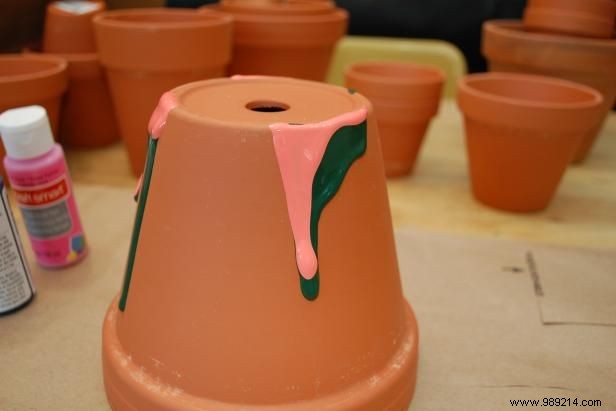
Pour paint from the top down, or flip the pot upside down and pour from the bottom up for unique effects.
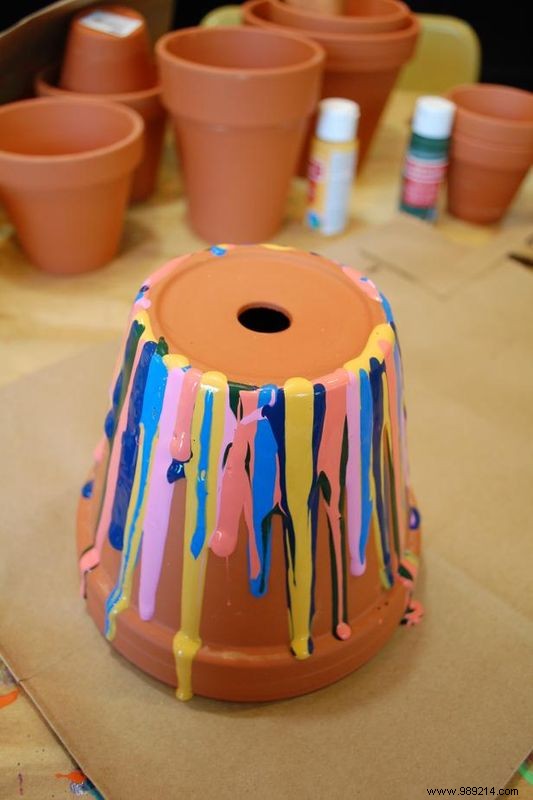
Generously apply paint in large globs around the edges, allowing it to drip naturally down the sides. Keep it organic—avoid forcing the drips for an authentic look.

Add a second color directly above the first drip. This builds depth and encourages longer runs. Repeat around the pot with your color scheme.
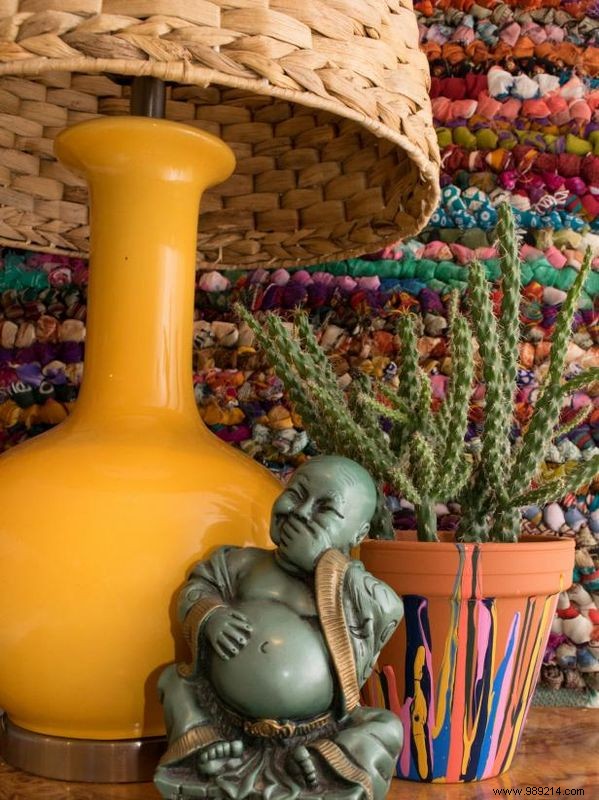
Allow the paint to dry completely. Pop in a plant and showcase your masterpiece for a striking display.