Bring the gentle sounds of spring to your garden with these charming terracotta pot wind chimes. Kids love customizing the painted "flowers" and ringing the "bells." For a living twist, swap fake flowers for drought-tolerant succulents in moisture-retaining potting soil.
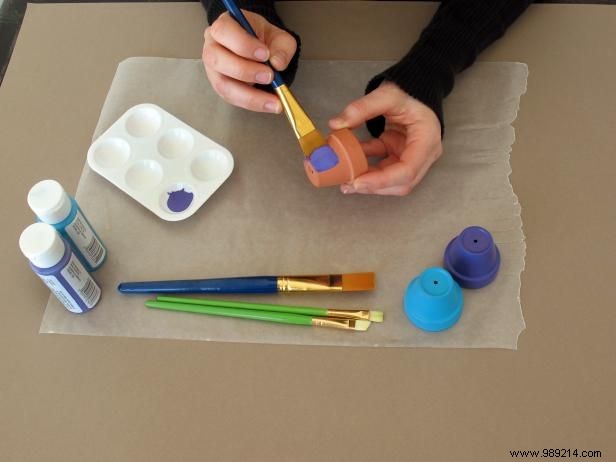
Image 1
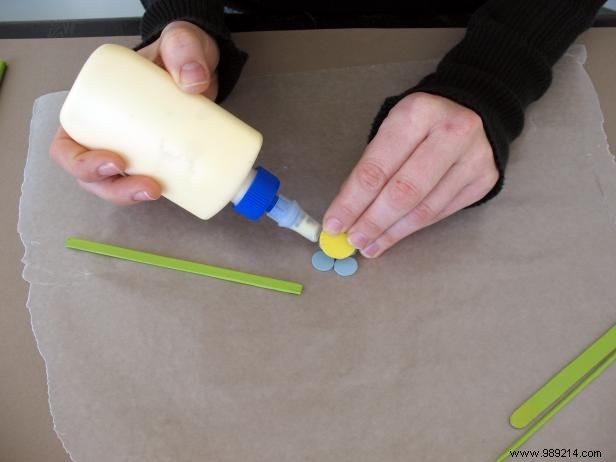
Image 2
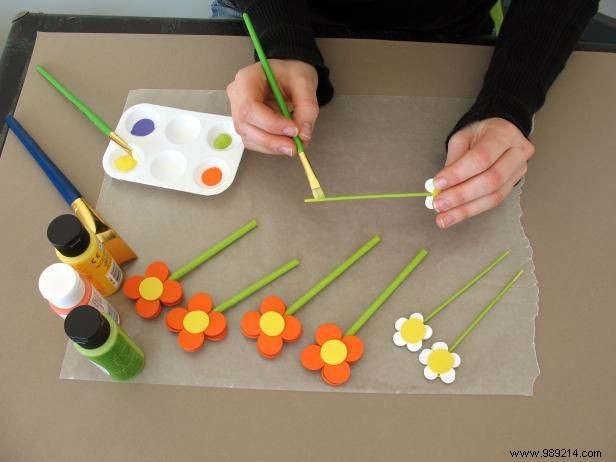
Image 3
Paint the flower petals, centers, stems, beads, and terracotta pots in your desired colors. Glue the centers to the petals and let dry according to the glue instructions (Images 1, 2, and 3). Attach stems to the flowers and allow to dry. For weather resistance and a glossy finish, spray the flowers, beads, and pots with outdoor acrylic sealer and let dry fully.
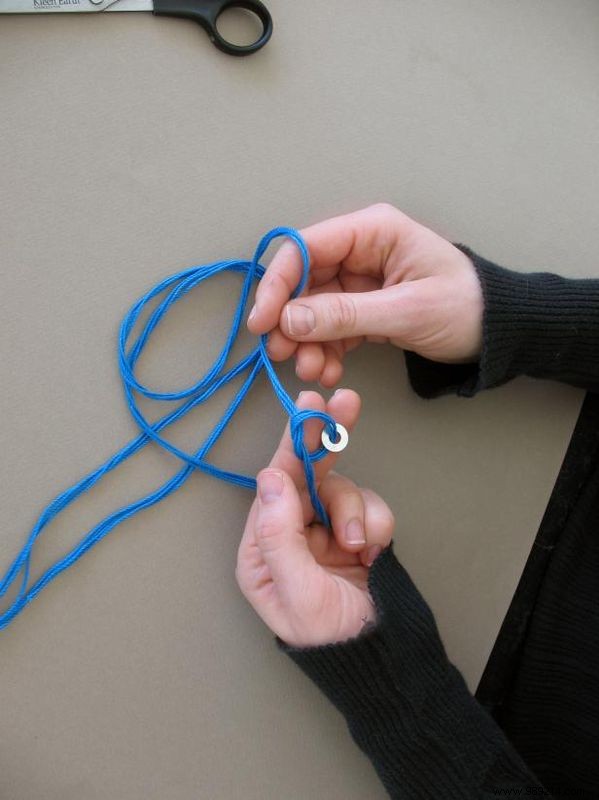
Image 1
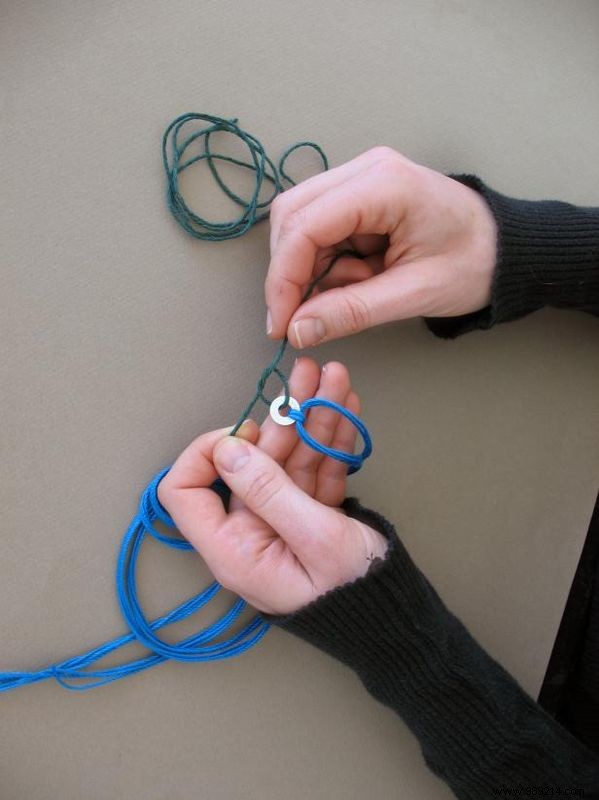
Image 2
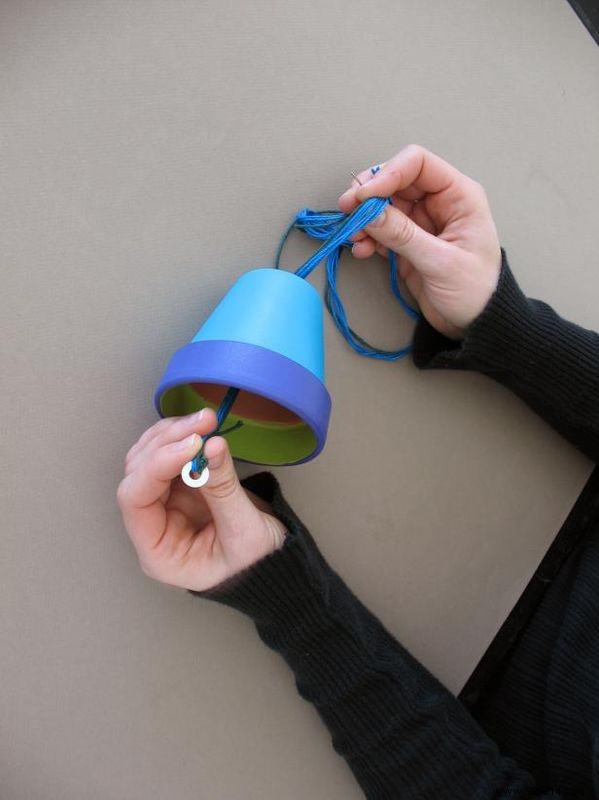
Image 3
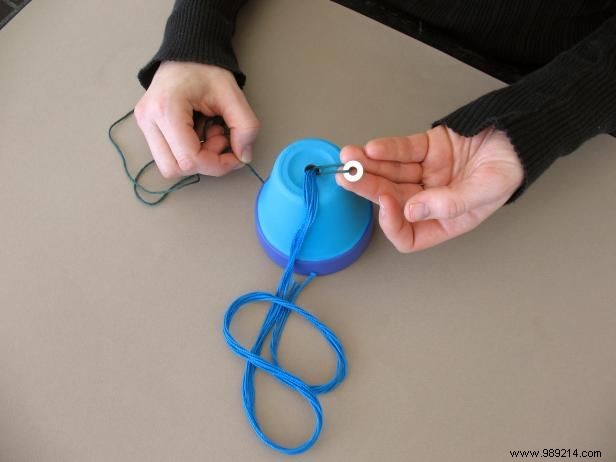
Image 4
Cut five 40-inch pieces of string—four for the hanger and one for the bells. Fold the four hanger strings in half, thread through a grommet, and tie a tight knot to create eight equal strands (Image 1). Tie the bell string to a washer (Image 2).
Thread the strings through the bottom of the large terracotta pot so the washer sits inside and the strings emerge from the drain hole (Image 3).
Flip the pot upside down, attach another washer to the bell string, and thread it back through the drain hole to keep it secure while building the hanger (Image 4).
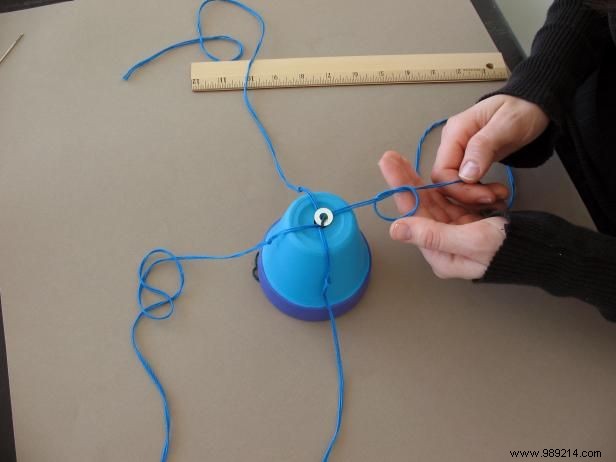
Image 1
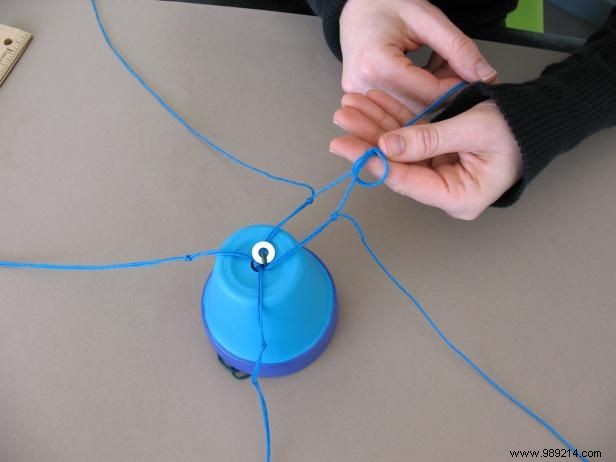
Image 2
Group the strands into four pairs and tie a knot in each pair 2.5 inches from the hole (Image 1). Take one strand from each of two adjacent pairs and tie a knot 1 inch below the first knots, keeping them even (Image 2). Repeat to form four new pairs.
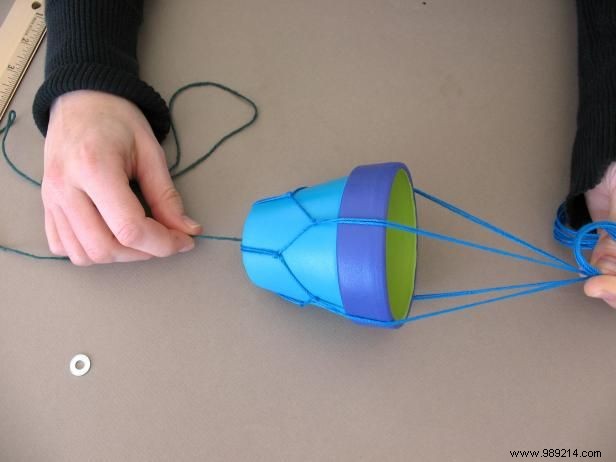
Image 1
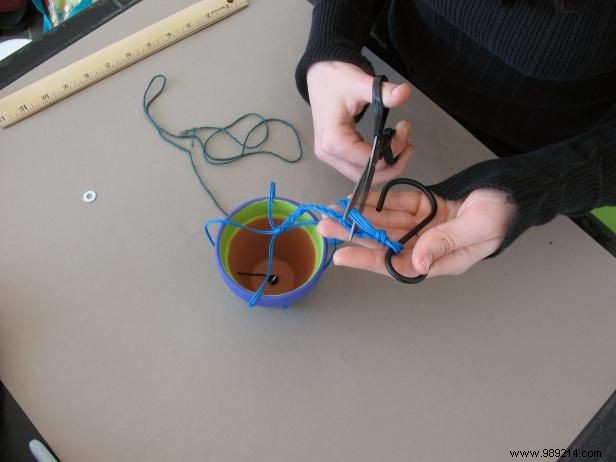
Image 2
With the grommet on the outside, pull the bell string out and let it hang while holding the hanger strings (Image 1). Ensure the pot hangs level and secure by knotting the strings 4-6 inches up, based on your flower height. Set the washer aside for the chime assembly.
At your desired hanging height, tie a knot around a hook, peg, or stick, and trim excess string (Image 2).
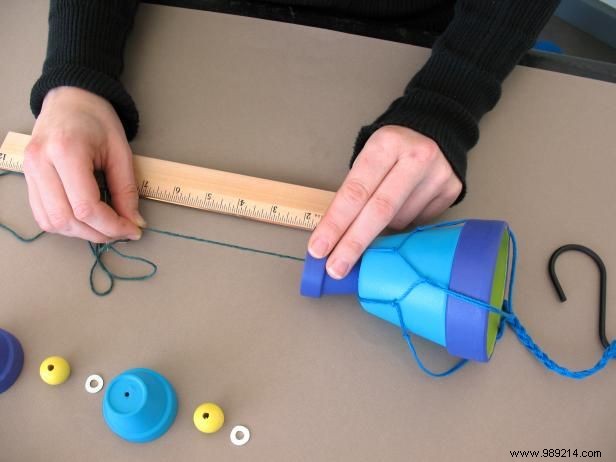
Image 1
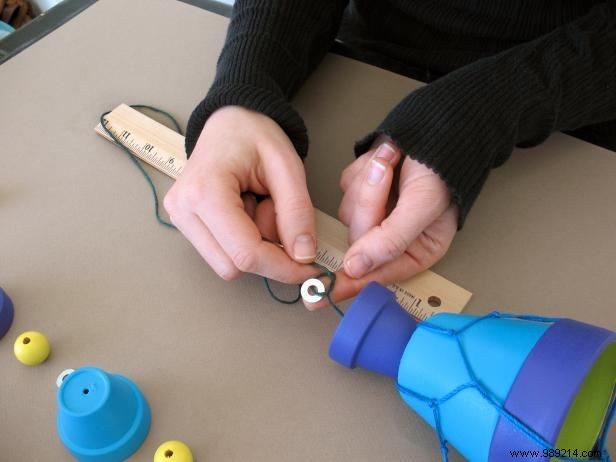
Image 2
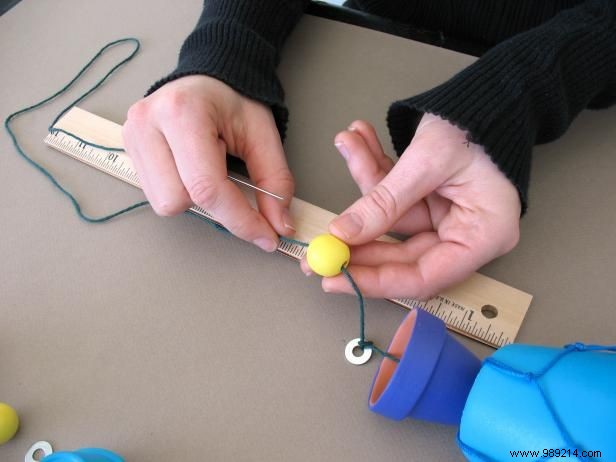
Image 3
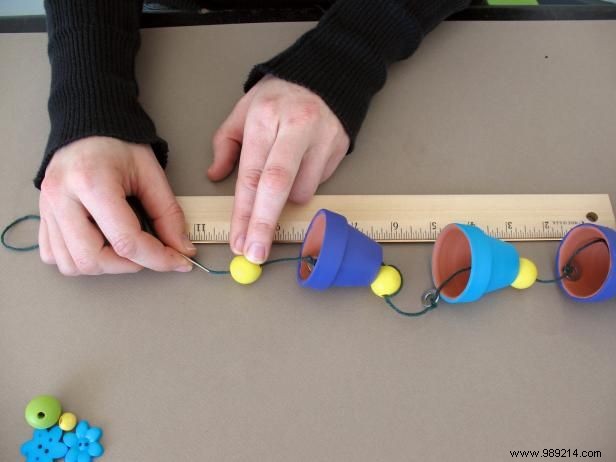
Image 4
Lay the pot on its side. String a small pot upside down onto the bell string and slide it up against the large pot (Image 1).
Thread a grommet onto the string at the small pot's edge and tie a knot (Image 2)—this is where the pot hangs. Note: For thicker string, a strong knot may suffice without a grommet.
Add a bead a few inches above the washer and tie a knot (Image 3). Large-hole beads may need double knots or glue. Position so the bead slightly protrudes to ring against the pot rim.
Repeat for the second and third pots (Image 4).
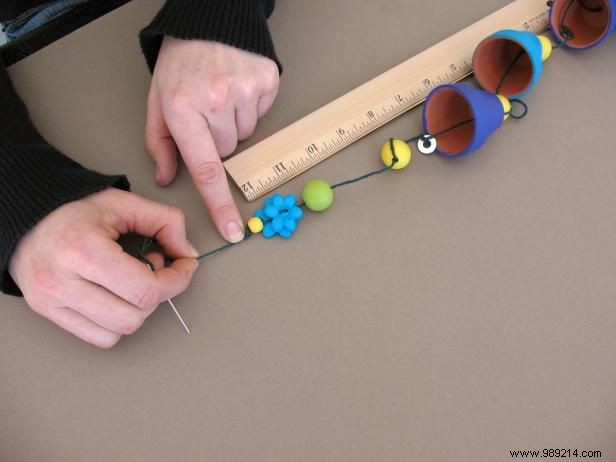
Image 1
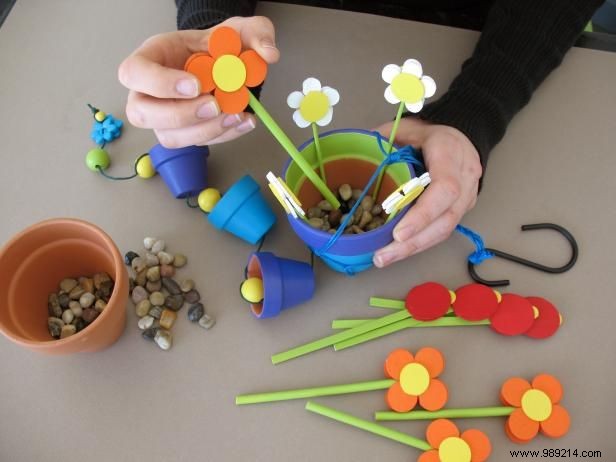
Image 2
Thread remaining beads and decorations 2-3 inches below the last bead for the final chime (Image 1). Trim excess string, align beads, and secure knots with glue if needed.
Arrange flowers in the pot, using gravel to hold them steady (Image 2).
Hang and enjoy the soothing melody!