Store-bought decorative chalkboards and wall organizers can be pricey, but as a DIY expert with years of crafting experience, I've created stunning ones for just a few dollars. I sourced $10 picture frames from a thrift store, a can of chalkboard paint for under $5, and chalk for $2. This beginner-friendly project takes minimal time and is perfect for family involvement.
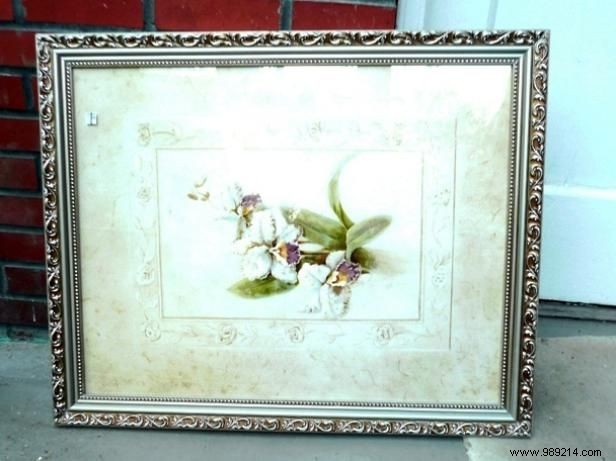
Select a large picture frame with a solid backing board. If the backing is inadequate, substitute a thin piece of laminated plywood for your chalkboard surface.
Use a flathead screwdriver to pry up the metal brackets on the frame's back. Remove the artwork and retain the support backing.
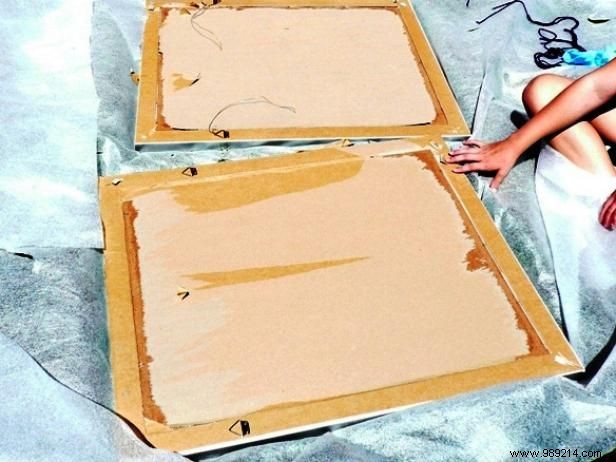
Apply primer to the surface with a spray or brush and allow it to dry fully. Coat with chalkboard paint, let dry, and add a second coat if needed. Adhere to the manufacturer's drying instructions. For permanent lettering, opt for black base paint with white accents.
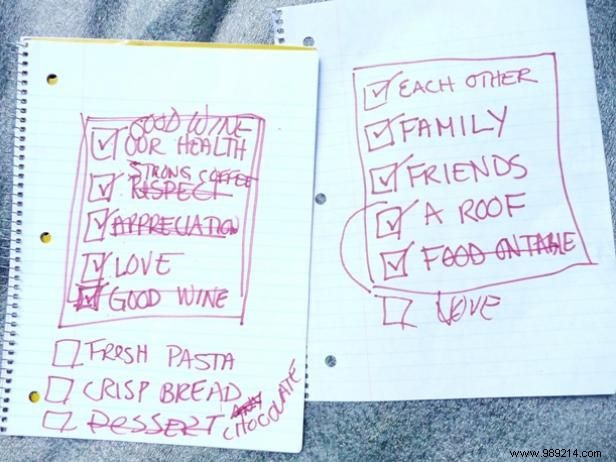
Draft your message on paper, ensuring it fits the space. Measure starting and ending points, accounting for the frame's borders.
Precisely apply your words using chalk (or white brush paint). A T-square ensures straight lines for a professional finish.
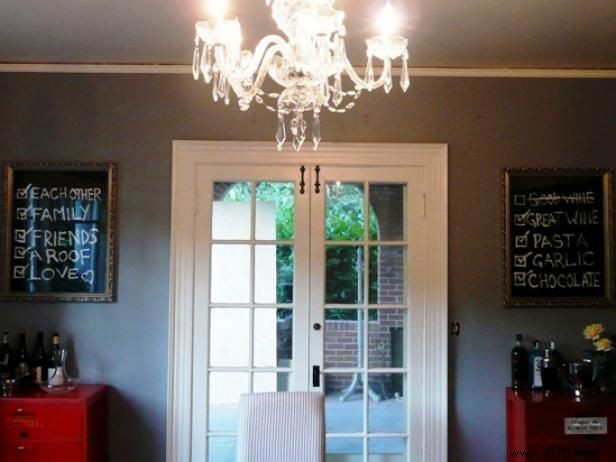
Clean both sides of the glass, then reassemble the chalkboard into the frame. For frequent changes, omit the glass. Secure the metal fasteners with a flathead screwdriver.