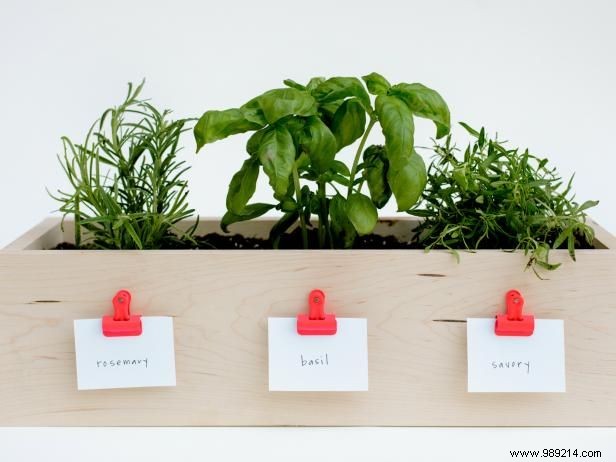
As a woodworking enthusiast with years of hands-on experience crafting custom planters, I've designed this straightforward herb box that's ideal for your kitchen windowsill or countertop. For outdoor use, opt for weather-resistant wood and line it with plastic sheeting for longevity.
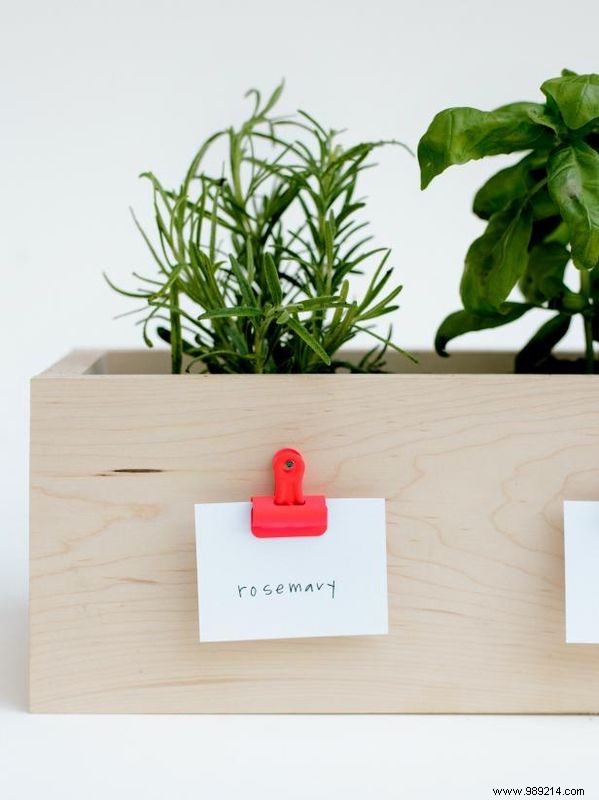
We kept our box's natural wood finish for a rustic charm, adding vibrant neon-painted clips for a fun pop of color.
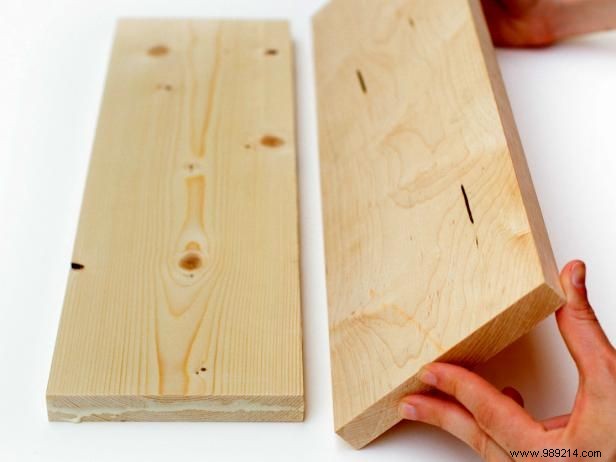
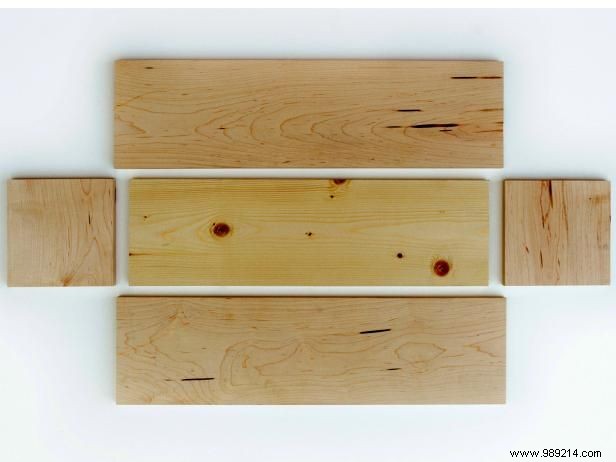
5 pieces of maple wood:
- 2 end pieces: 5-1/2" x 5-1/2"
- 2 side pieces: 20" x 5-1/2"
- 1 bottom piece: 18-1/2" x 5-1/2"
- Wood glue
- Finish nails
- Metal clips
- Hammer
- Two clamps
- Neon spray paint
- Extra finish nails for reinforcement
- Waterproofing tape, such as Tyvek
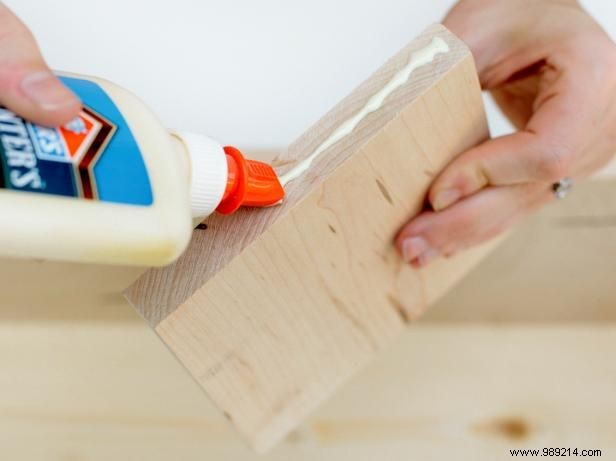
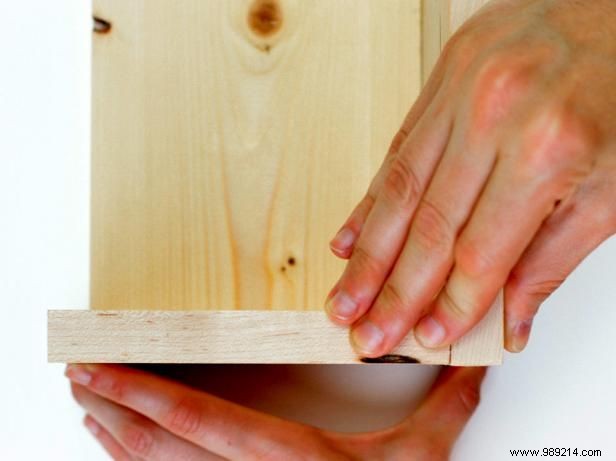
Lay the bottom piece (18-1/2" x 5-1/2") on your work surface. Apply a thin bead of wood glue around the edges. Align and attach one side piece (20" x 5-1/2") to the center of the bottom, creating a 3/4" overhang on each end.
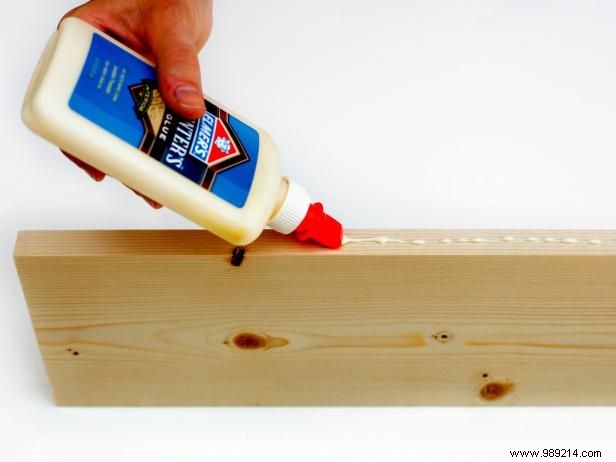
Apply wood glue to one end piece (5-1/2" x 5-1/2") and attach it to form a corner with the bottom and side. Repeat on the opposite end. Add glue to the adjoining edges of the sides and ends, then press firmly to assemble the box.
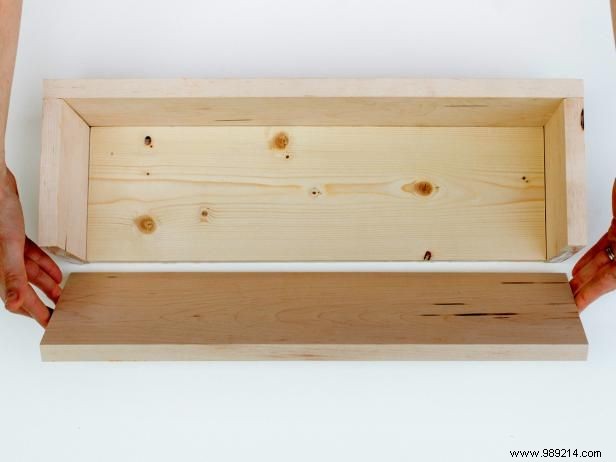
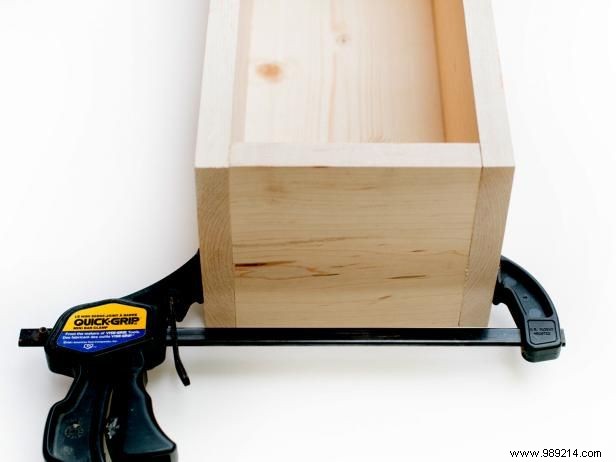
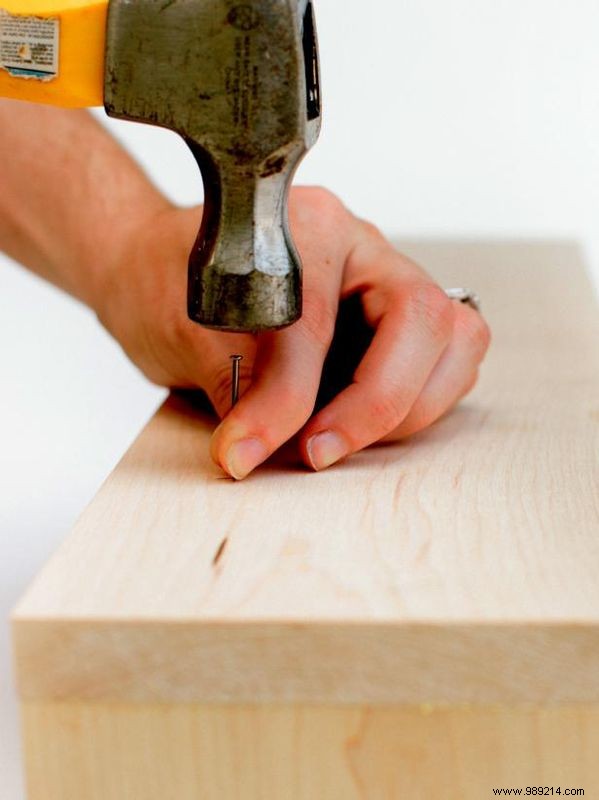
While the glue is still tacky, adjust for perfect alignment. Clamp both ends securely and allow to dry for at least 12 hours. Once dry, drive finish nails into each corner for added strength.
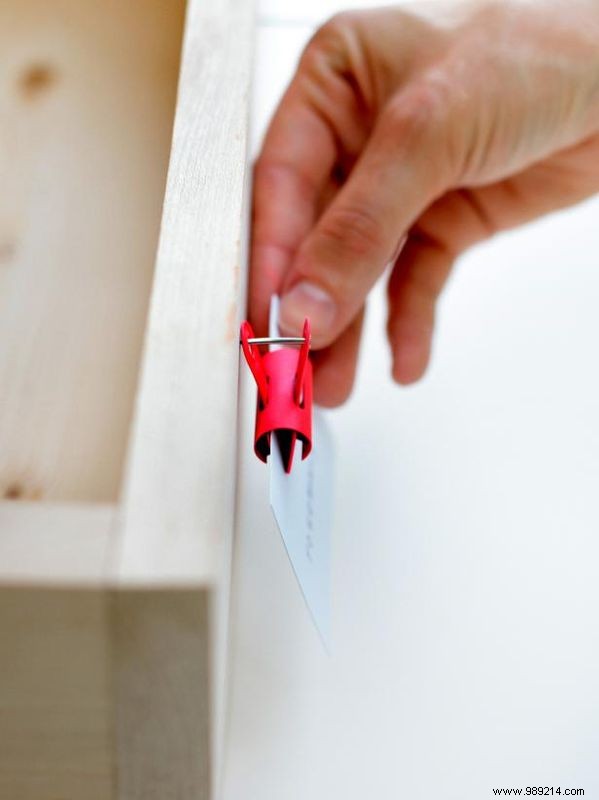
Mark clip positions with a pencil— we placed ours 1" from the top: one centered at 10" and the others spaced evenly. Hammer a finish nail partially at each mark for the clips to hook onto.
Spray the metal clips with neon paint formulated for metal. Use cut cardstock labels to identify your herbs.
For protection against warping from frequent watering, line the interior with waterproof tape or plastic sheeting.