Want to craft your own pillar candles? I've experimented with an unexpected mold: flexible plumbing couplings from the home improvement store's plumbing aisle. They're reusable, come in various sizes (like the 2-inch model I used for $4.33), and perfect for multiple projects.
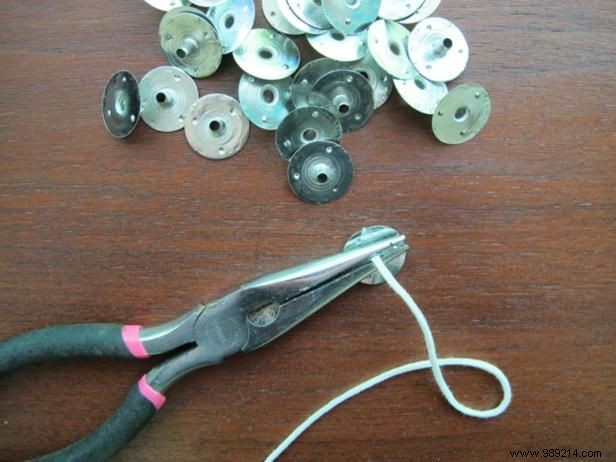
Attach a wick tab and wick string to the length of your candle. Ensure the wick extends a few inches longer than needed for easy handling.
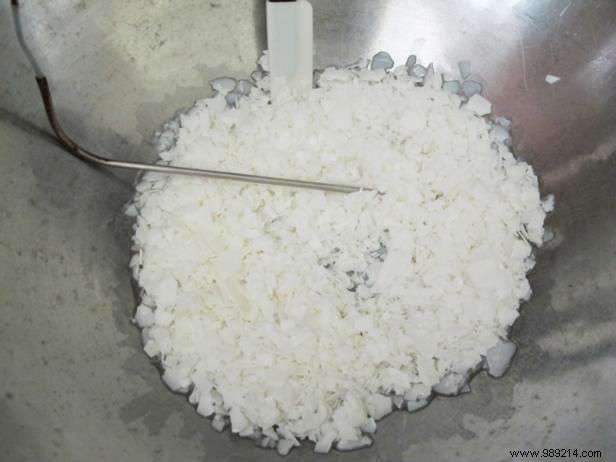
Set up a double boiler on your stove and heat wax flakes to 180°F.
Once at 180°F, turn off the heat, add fragrance oil (optional) and color (optional), then let it cool to 125°F.
Add fragrance after removing from heat to prevent scent evaporation—I've learned this the hard way in past batches.
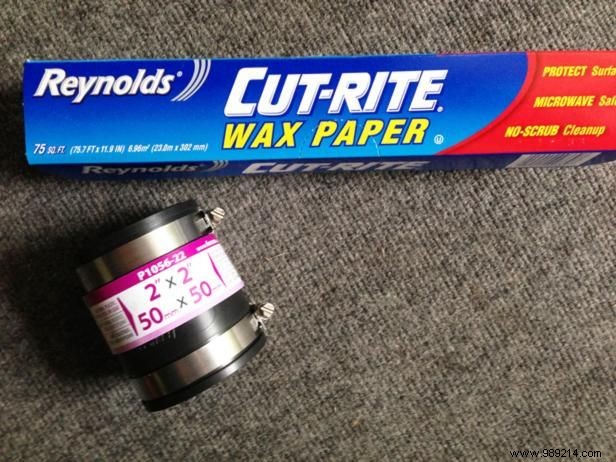
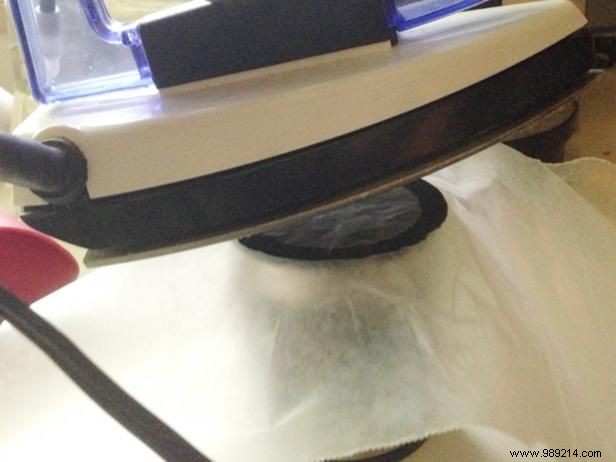
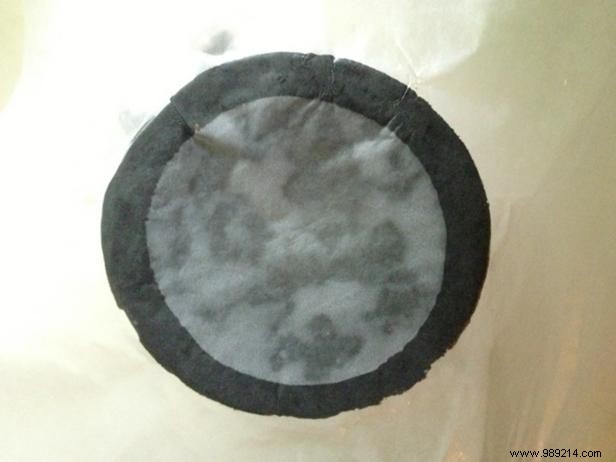
While wax cools, prep your molds. I tested a round recyclable plastic container and the rubber plumbing coupling. For the coupling, use a hot iron to fuse wax paper to the base.
Let it cool fully—the wax paper should adhere seamlessly, creating a reliable seal.
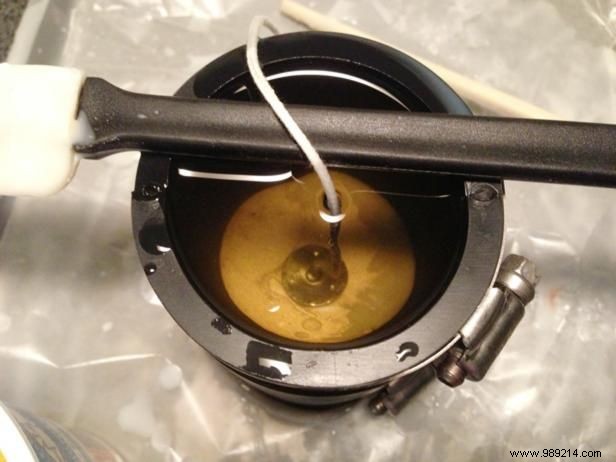
Pour wax at 125°F into molds. Watch closely for base leaks: if any appear, wax will flow freely. My leak-free plumbing coupling pour was a resounding success.
As base wax cools (it dulls slightly), drop in the wick tab and string, centering it. Secure the top with a utensil like a spatula to prevent shifting during cooling.
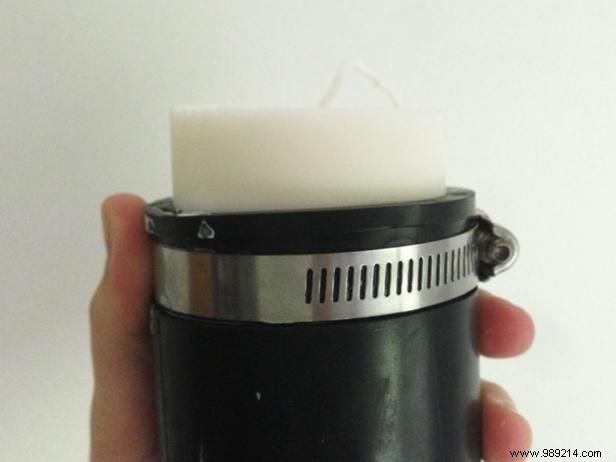
Let cure overnight (24 hours ideal; adjust for candle diameter). Rubber couplings insulate heat, so they cool slower than thin plastic.
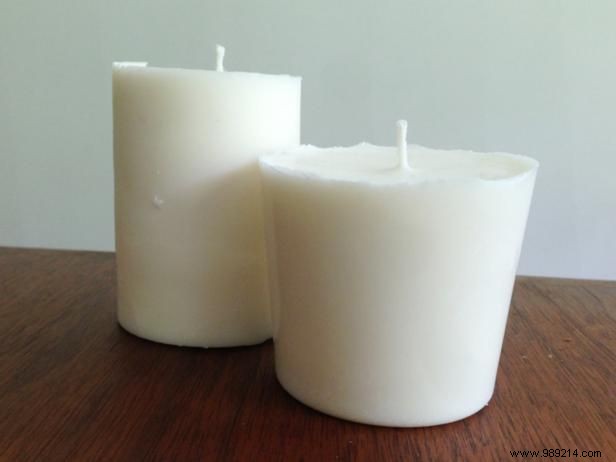
Both molds released effortlessly: plastic like an ice cube, coupling with easy wax paper peel—like a satisfying pop.
For straight-sided pillars without taper, repurpose cake icing containers—they work great!