Need extra workspace in your kitchen? Elevate your setup with a customized rolling kitchen cart. As a DIY enthusiast with years of home improvement projects, I've found this simple upgrade adds charm, functionality, and personality to any kitchen.
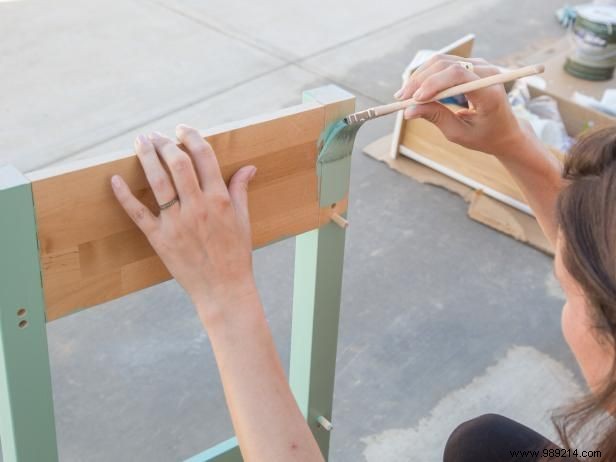
Source an affordable rolling kitchen cart from online retailers or big-box stores. Sand the front, back, and legs to prep for painting—skip the top and wheels. Pick a vibrant, kitchen-complementing color for fun flair, since it's mobile unlike fixed cabinets. For pro results, disassemble the cart and paint pieces separately.

Elevate style with glamorous drawer pulls. In this project, smoky quartz handles beautifully tie into the kitchen's gray driftwood tones.
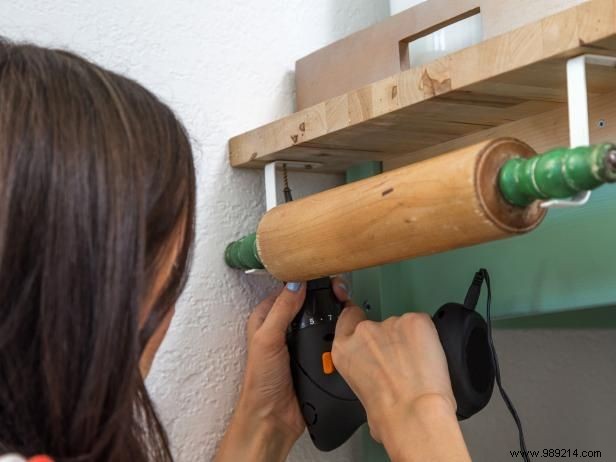
Hunt flea markets or garage sales for unique vintage finds. An antique roller offers a charming spot for a dish towel, setting your cart apart. Secure curtain rod brackets to the roll pin handles, then attach to the butcher block top's underside.
TIP: Choose screws shorter than the surface thickness to prevent protrusion.
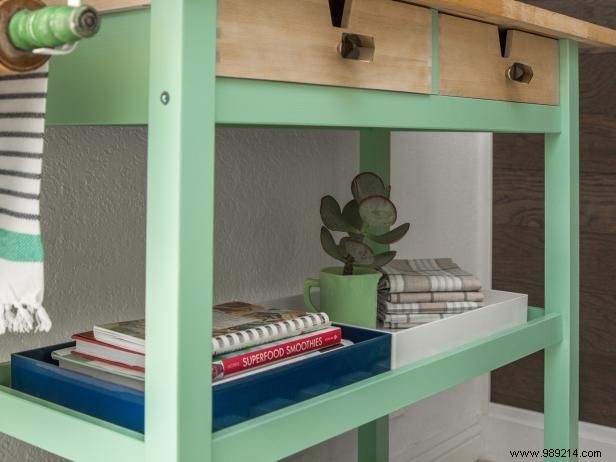
Trays keep utensils, tools, and baking essentials tidy on top and bottom shelves—ideal for cookbooks, gadgets, or cutting boards too.
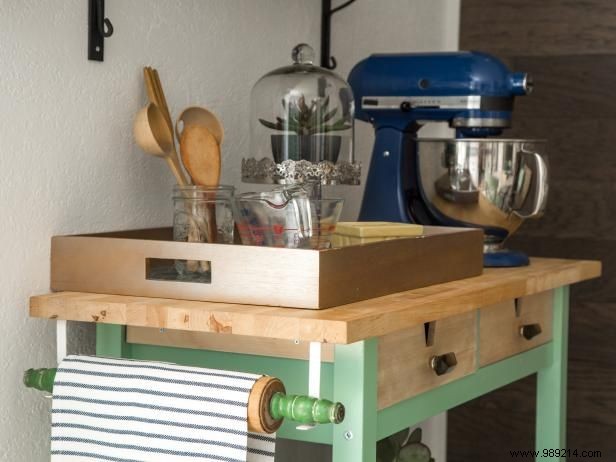
This reliable DIY turns a basic cart into a stylish rolling island. Organize gourmet tools effortlessly and tuck it aside when done. Culinary adventures await!