As an experienced woodworker, I recommend starting with poplar precut into convenient 4-foot lengths for efficiency and precision in this project.
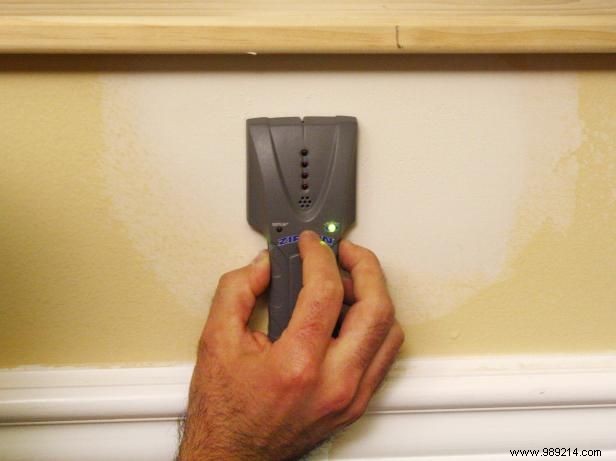
Using a reliable stud finder and pencil, accurately mark the wall studs at your desired height and location to ensure a secure installation.
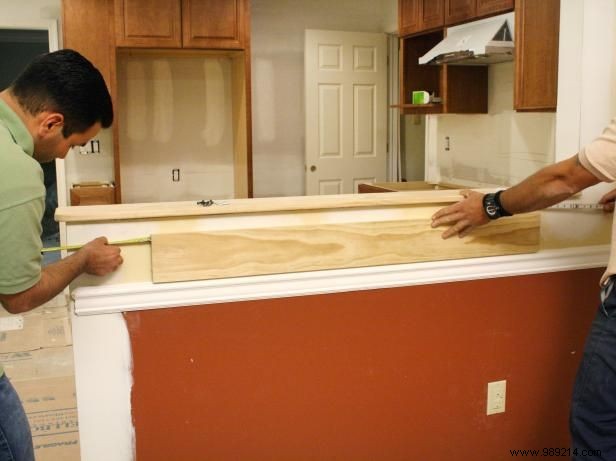
Transfer these stud marks onto the 1x6-inch poplar board, which serves as the ledger for rock-solid support.
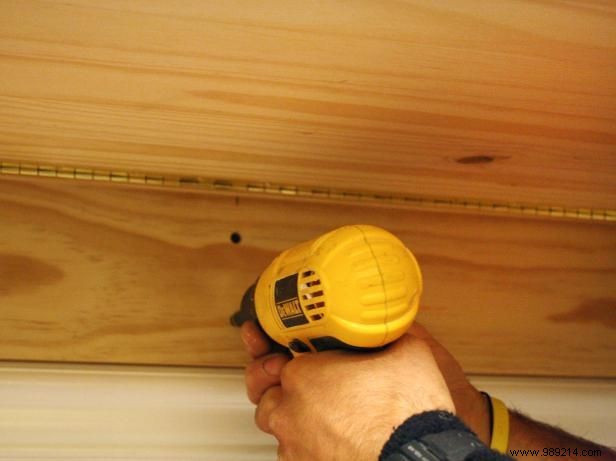
Countersink two holes in the ledger for each bolt location. On the 1x2-inch poplar spacer, countersink holes every eight inches for flush fastening.
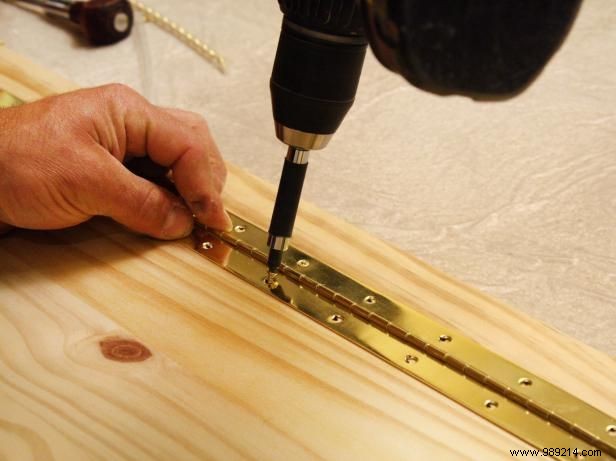
Attach the spacer and 1x16-inch board (your countertop) securely with a durable piano hinge for smooth operation.
Cut 1x4 poplar stock into two 12-inch lengths to craft reliable supports that hold the weight effortlessly.
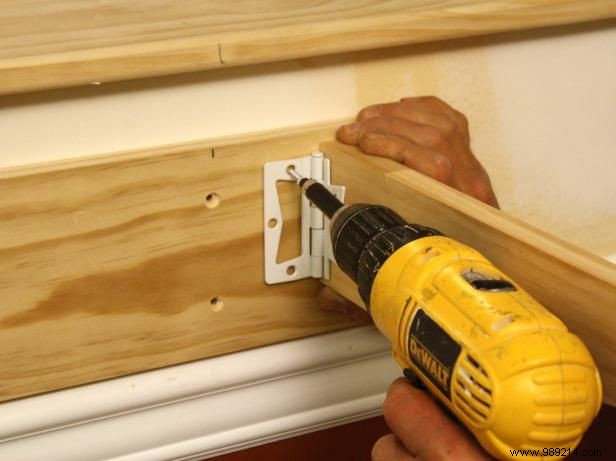
Secure the supports flush to the ledger top using 10-inch butterfly hinges at each end for stable deployment.
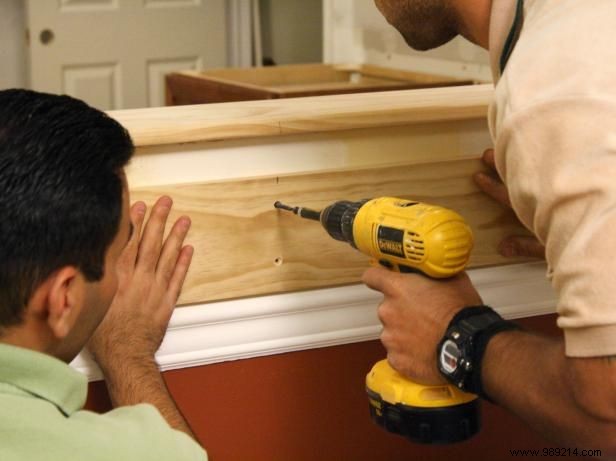
Fasten the ledger to the studs with 2-1/2-inch screws through the countersunk holes for maximum strength.
Fold supports inward, then secure the spacer to the ledger with 2-1/2-inch screws via countersunk holes. Raise the countertop and apply paint or stain for a professional finish.