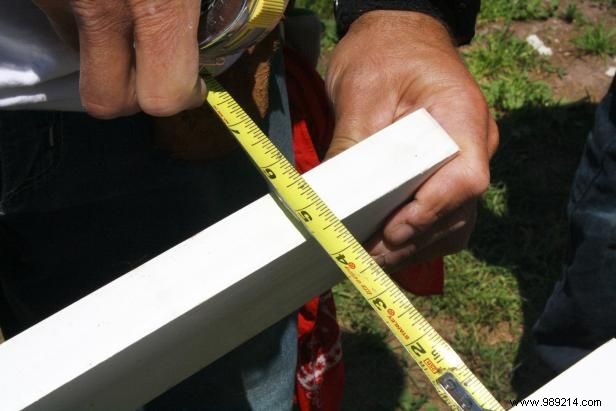
Begin by measuring the desired width for your shelves. Use this exact measurement for the ledger board as well, ensuring a precise fit from the start.
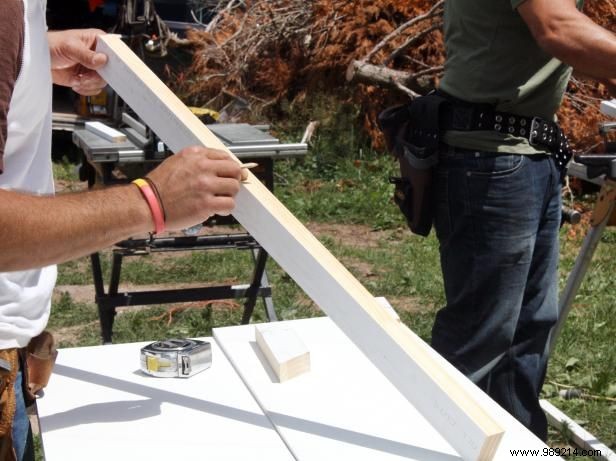
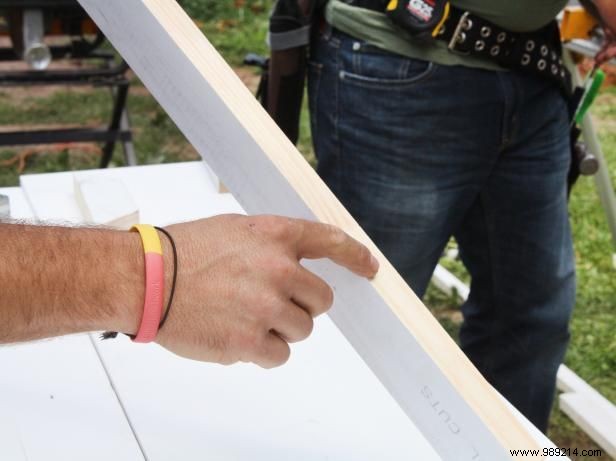
Mark these measurements onto your 5/4 lumber or MDF board for accurate cutting.
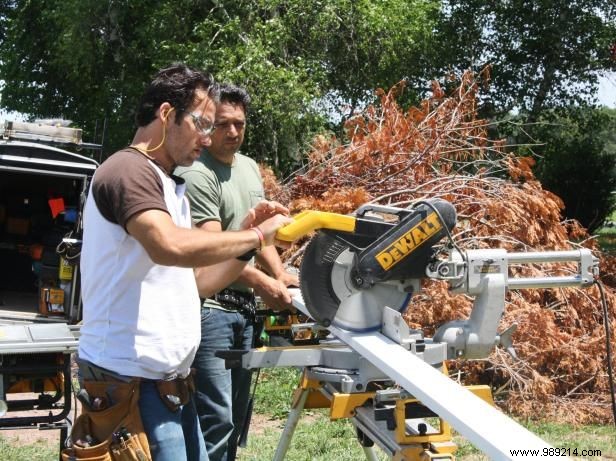
Precisely cut the boards using a chop saw to match your marked dimensions.
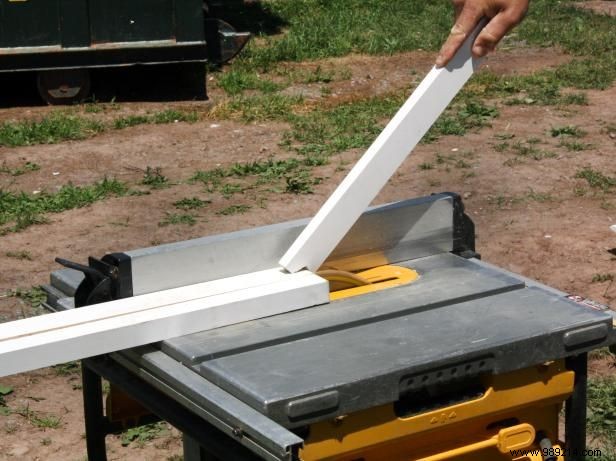
Use a table saw to rip the 5/4 board or MDF down to 2 inches thick. This uniform thickness ensures sturdy shelves throughout the project.
Cut all stock pieces to size for the ledger, bottom brackets, and 45-degree angle braces, double-checking measurements for flawless assembly.
Angle the bottom edges of all supports downward to create a clean, professional beveled finish.
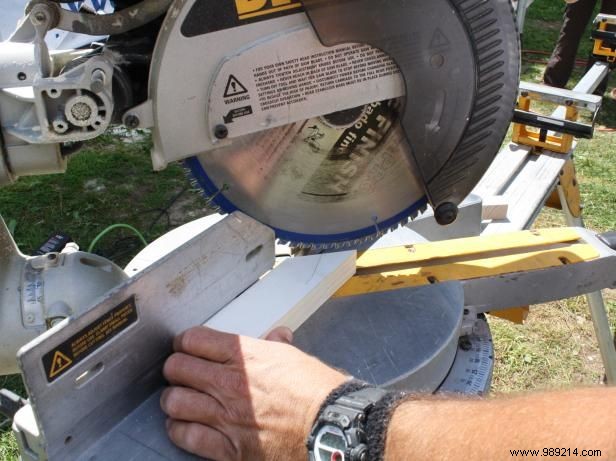
Make 45-degree cuts at both ends of each angle brace for secure, stable connections.
Measure 4 inches from the outer edge of the ledger to locate where the lower brackets will attach.
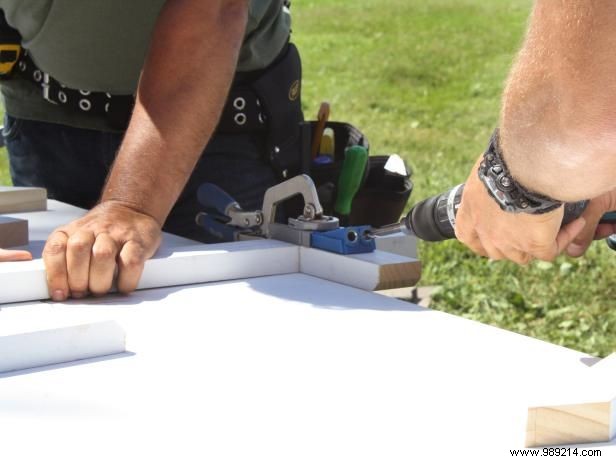
Secure the bottom brackets to the ledger using a pocket hole jig for strong, hidden joints.
With brackets and ledger assembled, measure and cut each shelf unit to fit perfectly.

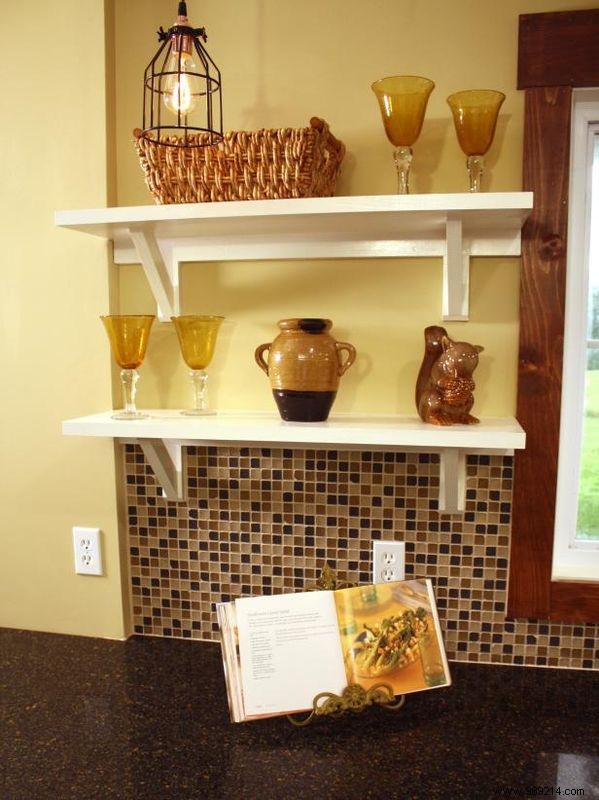
Measure to the backsplash height—typically 18½ inches from the countertop—and space shelves 10 to 12 inches apart for optimal access.
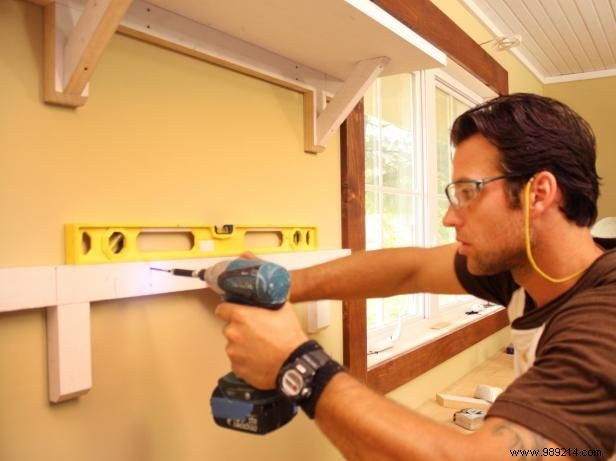
Level the ledger carefully, trace a faint line, and fasten it securely with 2½-inch wood screws.
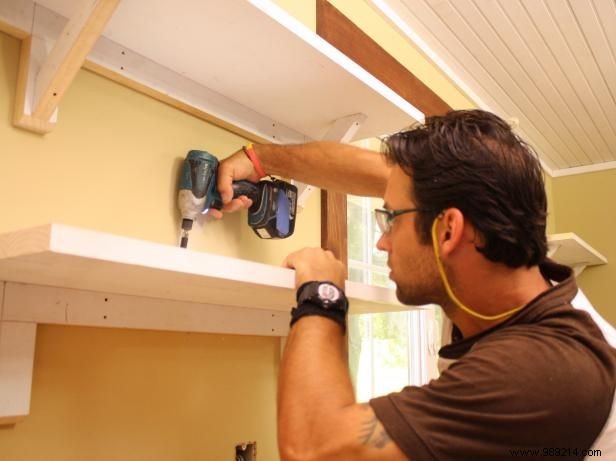
Attach each shelf by driving screws downward from the top of the unit into the ledger below.
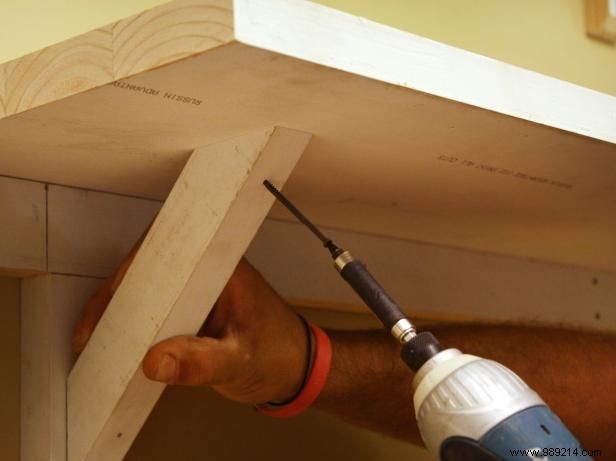
Confirm the shelf is level, then install the braces at a 45-degree angle for added strength and stability.
Repeat the process for all remaining shelves to finish your custom open shelving unit.