
Debbie Wolfe
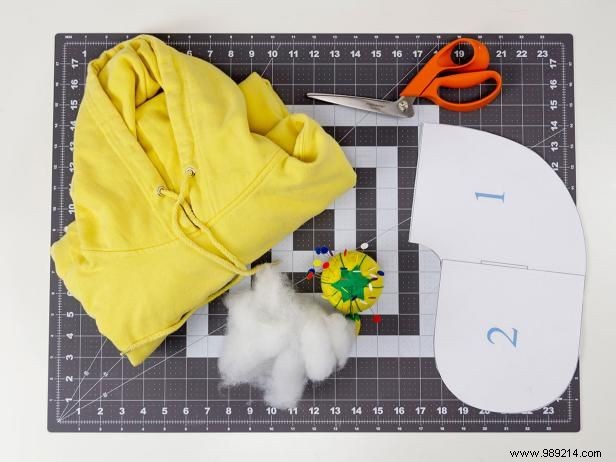
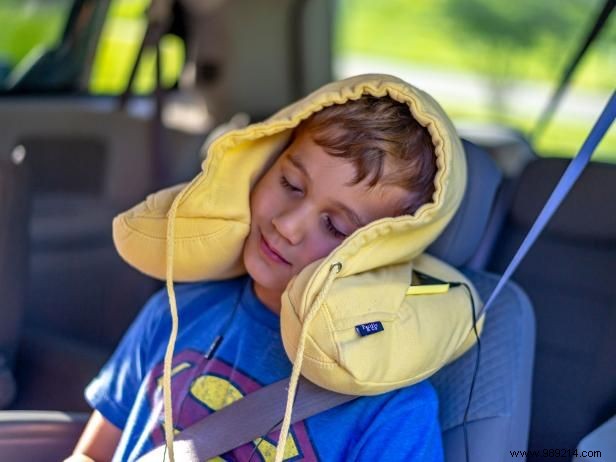
As a seasoned DIY crafter with years of upcycling family clothes, I've seen kids outgrow favorites overnight. While I pass most hand-me-downs to siblings and friends, some hold sentimental value. For our frequent road trips, I repurposed my son's too-small hoodie into a custom travel pillow, keeping him comfy on long drives.
Debbie Wolfe
Print two copies of the free travel pillow template (available above), cut them out, and glue back-to-back to form a U-shaped pattern (see Step 5).
Debbie Wolfe
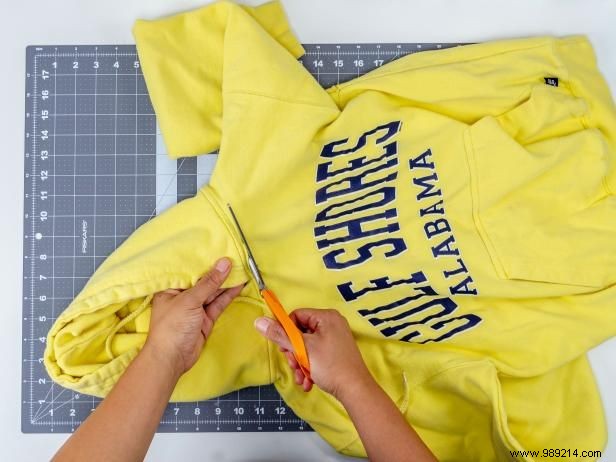
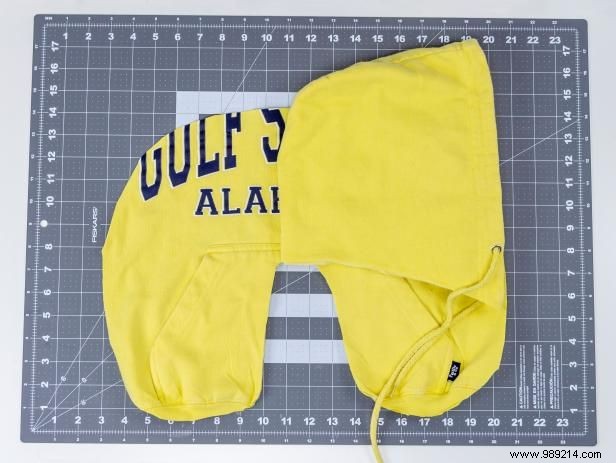
Cut just below the seam line to detach the hood from the hoodie.
Debbie Wolfe
Cut out the front area where the hood attaches to the body.
Debbie Wolfe
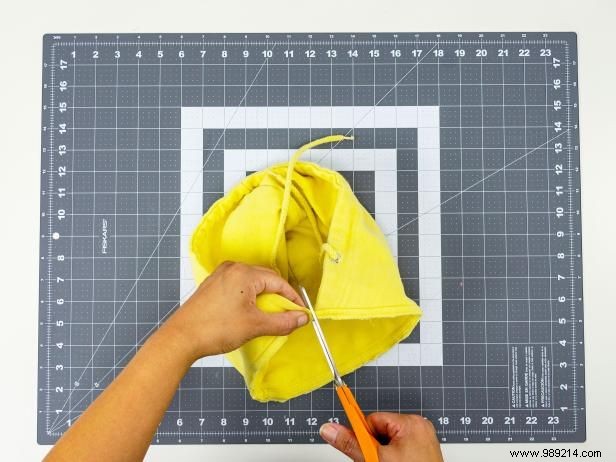
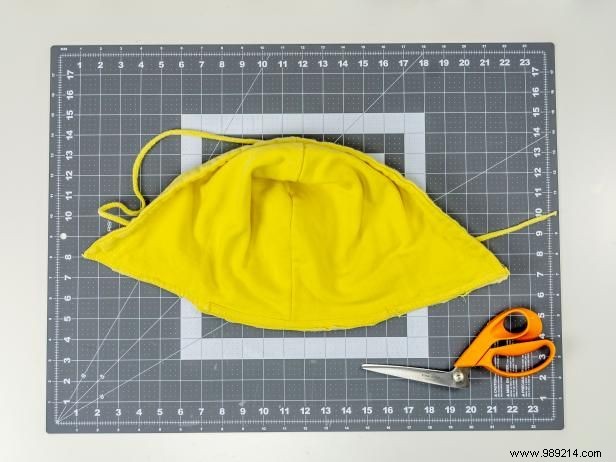
Cut the seam from the bottom edge of the hood.
Debbie Wolfe
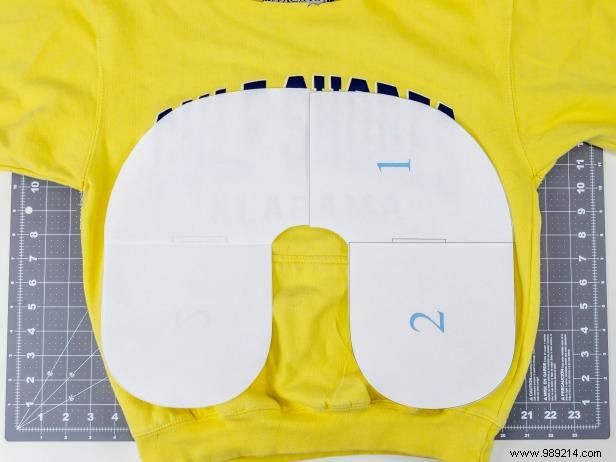
Position the template on the hoodie's front over the logo or design, ensuring the pockets align with the bottom curve. Pin in place and cut through both front and back layers for two matching pieces.
To create the U-shape, flip one side of the template over and tape it securely.
Debbie Wolfe
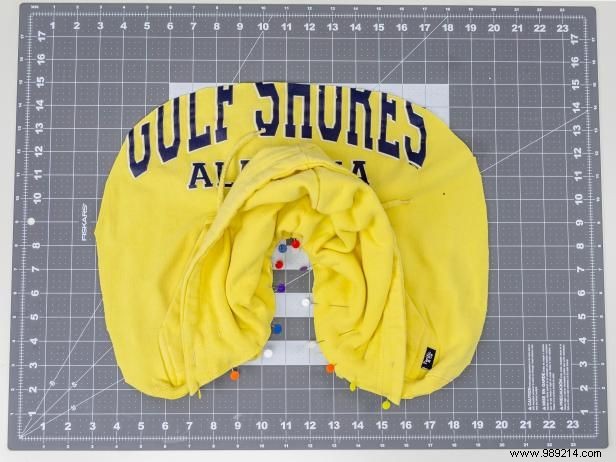
Lay the top cushion piece (with pocket) face up. Fold the hood in half lengthwise and place it along the inner curve, aligning centers.
Debbie Wolfe
Unfold the hood and pin its bottom edge to the inner curve of the top cushion piece. Sew along the pinned edge to secure.
Debbie Wolfe
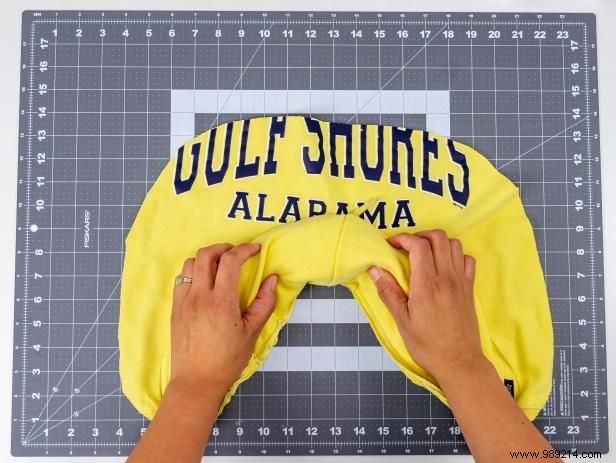
Tuck the top edge of the hood under itself for a clean finish.
Debbie Wolfe
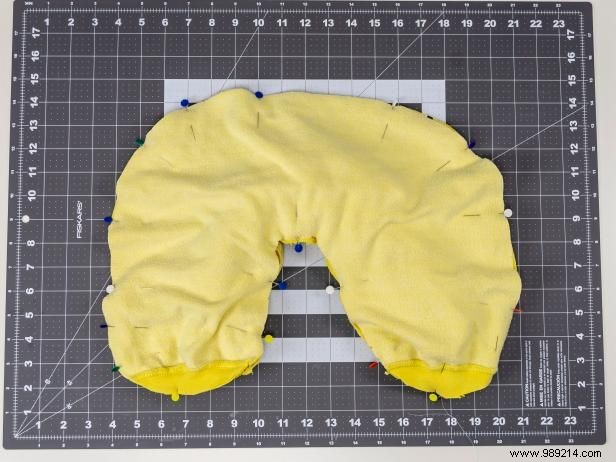
Place the bottom cushion piece right sides together on top and pin. Sew a 1/2-inch seam around the edges, excluding the hood—lift it out of the way as you go. Leave a 2-inch opening at the top.
Debbie Wolfe
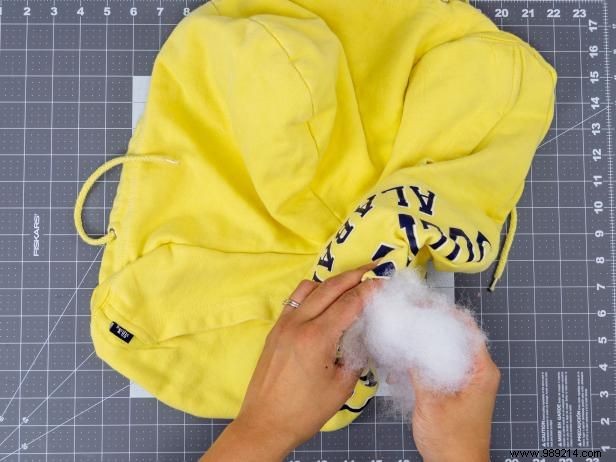
Turn right side out and fill firmly with polyester fiberfill.
Debbie Wolfe
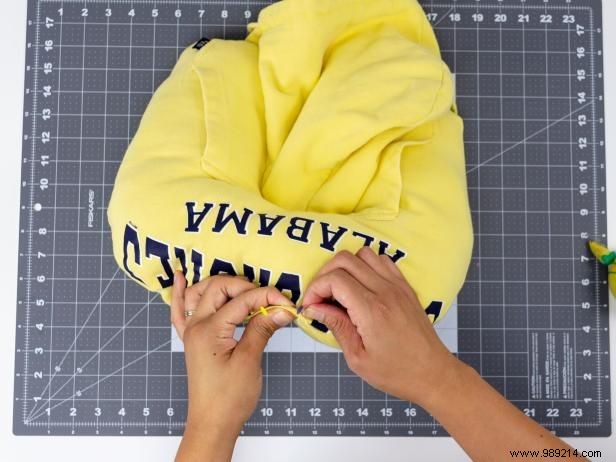
Close the opening with a whipstitch.
Debbie Wolfe
Debbie Wolfe
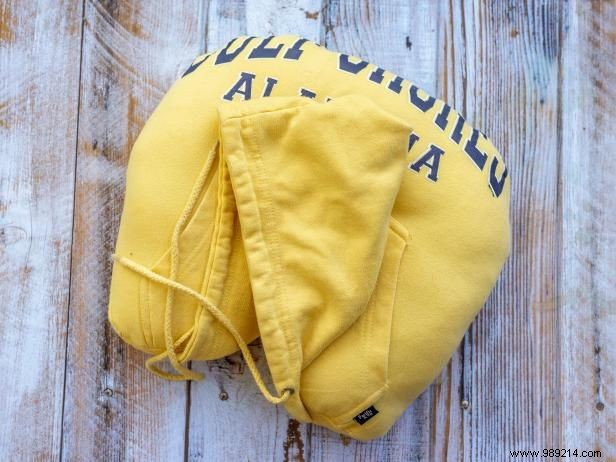
This hooded travel pillow features handy pockets for phones or earbuds—ideal for trips!
Perfect as affordable gifts for travel enthusiasts in your life.