As a seasoned crafter with years of experience creating festive decorations, I've perfected this simple technique for making airy Scandinavian-style yarn star ornaments. Using everyday supplies like yarn, glue, cardboard, toothpicks, and wax paper, you'll create stunning, lightweight pieces that add authentic Nordic charm to your holiday decor.
Marc Kelly
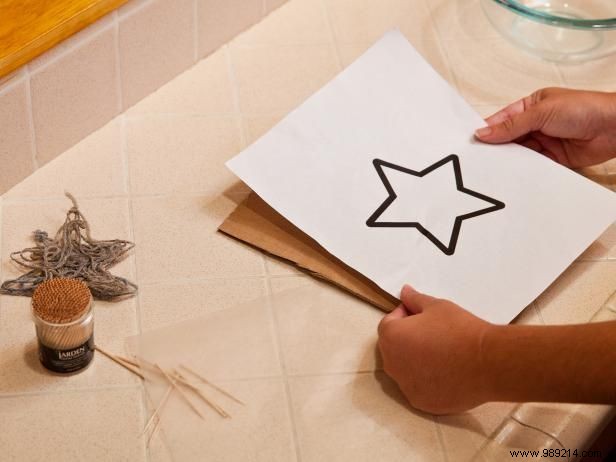
Draw your desired star shape on paper—find free templates online or trace a cookie cutter. Place the paper on cardboard and trace around it precisely.
Marc Kelly
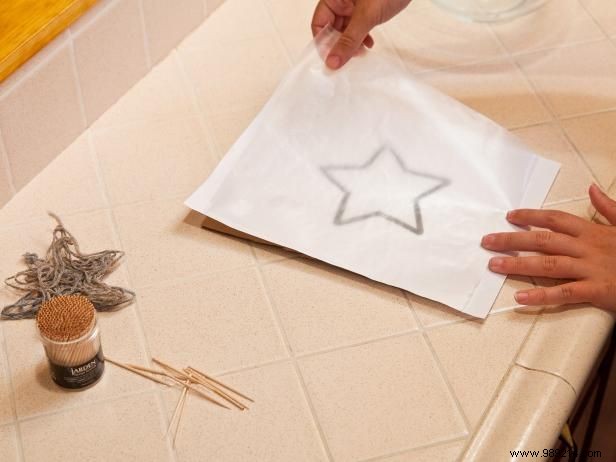
Lay a sheet of wax paper over the cardboard template to protect the surface and make removal easier later.
Marc Kelly
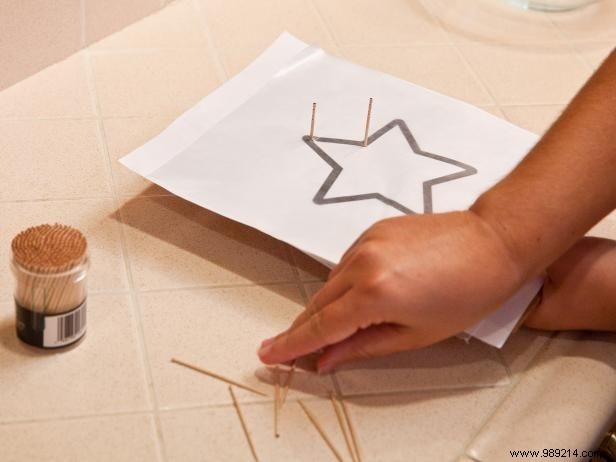
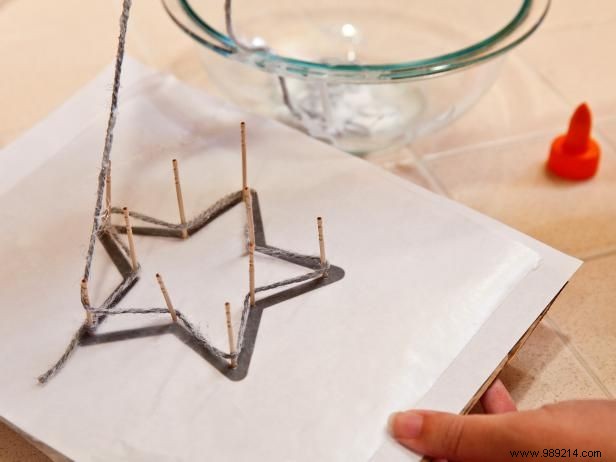
Push toothpicks through the wax paper and cardboard at each point where lines intersect, creating a loom for your yarn.
Marc Kelly
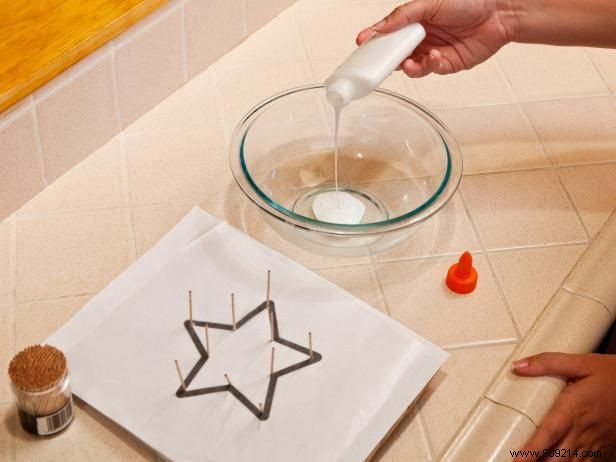
Pour a thick layer of craft glue into a small bowl for easy dipping.
Marc Kelly
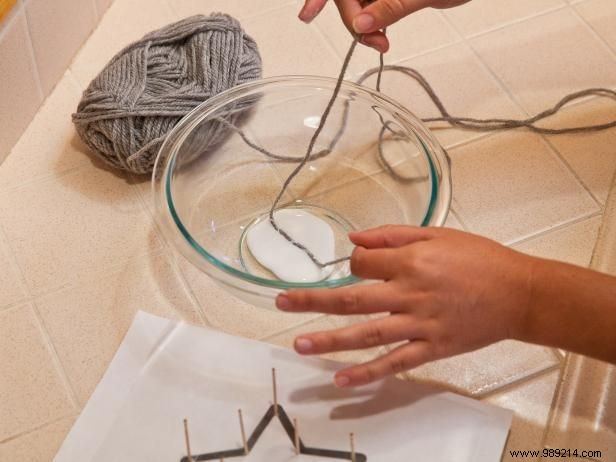
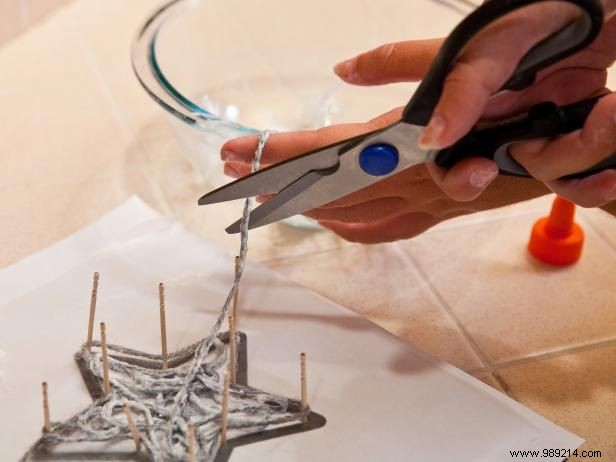
Cut a very long piece of yarn and soak it thoroughly in the glue until fully saturated.
Marc Kelly
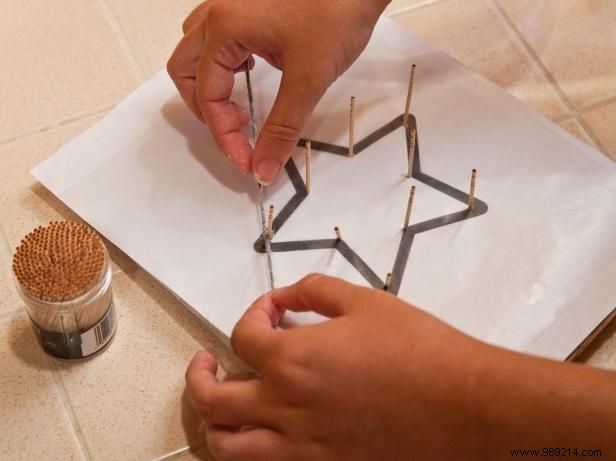
Tie one end of the glue-soaked yarn to a toothpick at one point of the star.
Marc Kelly
Wrap the yarn around each toothpick in sequence to form the basic star outline.
Marc Kelly
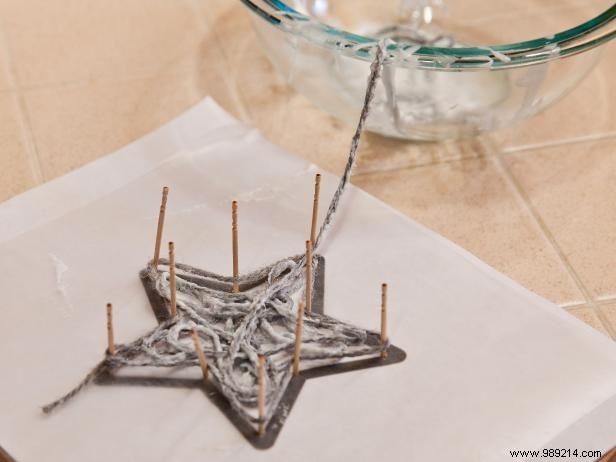
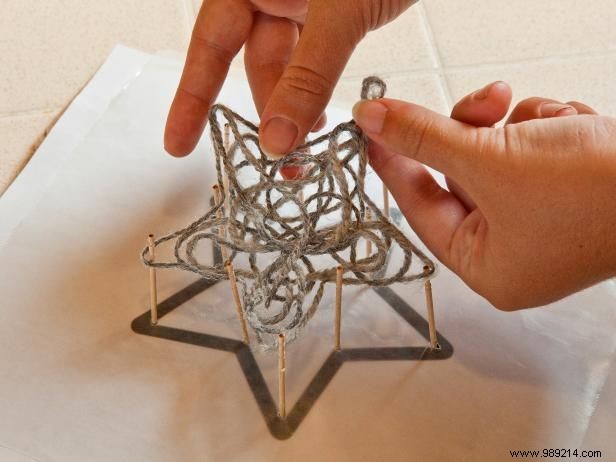
Continue with the remaining yarn to densely fill the star's center. Add more layers for a fuller, more substantial ornament—it will take longer to dry but look more impressive.
Marc Kelly
Once filled, cut the yarn, leaving a loop for hanging. Set the ornament aside to dry completely.
Marc Kelly
Carefully peel off the dried ornament from the wax paper and hang it proudly on your Christmas tree.