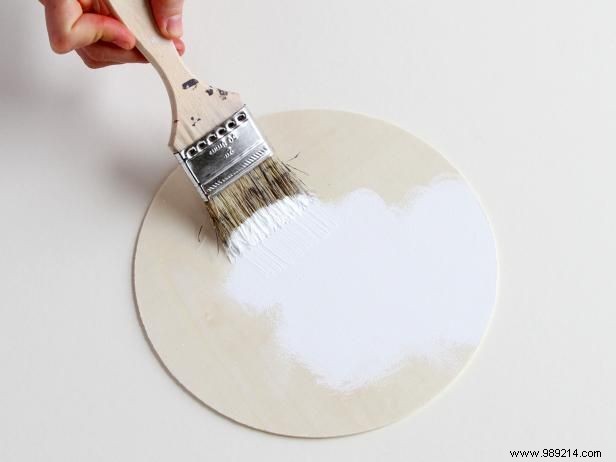
Apply an even coat of white paint to the wooden circle. Allow it to dry completely, then add a second coat if needed for full coverage.
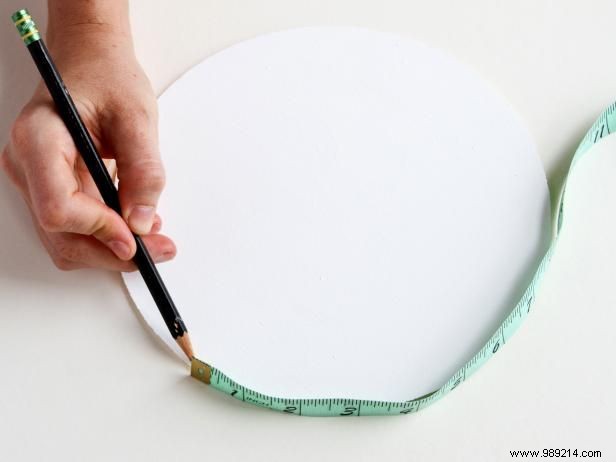
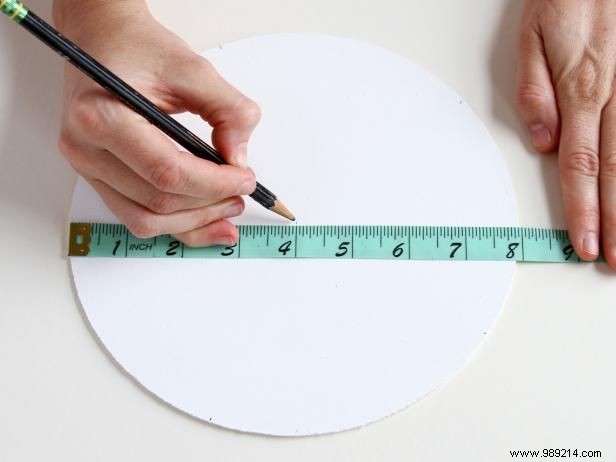
Measure the circle's circumference and divide by five for equal sections—our 25-inch circle yields five 5-inch wedges. Note the diameter's midpoint; ours is 4 inches on an 8-inch circle.
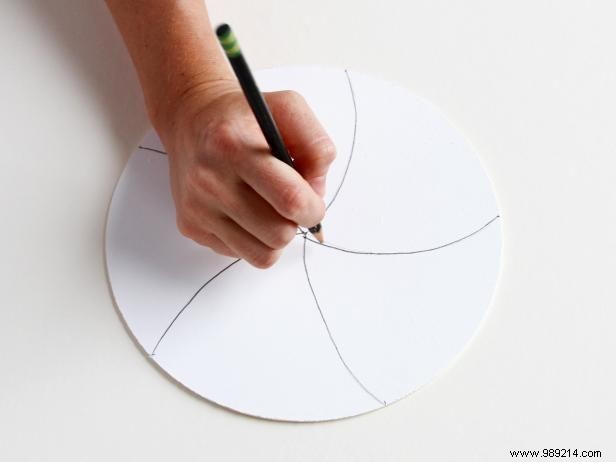
Mark points around the circumference. Using a pencil, draw curved lines from these marks to the center midpoint, creating swirl patterns.
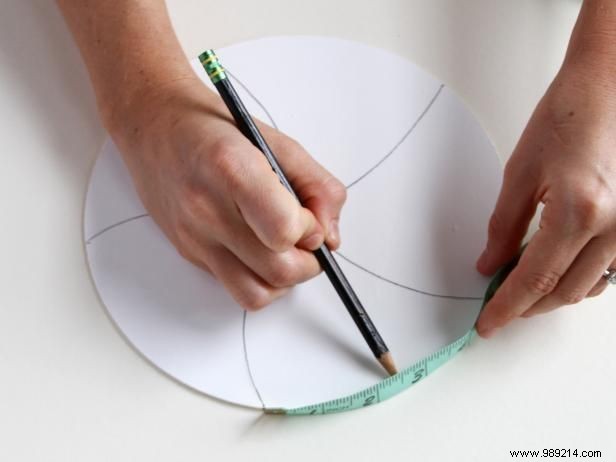
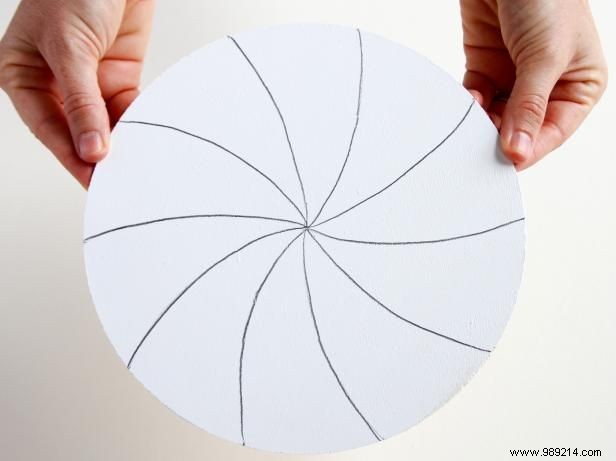
Mark midpoints between each curved section along the circumference—2.5 inches apart in our case. Draw additional curved lines mirroring the others toward the center.
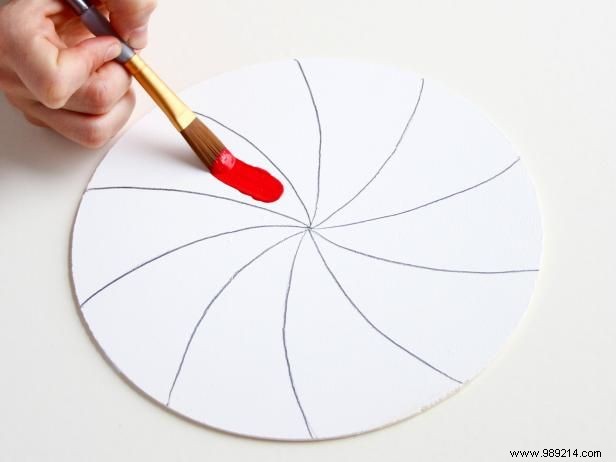
Paint every other wedge red. Let dry, then apply a second coat for vibrant color.
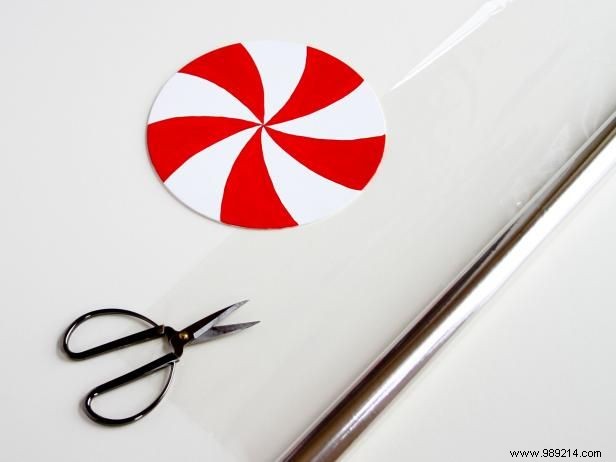
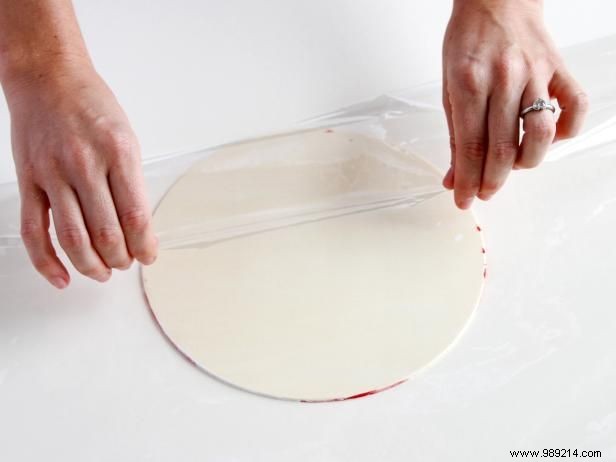
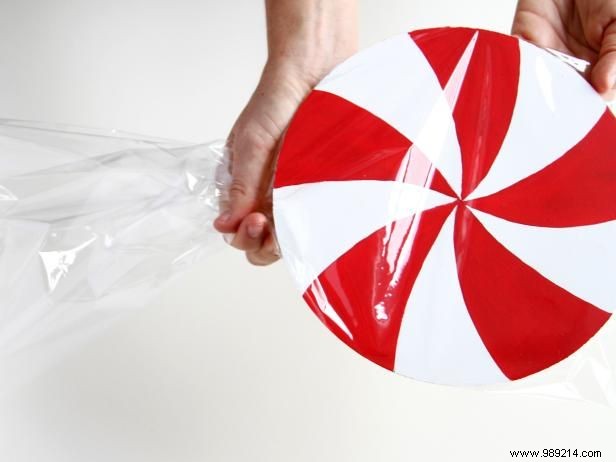
Once paint is dry, cut cellophane large enough to cover both sides of the circle with extra overhang.
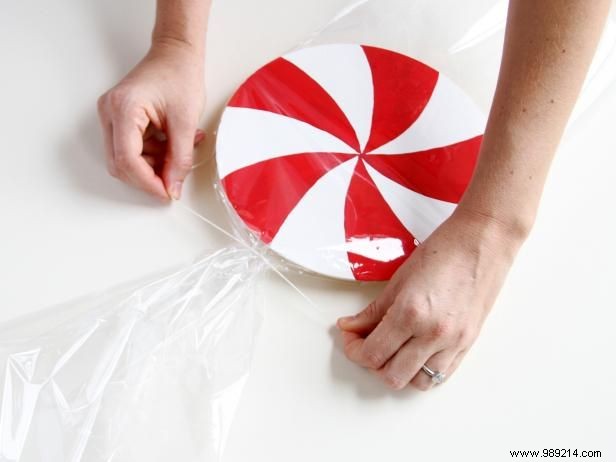
Flip the circle, fold cellophane over the back, then squeeze and secure around the edges with twine, trimming excess.
Trim excess cellophane to match the candy circle's proportions for a polished, display-ready ornament.