Start by cutting your doors to the precise panel dimensions. Remove the metal base from the bottom for a seamless fit.
Apply tinted primer with a brush or soft nap foam roller. Allow it to dry fully. Then add the base coat using the same technique and let it dry completely.
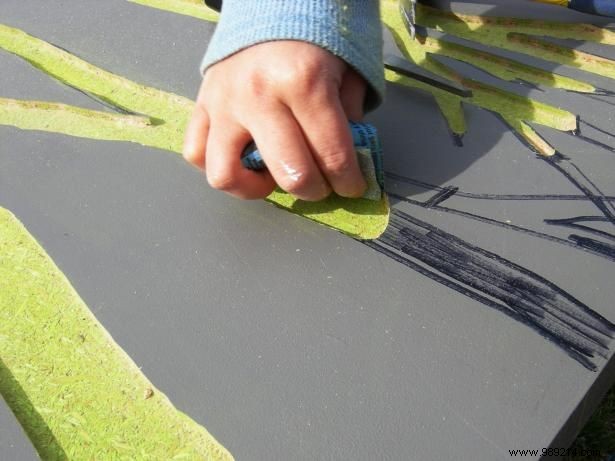
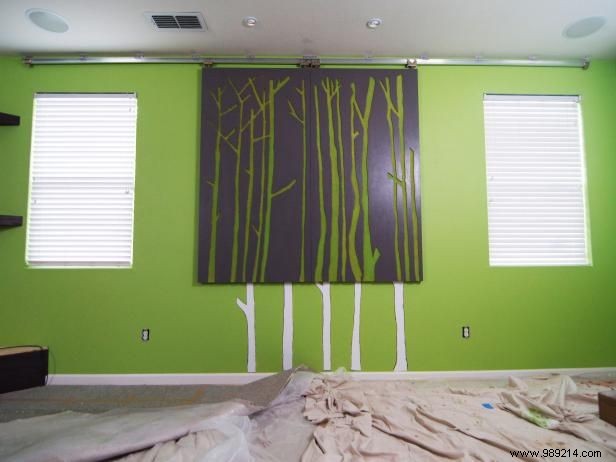
Sketch your chosen design on the panels. Use a router with the right bit size and style for the detail level to cut it out. Wood carving tools work well for fine areas. Sand edges smooth and fill small holes with wood glue.
Paint or stain the grooves to match your space. Here, we used a green-tinted stain to blend perfectly with the wall color.
For a unified look, paint the same design on the surrounding walls. When the panels cover the windows, it creates a stunning wall art effect.
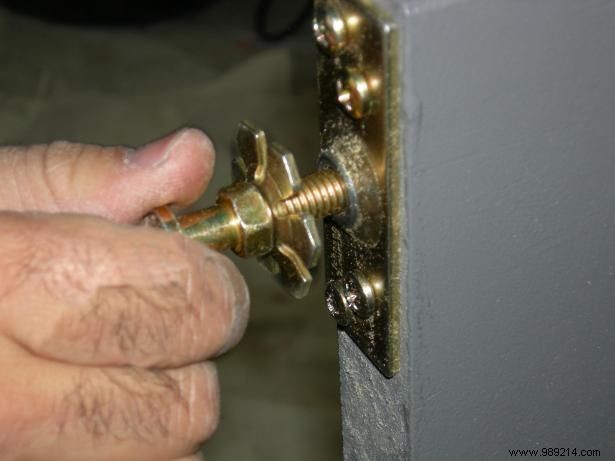
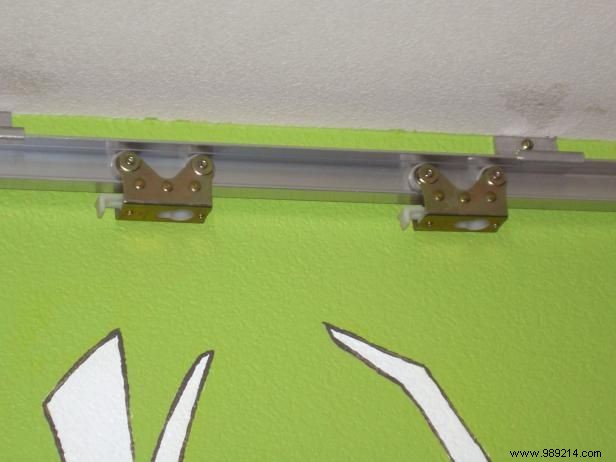
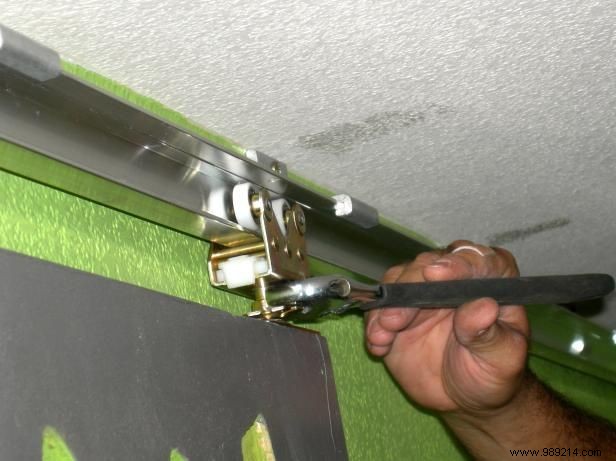
Choose hardware sized for your wall. Follow the manufacturer's guidelines to mount the rails. We installed ours at ceiling height to make the room feel taller.
Slide the panels onto the track. Add rubber or fabric protectors behind them to shield the walls. Fit handles for easy operation.