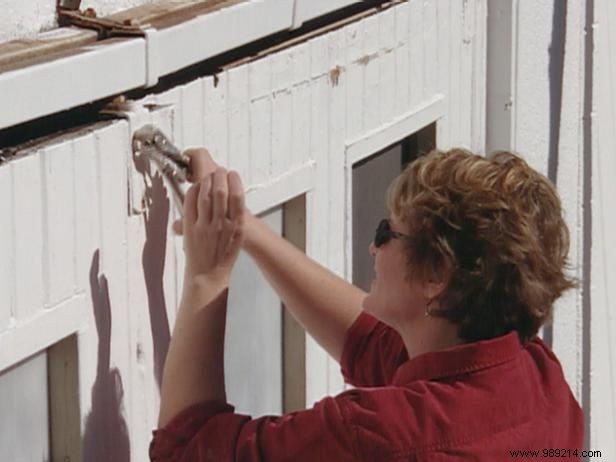
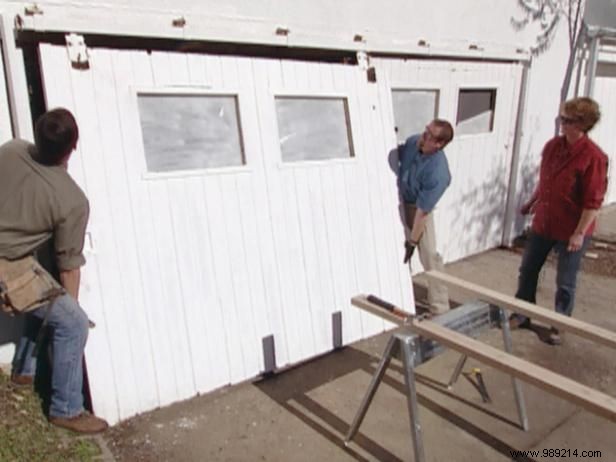
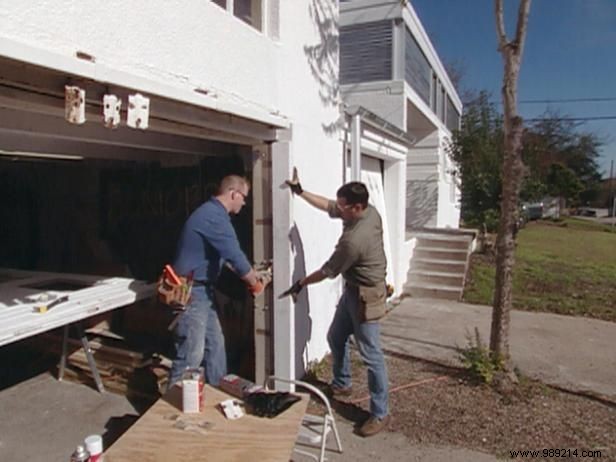
Support the garage doors with shim blocks under the panels to ease pressure on the supports (Image 1). Remove bolts from the brackets using screw fasteners (Image 2), then slide the doors out (Image 3).
Lay the doors flat on plywood supported by sawhorses. Detach track brackets and all hardware from the doors.
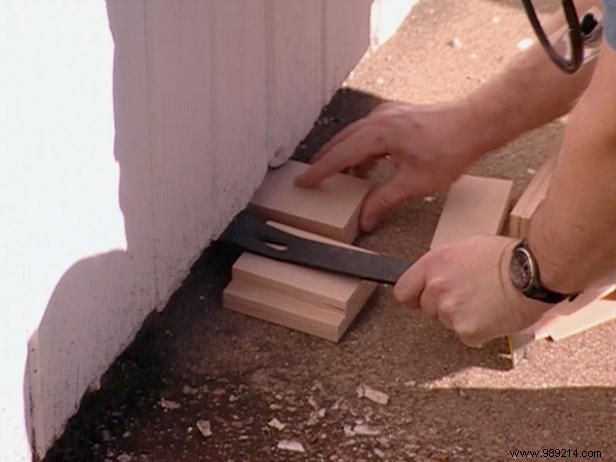
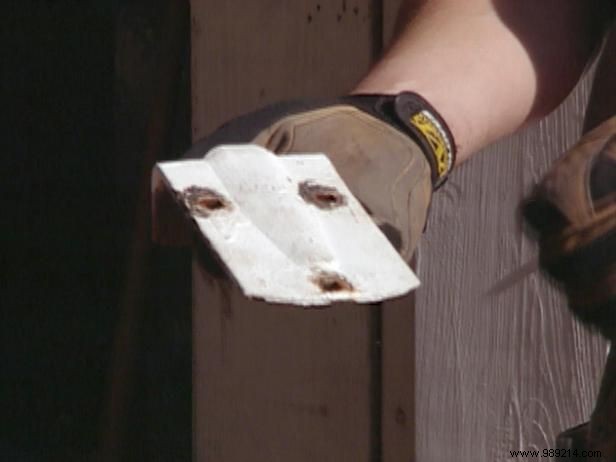
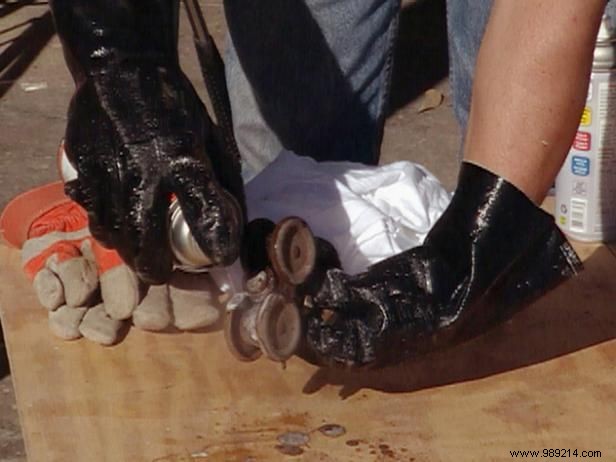
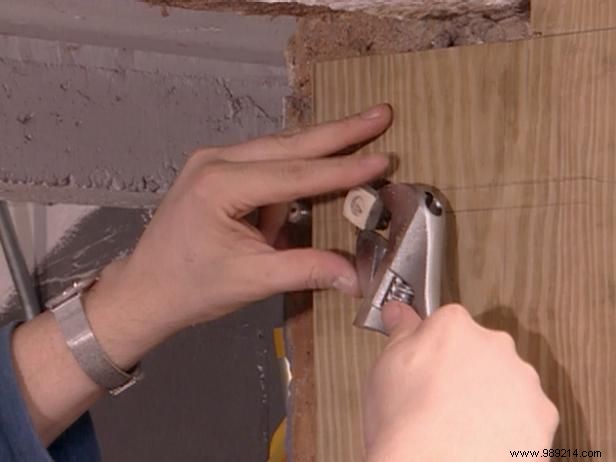
Secure vise grips to unscrew track supports and set them aside (Image 4). Use a hammer and pry bar to remove existing wood side jambs (Image 5).
Remove track rollers and store them safely.
Degrease rollers with spray degreaser, then wipe clean with a cloth. Apply white lithium grease, an excellent all-purpose lubricant for moving parts, to ensure smooth operation.
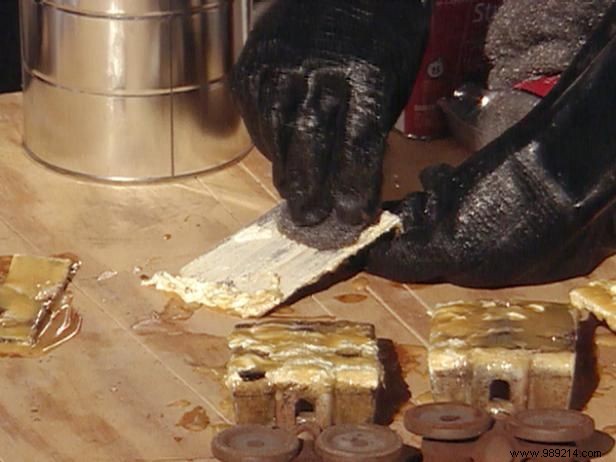
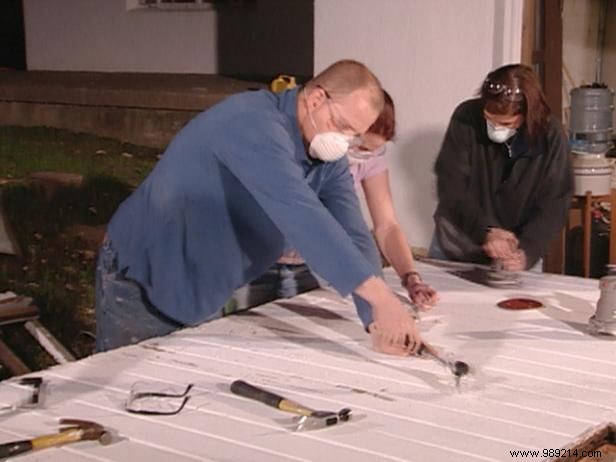
Apply paint stripper thickly to each bracket with a brush. Multiple coats may be needed for heavy paint buildup. Once bubbled, scrub off with steel wool (Image 1).
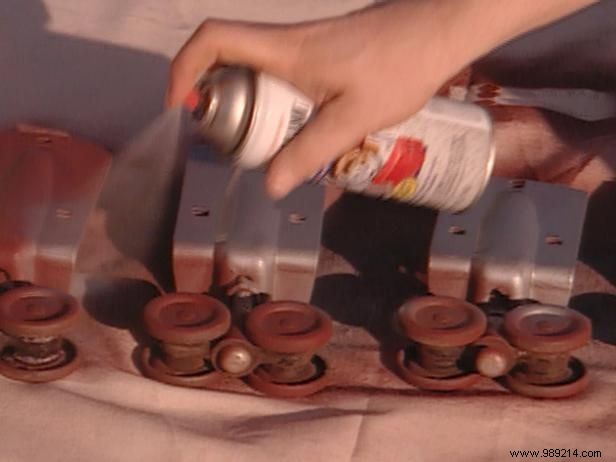
Wipe with lacquer thinner. In a well-ventilated area, spray red oxide primer on rollers and supports (Image 2). Allow 10 minutes to an hour to dry per manufacturer instructions.
Follow with hammer-finish topcoat paint, drying up to an hour based on humidity.
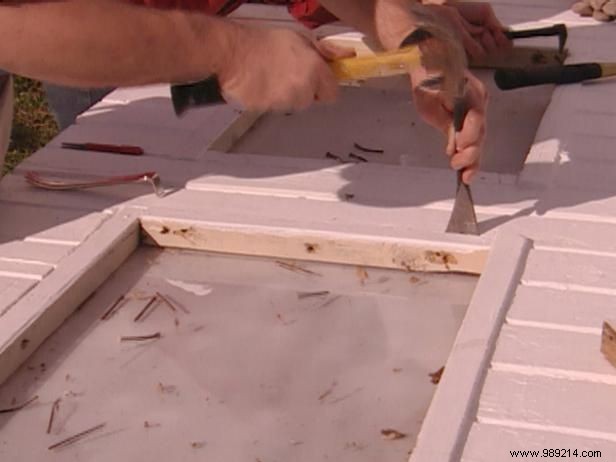

Loosen old frames with a cat's paw and hammer. Tap and pry carefully (Image 1). If surrounding wood is weak, add temporary 2x2 supports across the door before removal (Image 2); remove later.
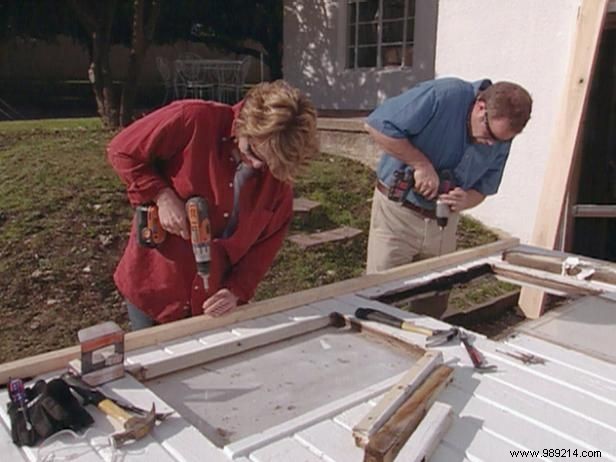
Extract glass safely. Flip doors for the other side. Note: Doors are heavy—get help.
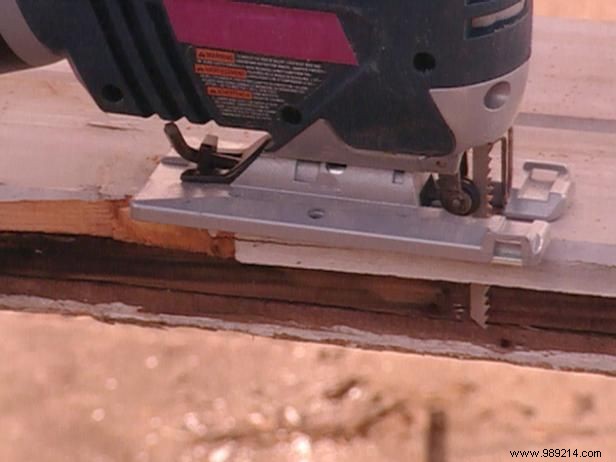
Trim any protruding edges flush with a jigsaw (Image 3). Measure openings, cut wood to size on a table saw, including an L-shaped channel for glass.
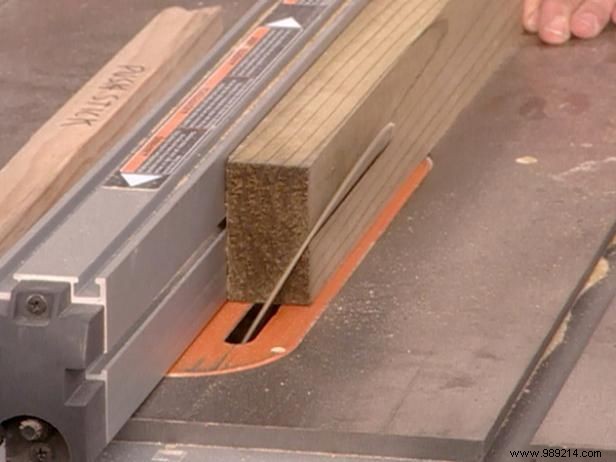
Cut frames to length with a miter saw. For divided-lite style, add muntins (horizontal/vertical bars splitting the pane). Chisel notches at ends for flush fit (Image 4)—not with miter saw.
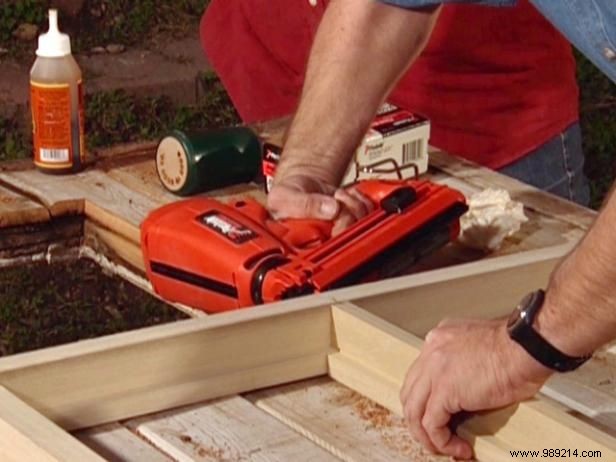
Join with polyurethane glue on wetted ends; secure with finishing nails (Image 5). Lightly sand with 80-120 grit orbital sander.
Scrape loose paint with carbide scrapers and palm sanders (Image 1). Prime bare wood, doors, and frames; allow full dry time.
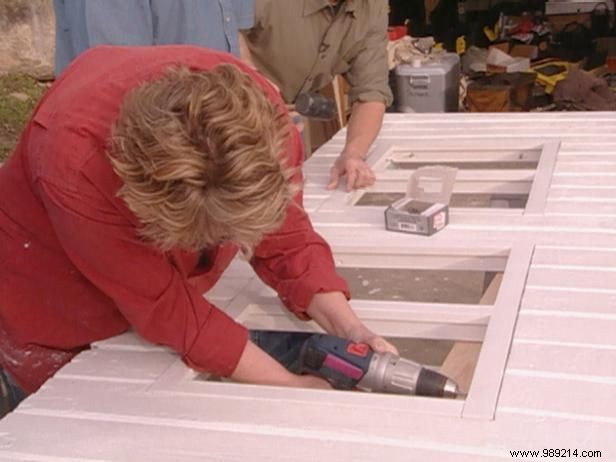
Install new frames, removing any temps. Secure with screws (Image 2). Paint entire doors; let cure fully.
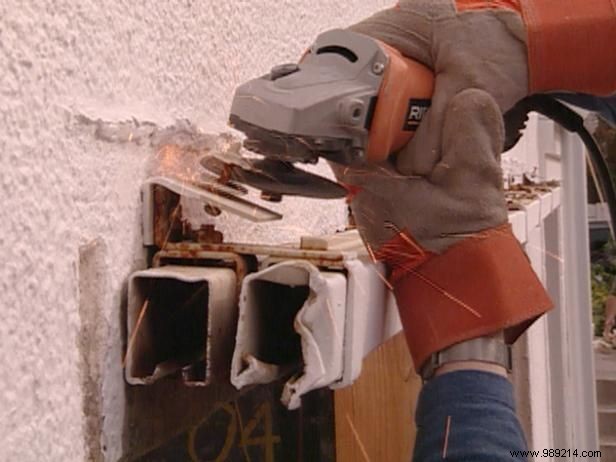
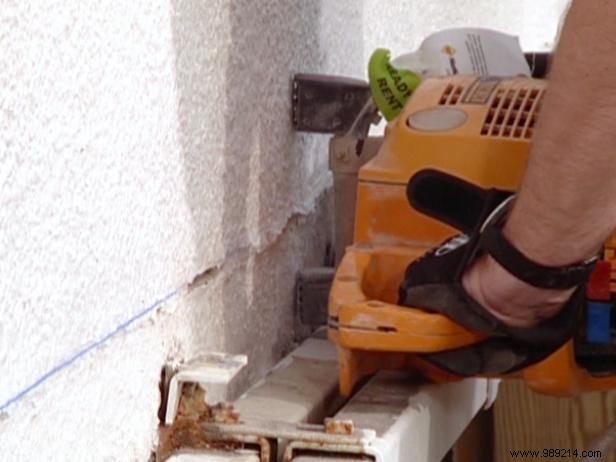
Pry off exterior jamb plates. Reuse track supports: cut studs with angle grinder (Image 1), hammer remnants flush.
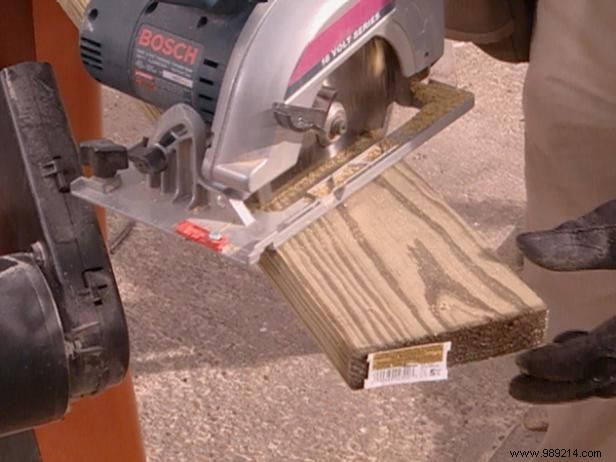
Measure for treated wood base jambs; cut to width/length with circular saw. Angle top at 30 degrees (Image 2); notch for hood fit.
Add outer board half-width, same height/angle; screw together. Mark and drill for anchor bolts (1-1/8" bit to 3/8" depth, through-hole with smaller bit).
Fit over bolts (tap if needed, Image 3); secure with screws (Image 4).
Cary Wiedman
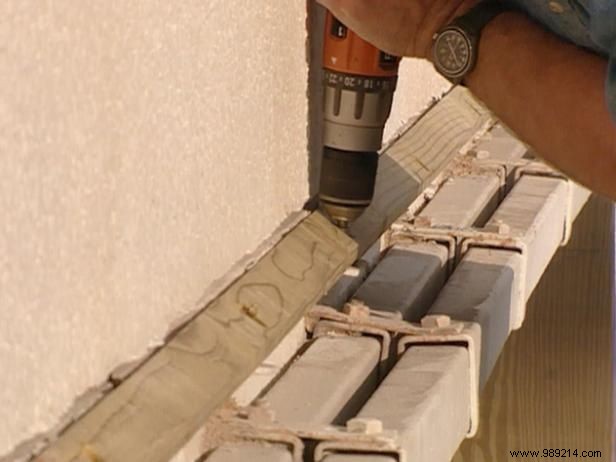

Mark reglet groove in stucco using caulk line; cut with concrete saw (Image 1). Restoration Note: Reglet is a narrow architectural molding for flashing.
Bevel treated lumber cap at 30 degrees on table saw for hood reinforcement (Image 2). Screw to brackets (Image 3).
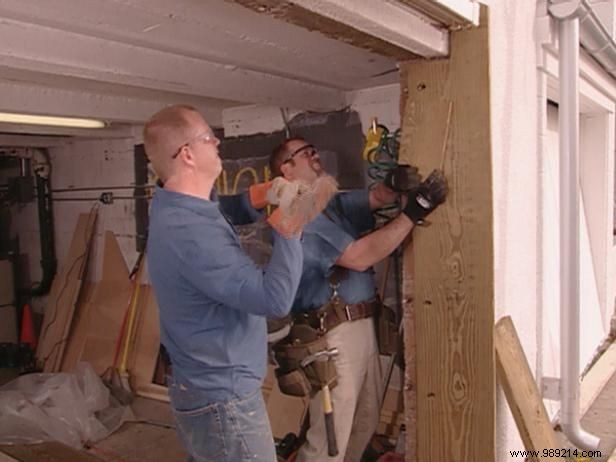
Reattach rollers/brackets; build opposite jambs. Score thick metal with utility knife; bend with brake to fit jambs/hood (Image 4).
Cut jamb angles with grinder. Fasten to wood with neoprene-backed screws (Image 5); putty reglet.
Slide doors into brackets, bolt securely, reconnect hardware. Nail glass into stops with glazing compound backing. Use tempered or wired glass for safety.