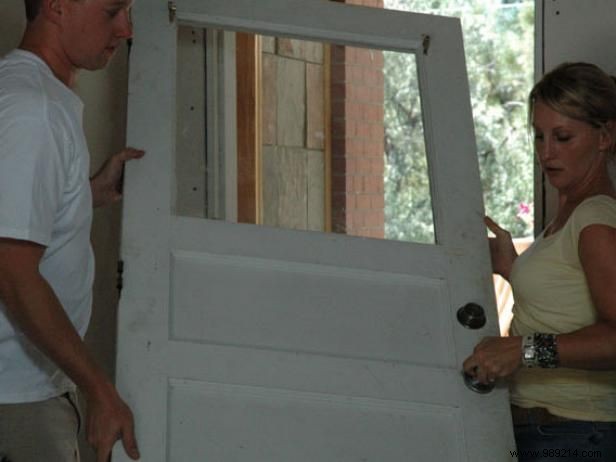
Remove the door from its hinges. This is typically a two-person job for safety and efficiency.
Measure your pet's shoulder height and mark the precise location on the door for the dog door installation.
Larger breeds require spacious doors. Always measure from the shoulder to ensure your dog can pass comfortably without strain.
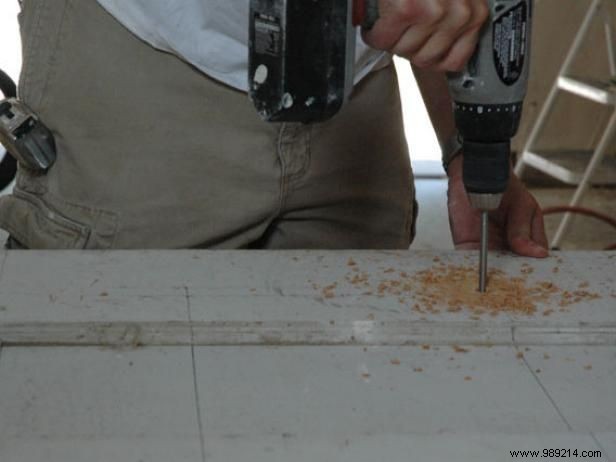
Drill pilot holes at the four corners of the marked area (Image 1), then use a handheld circular saw to carefully cut out the shape.
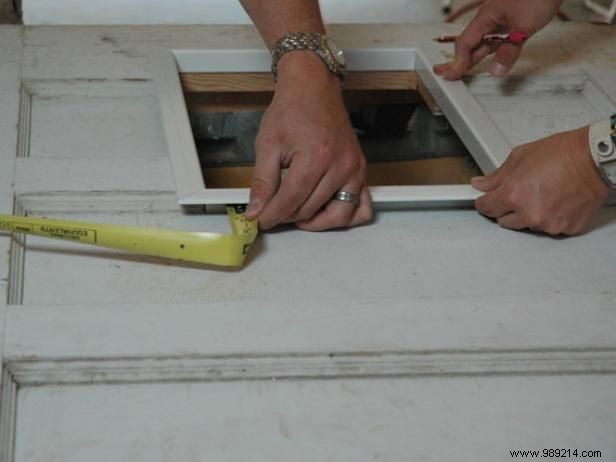
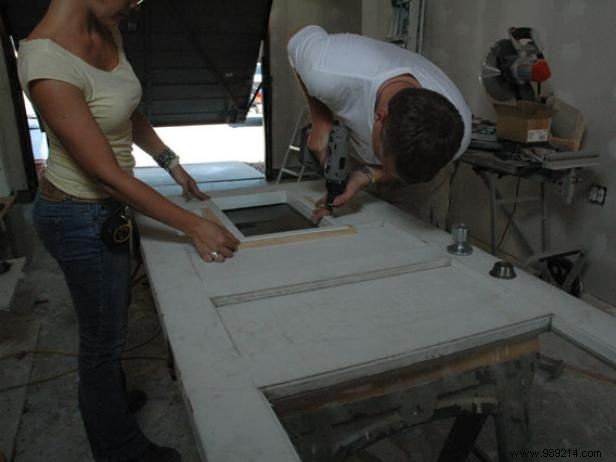
Dry fit the dog door into the opening (Image 2) to verify the fit before final installation.
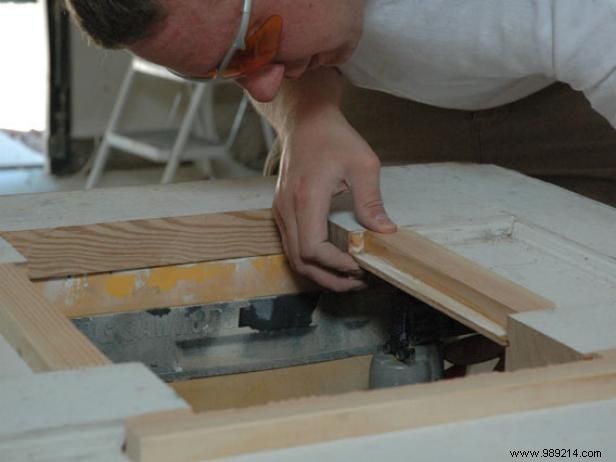
Doors with raised panels may need filler pieces for added support (Image 3).
Fasten the front and back flanges of the dog door using the included screws for a secure, weather-tight seal.
Reinstall the door on its hinges.
Perform a final test by encouraging your dog to use the new door flap. Confirm they move through it comfortably and adjust if needed.