Clean furniture with TSP to remove as much grease as possible. Then sand with 150-grit sandpaper so the peeling material adheres well to the wood. Use a tack cloth or damp cloth to remove sanding dust.
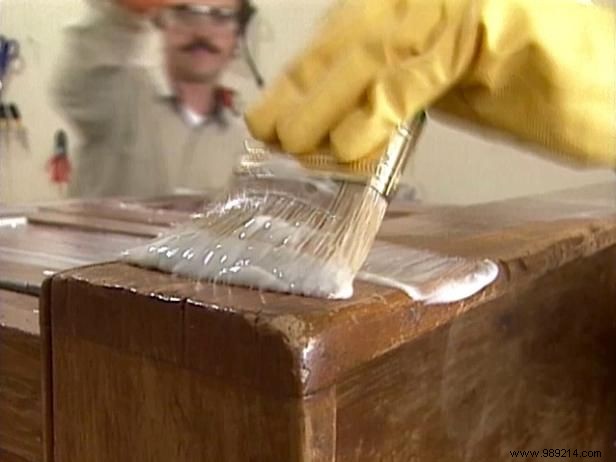
Use a paintbrush to apply a stripping agent to the furniture as thick as possible, working in one direction. Leave the stripper on the furniture for the recommended time. Use a spatula or nylon pad to remove a test strip. If the paint or varnish does not come off easily, apply a second coat of stripper and leave it on the furniture for the recommended amount of time.
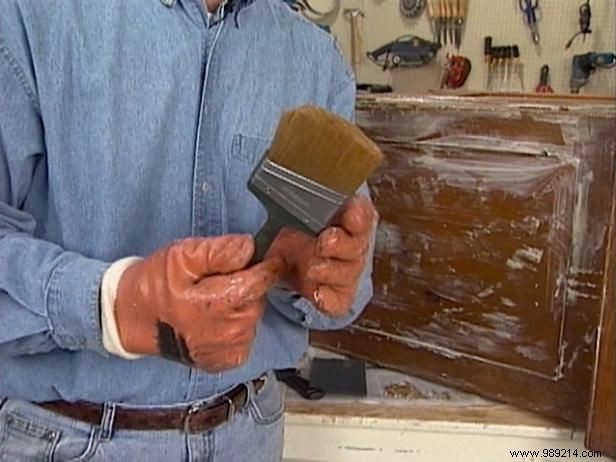
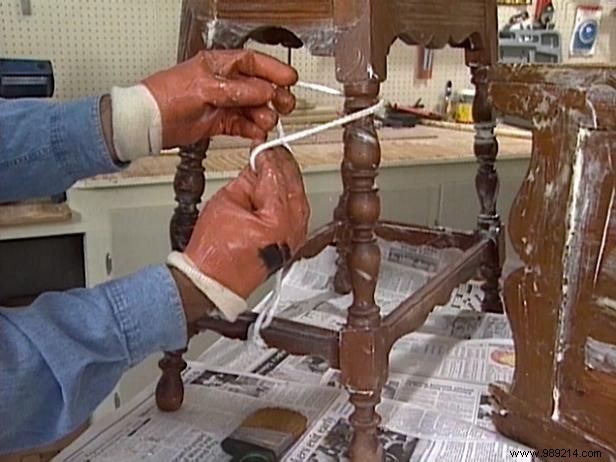
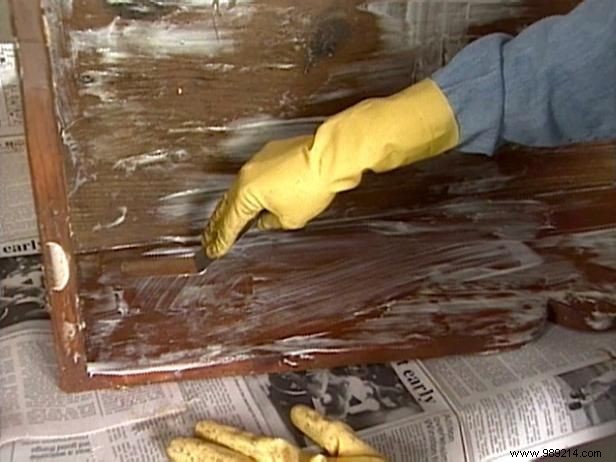
Remove as much of the remover residue as possible with a putty knife or peeling pad. To remove residue from detailed areas, try using a large, old paintbrush with short bristles. Work first with a dry brush so the bristles are stiff. Then dampen the bristles to remove any remaining residue. To remove the extractor from the spindles, try using a cotton string.
After removing as much dry cleaner residue as possible, use a damp rag to remove any remaining residue. When working with latex/water based strippers, dampen the rag in water. When using solvent-based strippers, dampen the rag with mineral spirits. Let the furniture dry before applying a new stain.
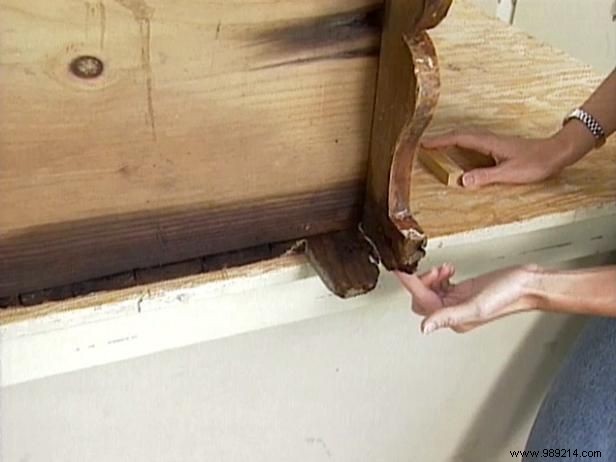
Furniture may need some repairs. If so, keep in mind that the less the piece is repaired, the more value it will retain as an antique. Before you cut the rotten wood, make sure it matches the pattern. If possible, use the other side of the furniture as a template for cutting out replacement pieces.
If you're replacing drawer or door hardware, look for knobs and hinges that are the same style and age as the furniture.
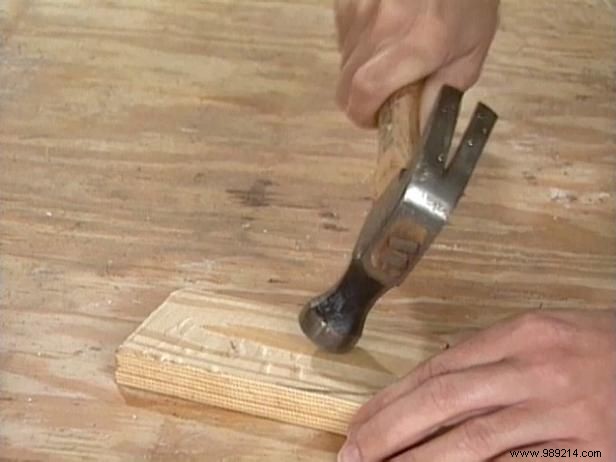
Assemble spare parts, using glue and a pneumatic nailer. If you don't have a pneumatic nailer, use a hammer and a set of nails - just be careful to avoid damaging the wood.
Use a hammer to give new wood the worn look of old furniture.
Make a few dents and bumps here and there along the edge and face of the wood. Another way to distress wood is to hit or roll a rock over it.
Stain new wood to match the natural look of the original furniture as closely as possible. To layer the stain, start with a dark stain, add a lighter stain, such as a light coat of antique white, apply another layer of dark stain, then blend the piece with a blending pencil.
Mix the stain into the wood filler putty before using it to cover the nail holes. Some putty won't accept the stain after it dries.

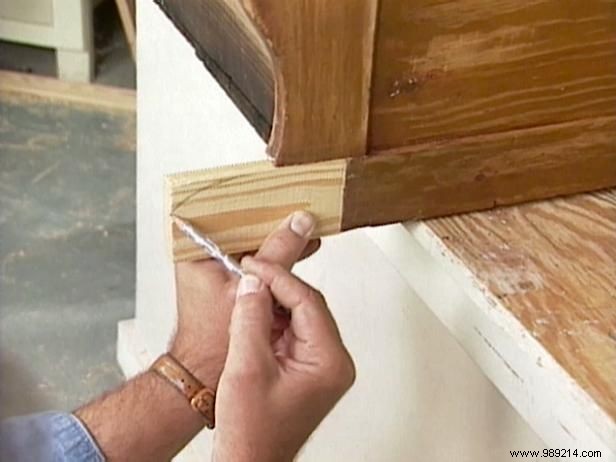
After applying the wood filler, place the replacement pieces on the furniture. If the replacement pieces will support the weight of the furniture, attach them securely with screws and wood glue.
Sand the furniture to remove excess putty and smooth out any frayed areas or damage caused by the peeling process. Sand with the grain of the wood and apply equal pressure to the forward and backward strokes. Use a damp cloth or rag to remove sanding dust.
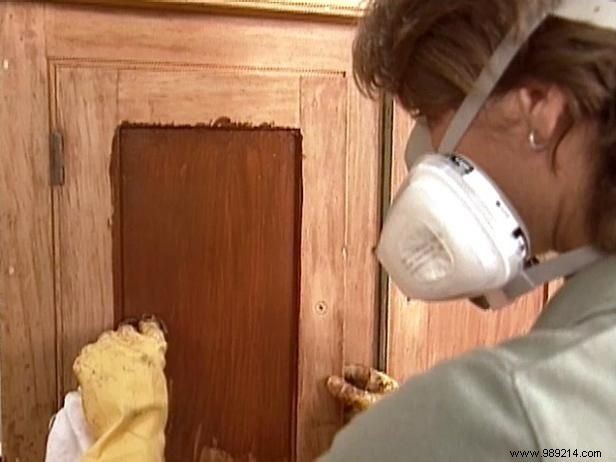
When the furniture is dry, move it to a well-lit area and apply a new coat of stain. Apply the stain with a lint-free cloth and wipe with a clean cloth.