As a DIY enthusiast, I've created countless home projects, and this stylish photo holder stands out for its simplicity. Build your own in about 10 minutes using one steel cable and basic tools—it's accessible for beginners and yields professional results.
It took me exactly 10 minutes (excluding shopping) to make this modern, ultra-durable holder. Key advantages: sleek aesthetics, just two wall holes needed, and space for numerous photos you can swap out anytime.
- 2.20 m of steel cable (1-2 mm diameter).
- 2 cable ties sized for the cable (flat, stirrup-style, or others—choose based on budget and look). Include the right tool: pliers, pipe wrench, etc.
- 2 screws and 2 dowels matched to your wall.
These cost me under 5€ at the local hardware store; borrow the rest from handy neighbors.
- 1 pair of cutting pliers.
- A cordless drill or drill plus screwdriver.
1. Select the height and length for your holder, then mark screw positions with a level or tape measure.
2. Drill holes, insert dowels, and add screws—don't fully tighten yet.
3. At one cable end, form a loop (see photo) secured with a cable tie; size it for your preferred look.
4. Loop it over one screw and tighten fully.
5. Repeat at the other end to make a second loop, drape over the remaining screw, and tension the cable via the tie.
6. Use cutting pliers to trim excess cable ends for a clean finish.
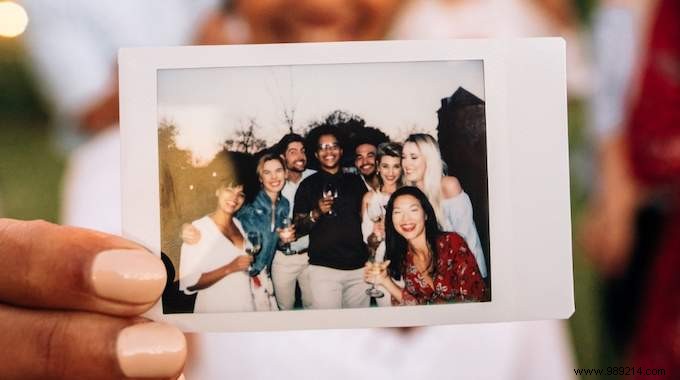
Done! Hang photos using magnets, clothes pegs, or clips. Share your results or questions in the comments—I'd love to hear!