
Begin by cutting the copper tubing to your desired length. For a three-light fixture, we recommend about two feet—extend it longer for more lights, like five. Plan the positions for your glass shades (uniform or varied spacing works well; varied is simpler). Drill holes at these spots for the fittings, plus one in the back for the electrical cable connection to the ceiling.
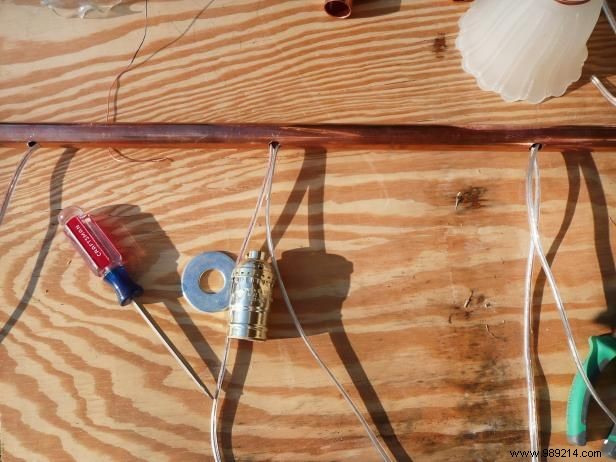
Use a single cable to power all fixtures for simplicity. The first light needs one wire; the second and third require two (looped back). Separate cables per fixture demand individual junction boxes—always follow your lighting kit's manufacturer instructions.
Feed the cable through the tube, leaving the end at the final shade position. Loop it out and back through the next hole (creating two wires), repeat for the third, and exit via the back hole. Leave ample length to reach the ceiling junction box.
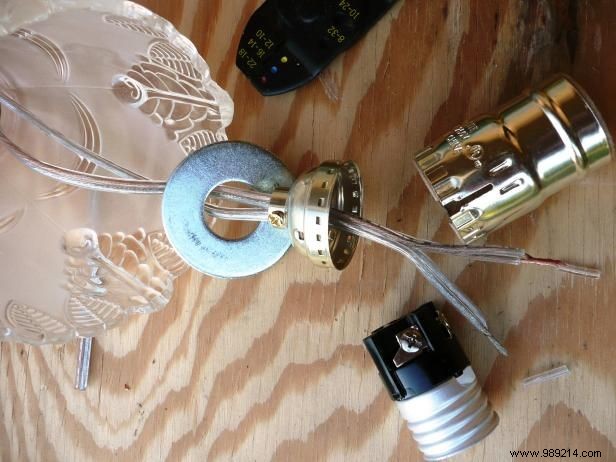
For looped holes, trim and twist the silver (neutral) and gold (hot) wires together for each socket. Install grommets first to secure against the pipe and prevent slippage through the shade.
Wire per manufacturer specs: Strip socket wires, connect the ridged neutral to the silver terminal and smooth hot to brass. Thread through the socket cap, reassemble the shell until it clicks, and insert a small round bulb.
Route the cable to your ceiling junction box or wall outlet. Twist all neutrals together (including supply) and all hots similarly. Cap connections with wire nuts and secure with electrical tape for safety.
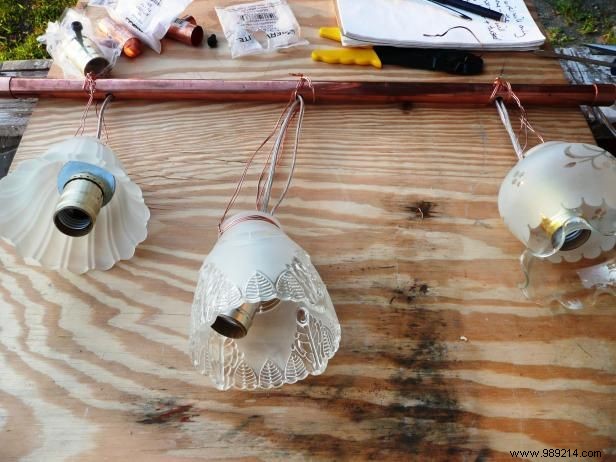
Wrap copper wire around the glass shades and pipe for extra stability.
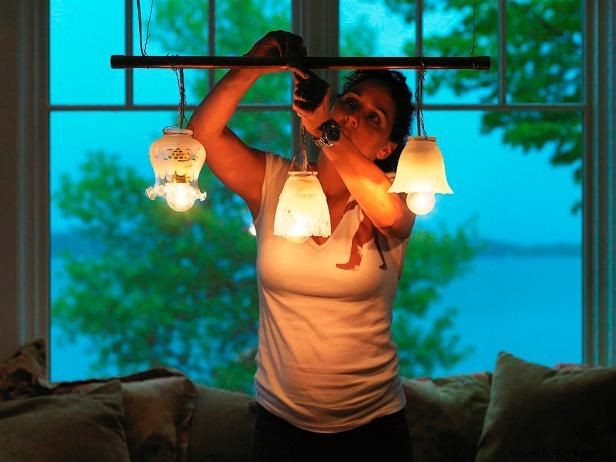
Photo: Susan Teare
Secure with copper wire to ceiling hooks or curtain rods for wall mounts. Adjust as needed for a level, striking finish.