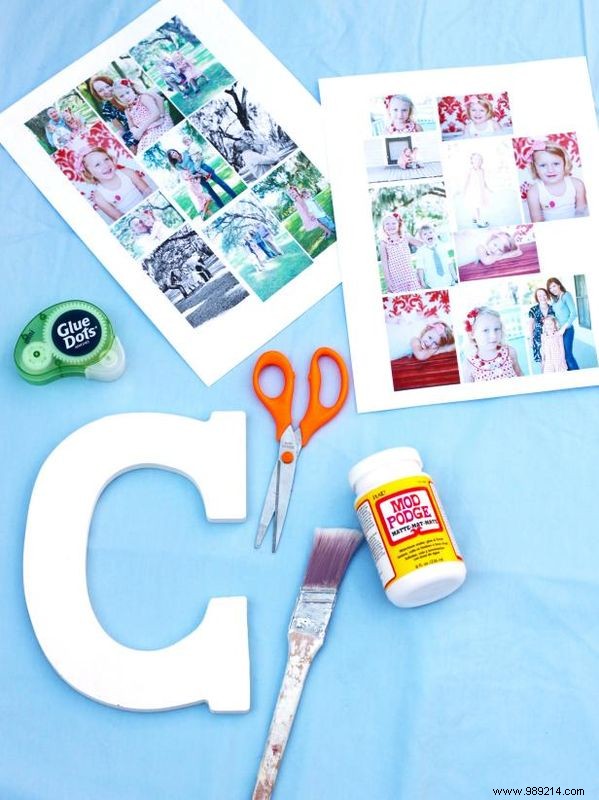

A photo letter makes a striking addition to any mantelpiece or a thoughtful gift for family and friends. As an experienced crafter, I've perfected this method for reliable results. Select your favorite photos, resize them on your computer, print on standard copy paper, and cut to size.
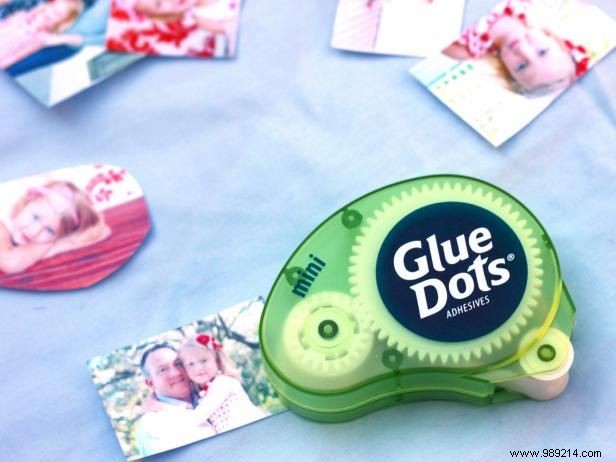
Secure the photos to the letter using glue dots or double-sided tape for a clean, mess-free hold. If photos overhang, simply fold and tape them over the edges.
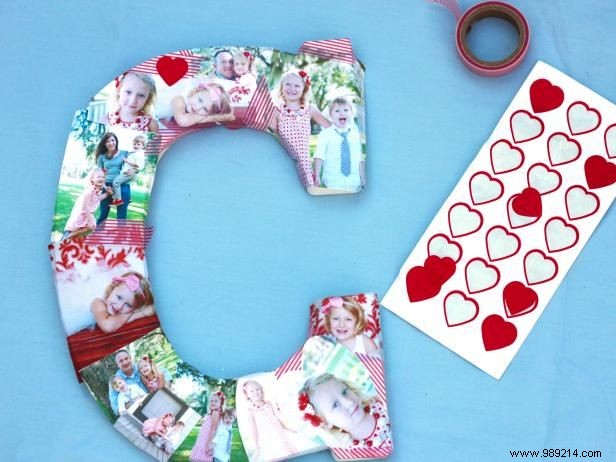
Fill any gaps with decorative tape or stickers to create a seamless, vibrant design.
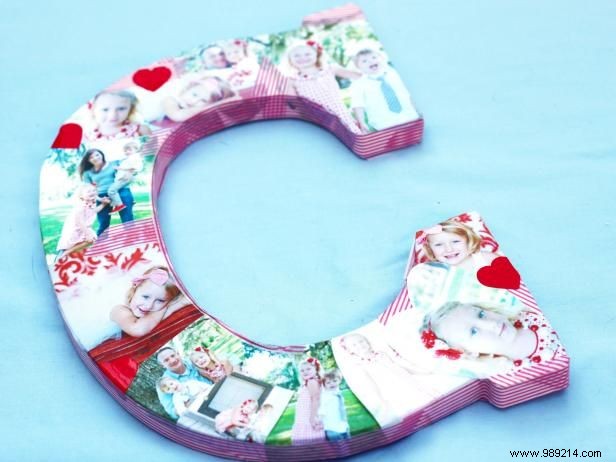
Wrap the edges with decorative tape for a professional, polished finish that elevates the entire piece.
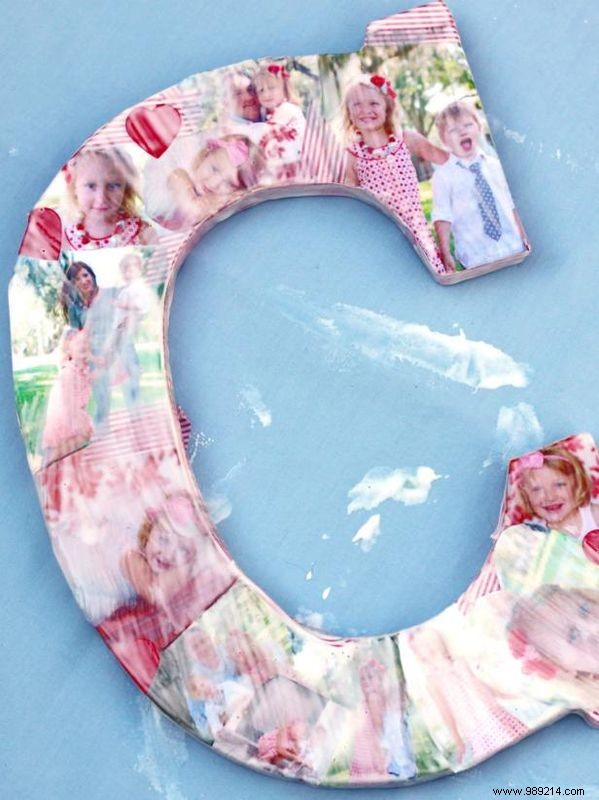
Apply a thin layer of Mod Podge with a brush. Allow it to dry fully, then add a second coat to protect and seal your photos for lasting durability.