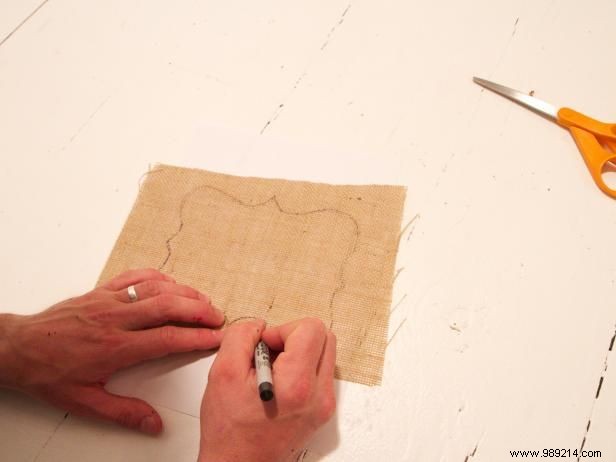
Lay the burlap over the template and trace with a fine-tipped permanent marker. Repeat three times to create four plaques in total.
Lay the burlap over the template and trace with a fine-tipped permanent marker. Repeat three times for a total of four plaques.
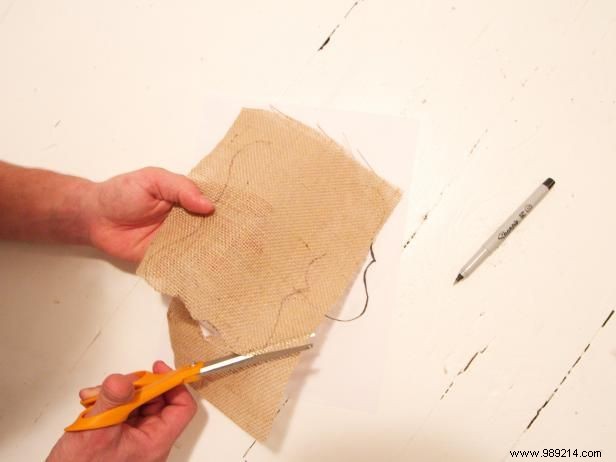
Use fabric scissors to carefully cut around each plaque.
Carefully cut around each traced plaque using fabric scissors.
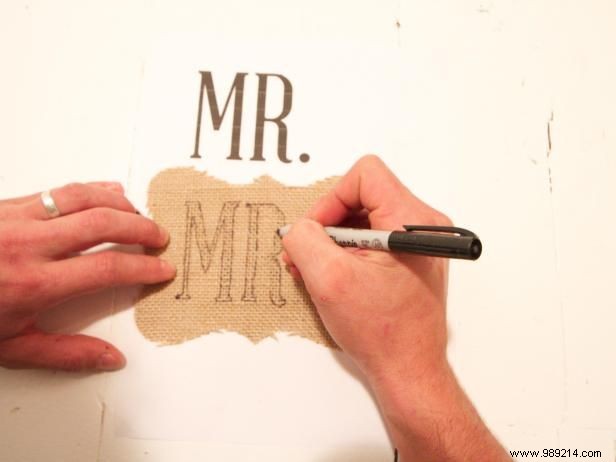
Center one plaque on "Mr." and the other on "Mrs." Trace around the letters with a fine-tipped permanent marker, then fill them in solidly.
Position one plaque over "Mr." and the other over "Mrs." Trace the letters with a fine-tipped permanent marker and fill them in.
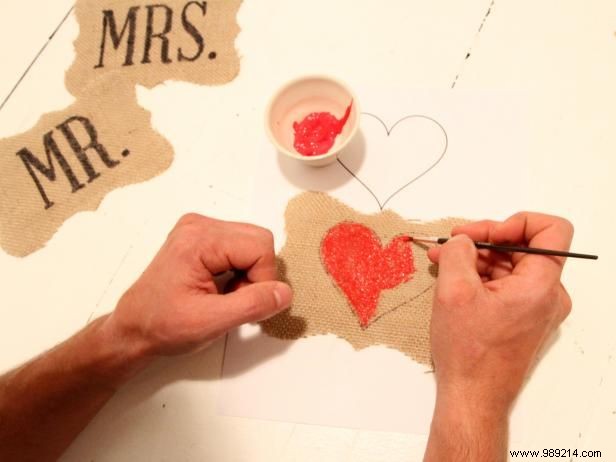
Center a plaque on the heart template, trace with a fine-tipped permanent marker, and use a small paintbrush to fill it with red craft paint. Allow to dry completely.
Center a plaque on the heart, trace it, and paint inside with red craft paint using a small brush. Let dry.
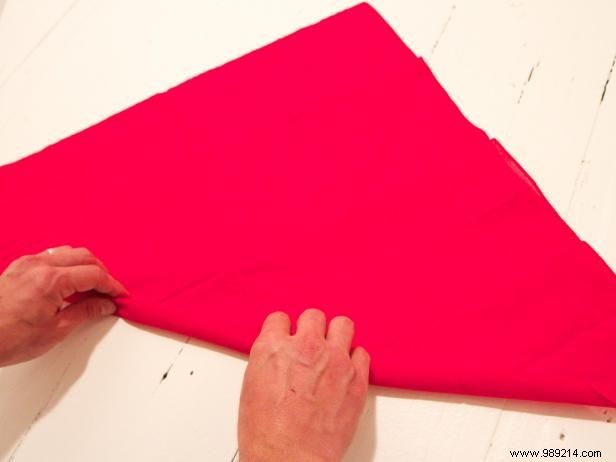
Lay the red fabric square flat with one corner facing you. Roll firmly from one corner toward the opposite corner.
Place the red fabric square flat, corner facing you, and roll firmly from one corner to the opposite.
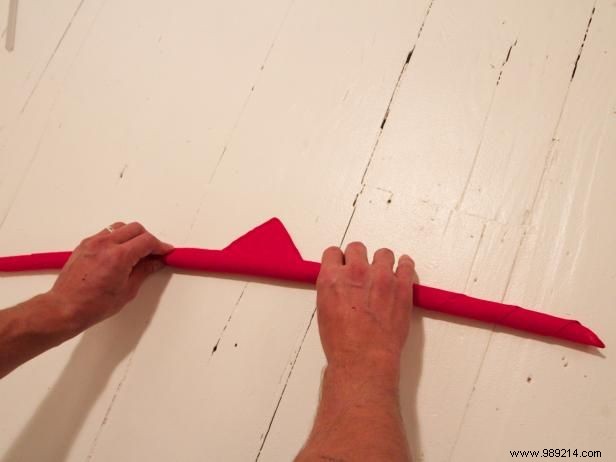
Continue rolling until you have a long, thin fabric tube.
Keep rolling the fabric until it forms a long, thin tube.
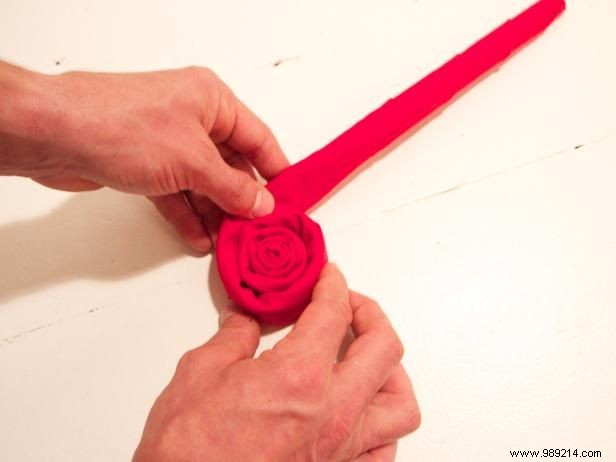
Starting at one end of the tube, tightly roll the fabric into a pinwheel shape toward the opposite end.
From one end of the tube, roll tightly into a pinwheel to the other end.
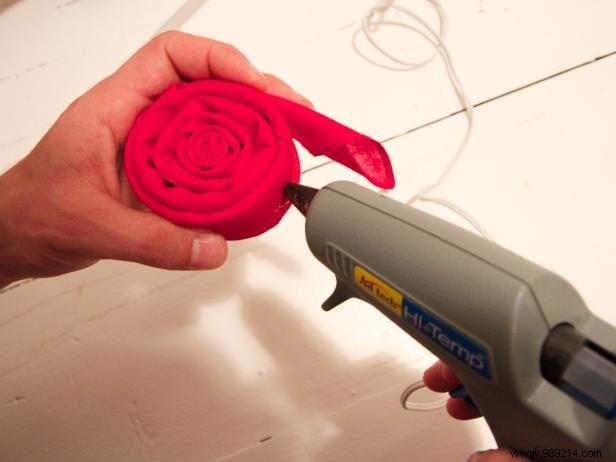
At the opposite end, secure the loose fabric with hot glue to the base of the flower.
Hot glue the loose end of the roll to the flower center once fully rolled.
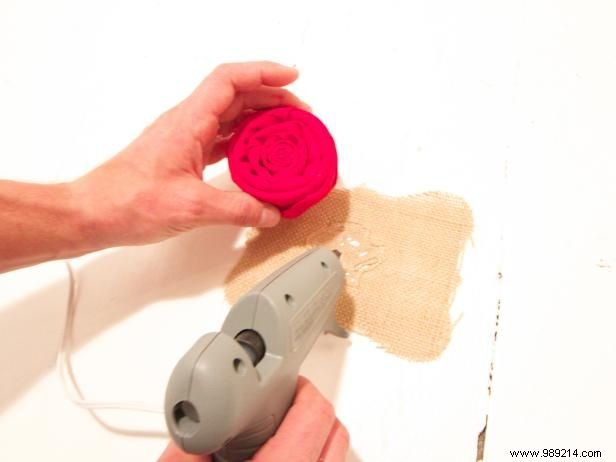
Attach the finished flower to the remaining plaque with hot glue.
Glue the rosette flower securely to the last plaque.
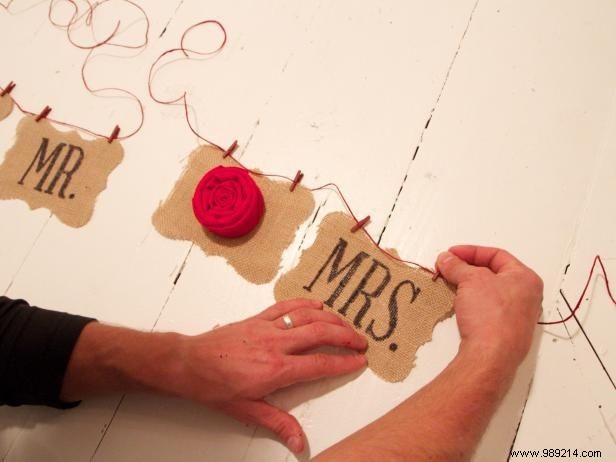
Cut two pieces of red twine to fit your chairs. Use mini red clothespins to clip each plaque to the twine.
Cut red twine to chair size and clip the plaques using mini red clothespins.
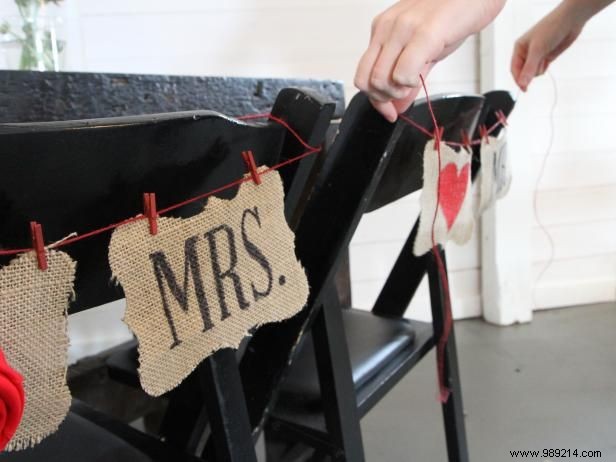
Tie the decorated twine securely around the bride and groom's chairs for a personalized wedding touch.
Fasten the chair ties to the bride and groom's seats.