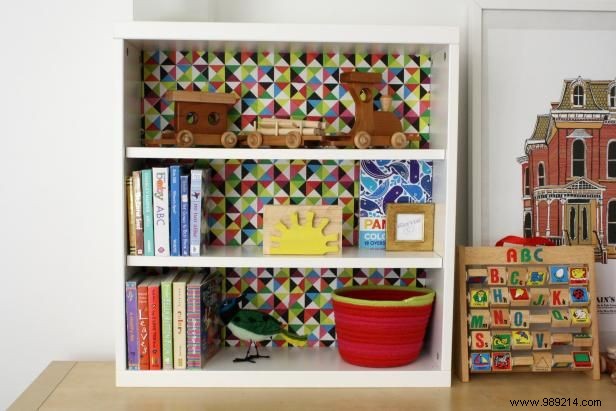
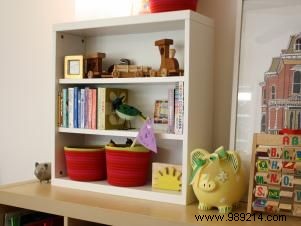
Transform your bookcase with a vibrant, personalized accent on the back panel using the classic decoupage technique. This straightforward DIY project, honed from years of hands-on furniture upcycling, adds color and character to any room.
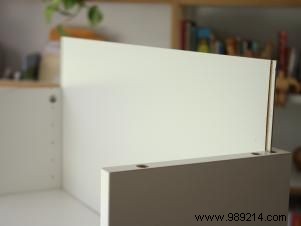
For freestanding bookcases, the simplest approach is to detach the back panel and work on it flat. It may clip in place or require removing the top section to slide it out. For built-in shelves or non-removable panels, adapt by trimming paper to fit precisely.
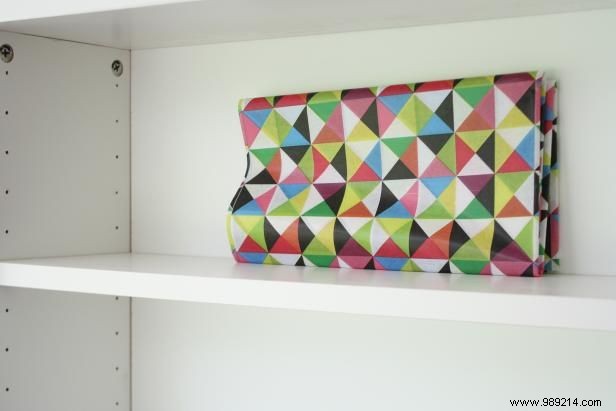
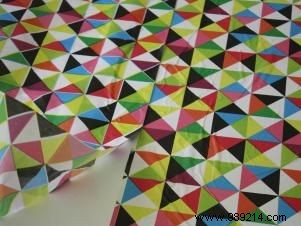
Affordable and lightweight tissue paper, available in 36-inch-wide sheets, suits most shelf widths. Select from endless vibrant patterns for a custom look. Measure carefully, cut with a slight overhang for alignment, and plan overlaps for patterned sheets.
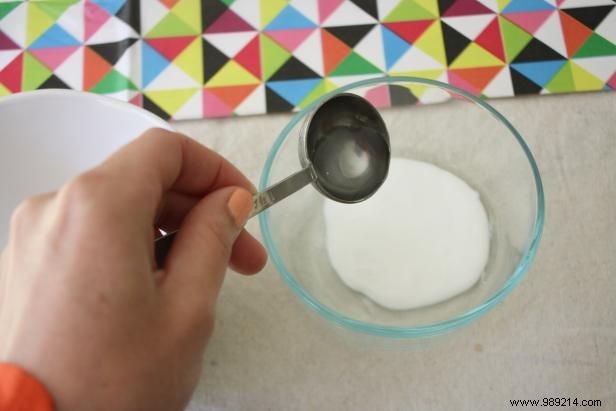
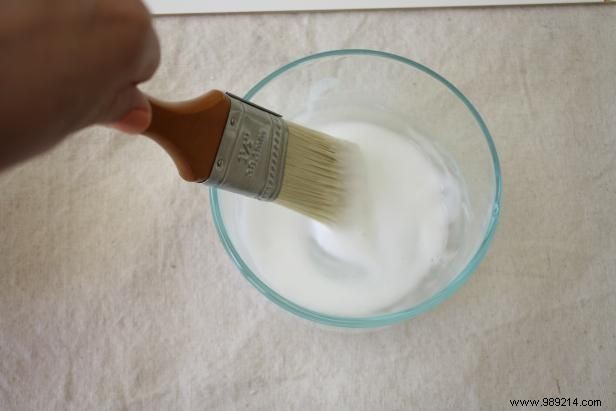
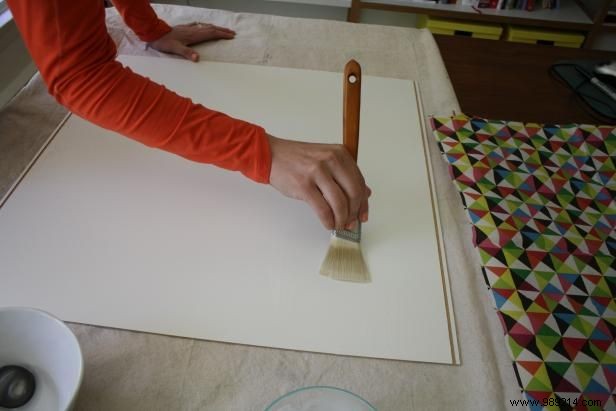
Mix equal parts white school glue and water directly with your brush for easy application. Brush it onto the panel surface. For a reversible option, wrap the paper around the panel and secure with clear tape.
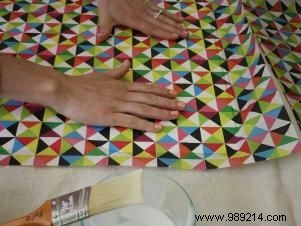
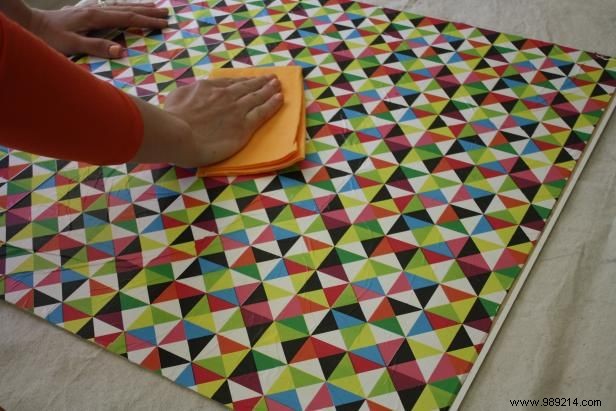
Position the tissue paper over the wet paste, smoothing wrinkles as you press it down. Use a soft towel on top to avoid tears and ensure a bubble-free finish.
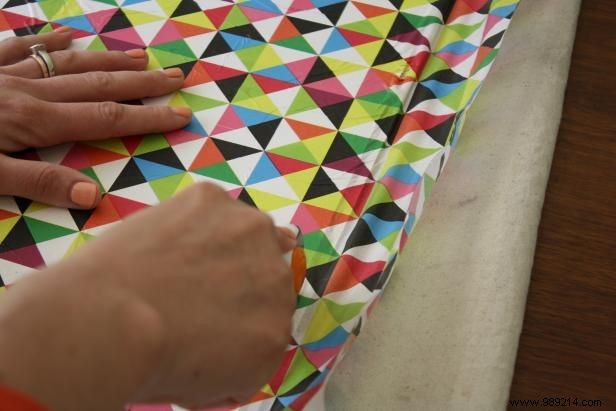
Wait for the paste to dry fully, then use a utility knife or razor blade to neatly trim overhanging edges.

Whisk up another batch of glue-water paste and brush it evenly over the tissue paper. This protective layer adds durability, shine, and longevity to your creation.
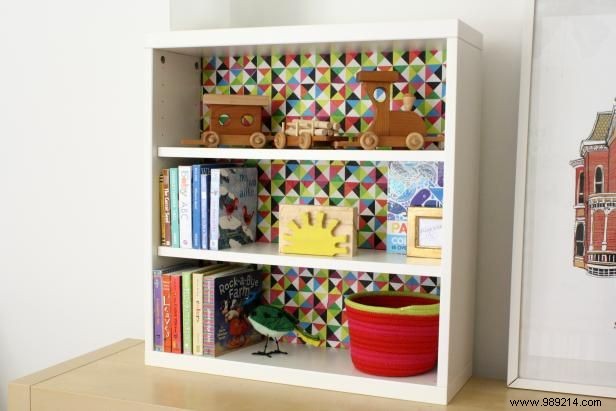
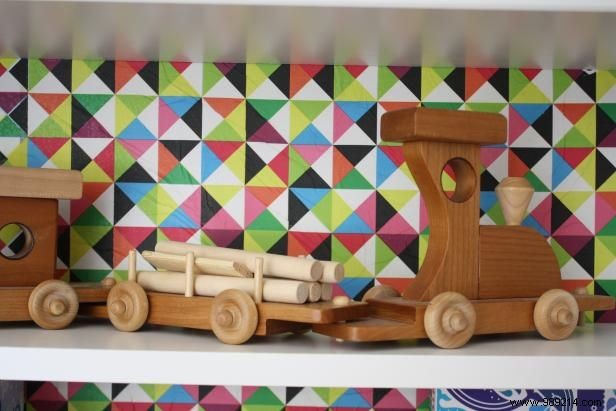
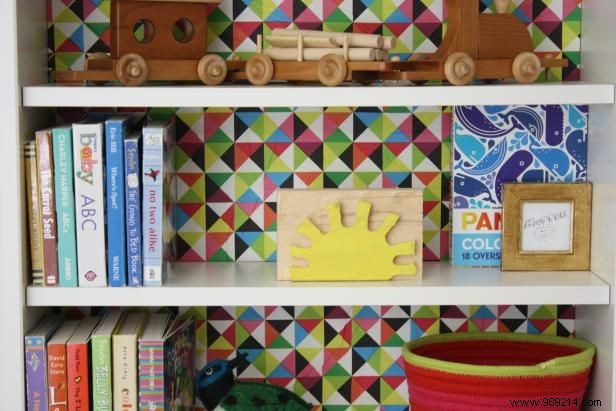

Once dry, reattach the back panel, reinstall shelf supports, and arrange your books or decor for a stunning reveal.