Expert Guide: How to Paint Wood Panels for a Professional Finish
Introduction
Prepare the Surface
- Wear safety glasses and old clothes to protect against paint splashes. Use gloves when handling chemicals.
- Tape off windows, roofs, chimneys, and other areas with painter's tape. Remove switch plate covers from walls.
- Clean panels thoroughly with trisodium phosphate (TSP) mixed per bottle instructions. For glossy surfaces, add a degreaser—many products combine both. This critical step ensures paint adhesion; skip it, and your finish will fail.
Step 1

Fill Cracks and Apply Primer
- Fill bumps, nicks, and irregularities with putty and a putty knife.
- Sand with 120-grit sandpaper, applying firm pressure to roughen the surface for better paint grip. Wipe away dust with a tack cloth.
- Apply oil-based bonding primer using a disposable brush or roller—it's messy and hard to clean. Use two coats on darker panels. Opt for light gray primer, as it works under most colors.
Step 2
Apply the Paint
- For a 'California' style, roll on soft vanilla latex paint over the primer.
- Create stripes by mixing latex with enamel glaze—the more paint, the richer the color. Brush on in one direction for striations. Texture paint adds another option.
Step 3

Achieve Stunning Results
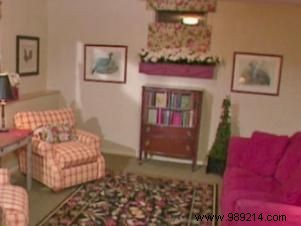
- This meticulous process takes time but delivers transformative results. See the family room before (Image 1) and after (Image 2) renovation for proof.