
As a professional installer with years of lighting projects, start by precisely measuring the shelf underside where the lights will go. Mark the borders clearly, then use a speed square to extend the line underneath. Draw a straight line across the bottom edge to ensure all lights align perfectly.
Use a hole saw to carefully drill holes for the electrical wires, ensuring clean entry points that maintain structural integrity.
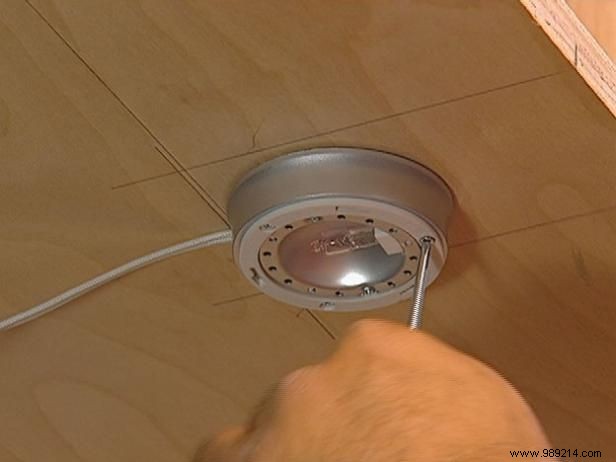
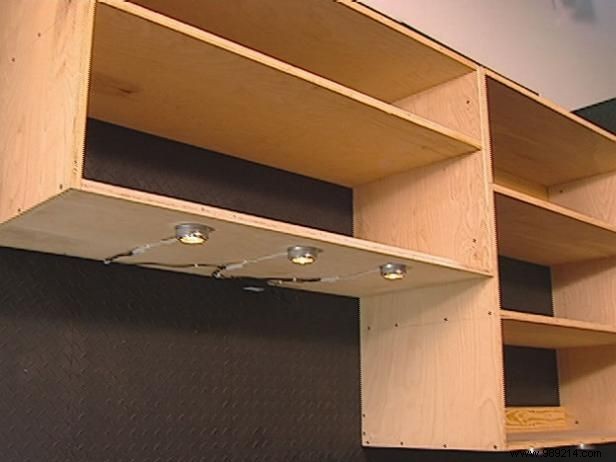
Attach the first light strip firmly to the shelf bottom, then methodically install the remaining lights for seamless coverage.

Thread the cable through the pre-drilled hole and secure the compact transformer to the shelf underside. Connect each light to the main cable for reliable power distribution.
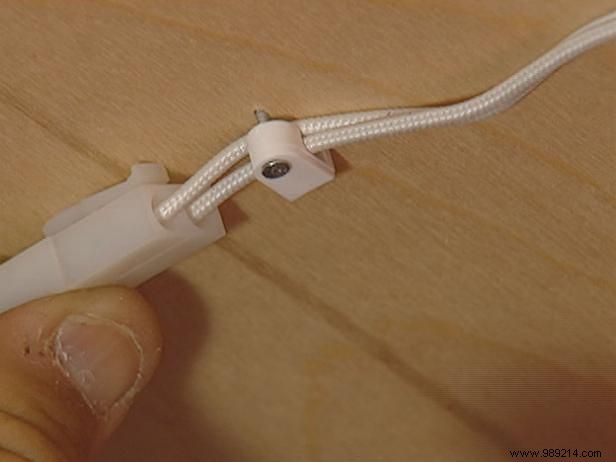
Neatly arrange all wires beneath the shelf using wire staples to prevent tangles and ensure a safe, tidy setup.
Mount the switch and plug securely for easy operation and accessibility.
Fill any visible nail or screw holes with appropriate filler, then paint to match for a flawless, professional appearance.
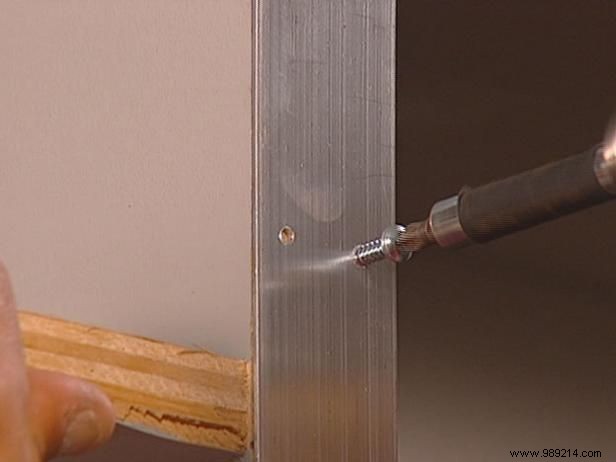
Apply aluminum trim along the shelf edges to elevate the look with a polished, custom finish.
Attach the door handle to the cabinet door, snap the shelf and rod into position, and install chrome cover plates on all outlets for a complete, durable installation.